Snapped your fishing rod tip? Don't despair! A broken tip doesn't necessarily mean the end of your fishing adventures. Many anglers, both seasoned and novice, face this common issue, and thankfully, replacing a broken rod tip is often a straightforward repair that can be accomplished at home with minimal tools and effort. A damaged tip can significantly impact your casting accuracy and overall fishing experience, making a swift repair essential to get back on the water. A broken tip doesn't mean a broken day!
This quick and easy guide will walk you through the process of replacing your broken fishing rod tip, restoring your fishing rod to its full potential. We'll cover everything from selecting the correct replacement tip to the final steps of securing it, ensuring a durable and reliable repair. Let's get started with the step-by-step instructions below.
Preparation and Safety Guidelines
- Fishing rod
- Lighter
- Pliers
- Replacement rod tip
- Rod tip glue
- Always wear safety glasses to protect your eyes from flying debris when cutting or sanding the rod.
- Use appropriate tools for the job. Improper tools can damage the rod blank or cause injury.
- Ensure the new tip is the correct size and material for your rod. Using an incompatible tip can compromise the rod's performance and durability.
Step-by-Step Instructions
Remove the Old Rod Tip
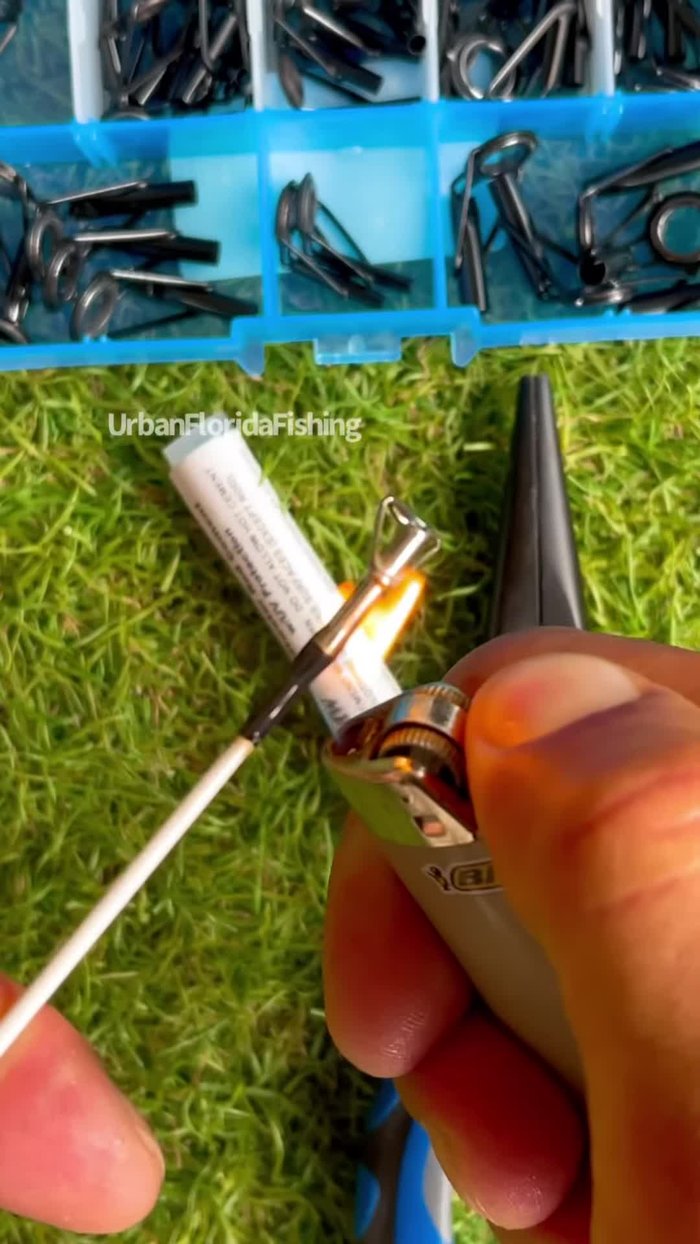
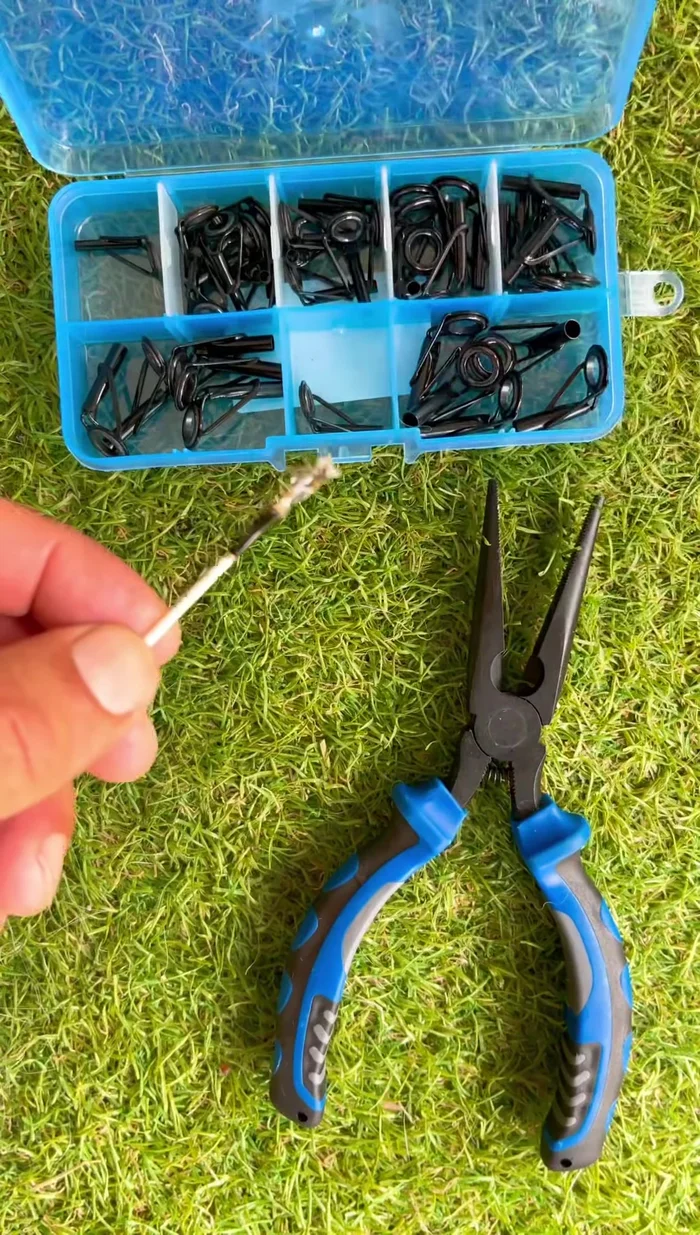
- Heat up the old rod tip with a lighter for a few seconds to melt the glue.
- Gently twist and pull the old rod tip off using pliers.
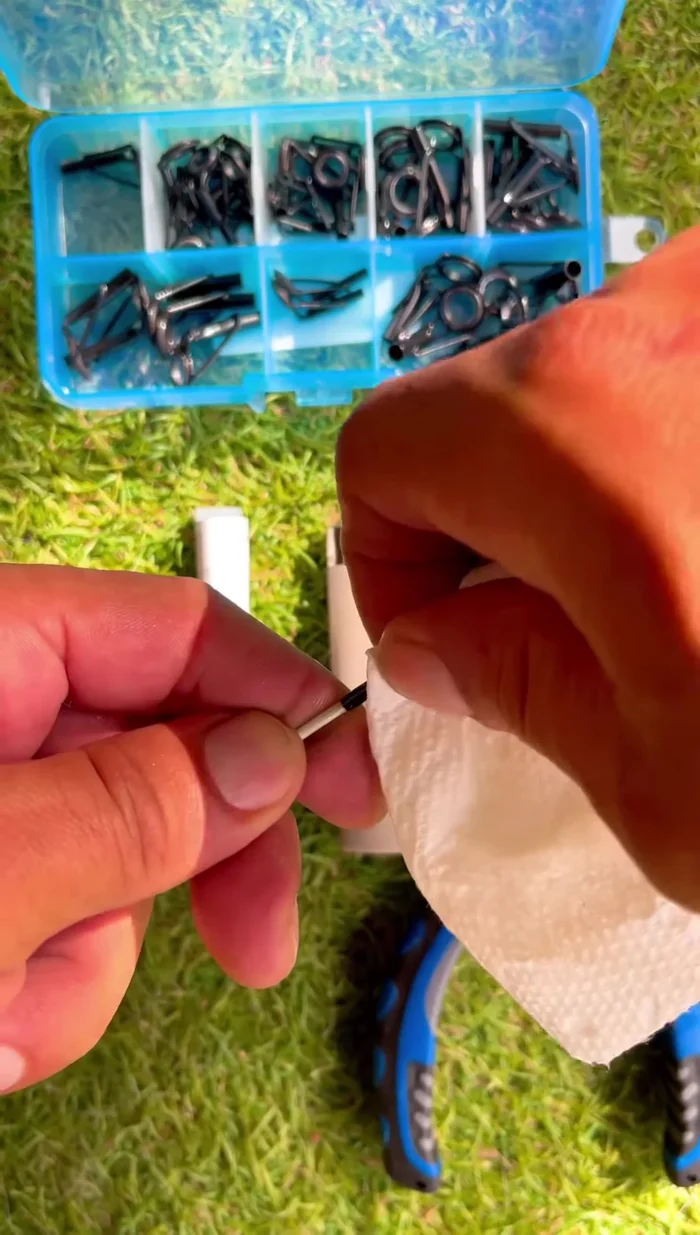
- Wipe away any excess glue from the rod.

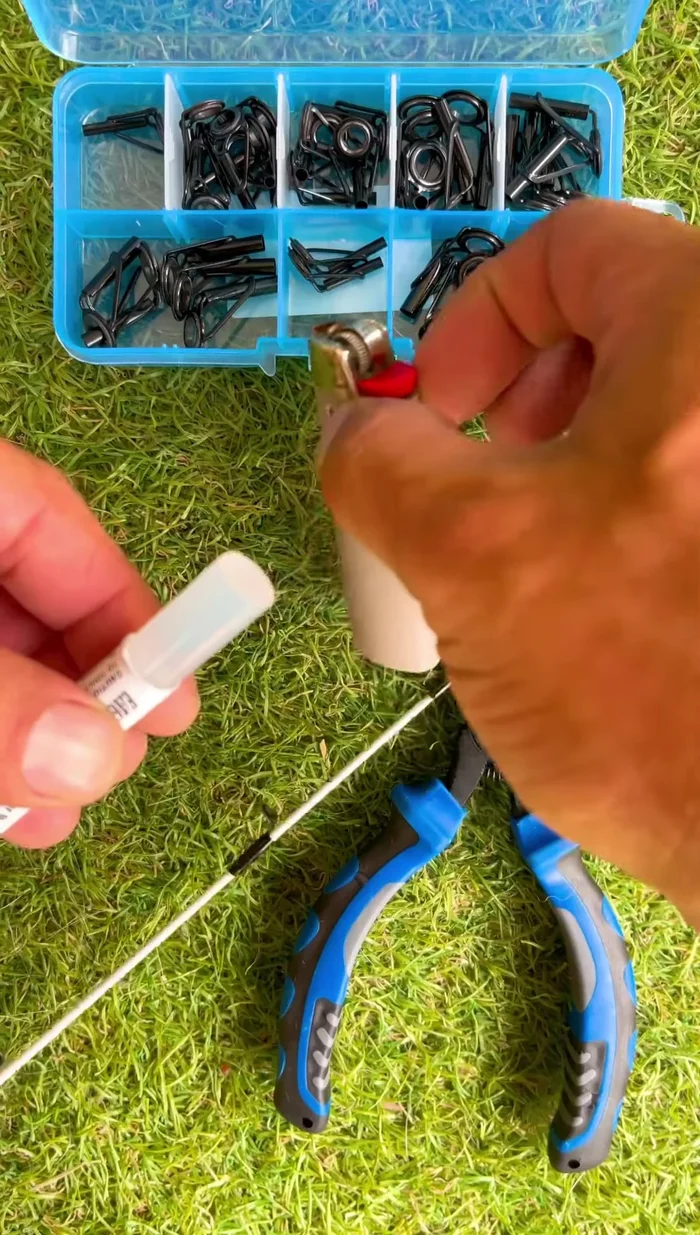
Remove the Old Rod Tip Prepare the New Rod Tip
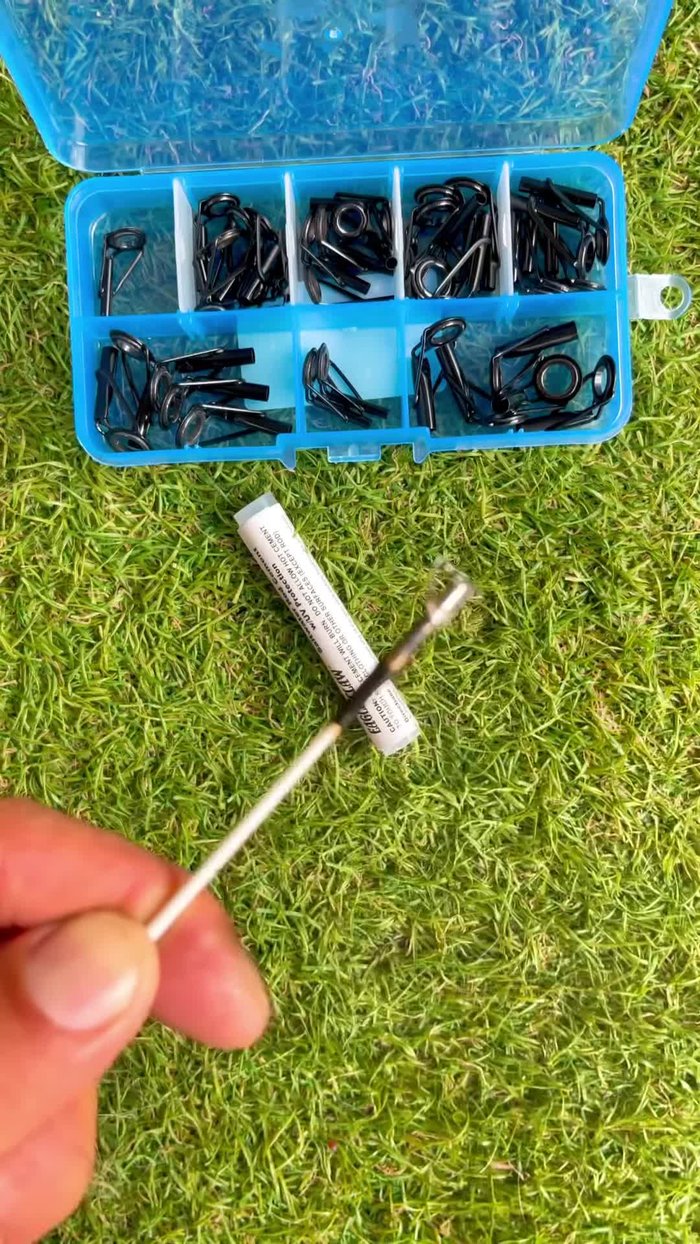
- Select a replacement rod tip that's a slightly loose fit to allow room for glue.
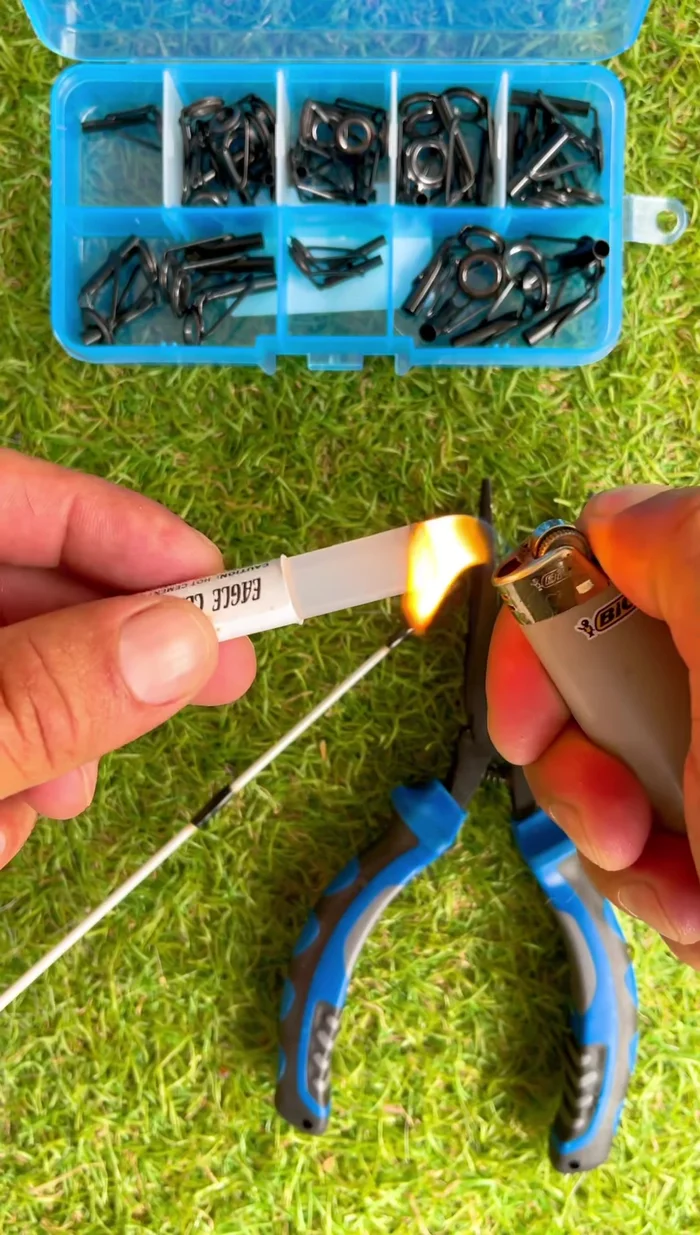
Prepare the New Rod Tip Apply the Glue
- Heat the glue with a lighter until it melts.
- Apply melted glue all over the new rod tip.
Apply the Glue Attach and Secure the New Rod Tip
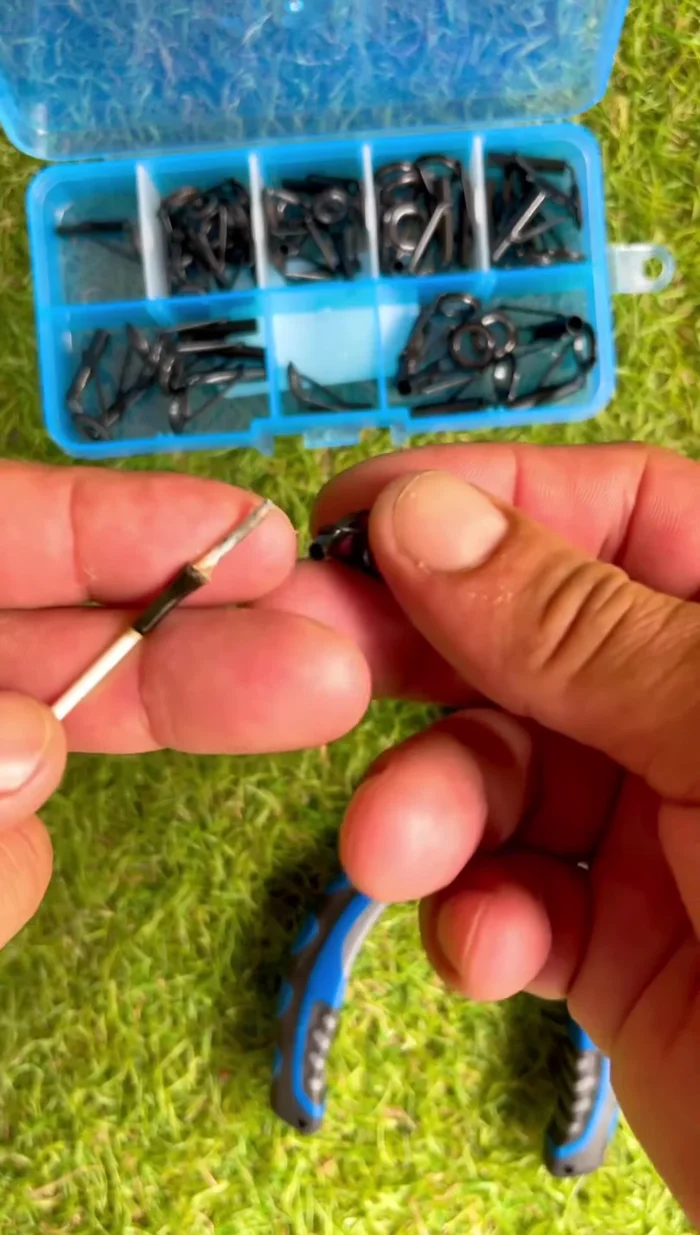
- Slide the new rod tip onto the rod and push it down firmly with pliers to secure it.
Attach and Secure the New Rod Tip Finish and Cool
- Wipe off any excess glue and let it cool before handling.
Finish and Cool

Read more: Rust Removal Showdown: Apple Cider vs. Distilled White vs. Industrial Vinegar
Tips
- Don't overheat the rod tip; a few seconds is enough to melt the glue.
- Be careful not to set the rod tip on fire.
- Choose a replacement rod tip that is not too snug; a slightly loose fit allows for the glue.