Tired of battling frustrating fishing line knots that weaken your tackle and waste precious fishing time? Knot tying, while a classic technique, often proves inefficient and unreliable, leading to lost lures and broken lines. Imagine a faster, stronger, and more consistent method that dramatically improves your fishing experience. Say goodbye to unreliable knots and hello to the revolutionary world of crimping your fishing line! This technique offers a significant advantage over traditional knot tying, providing superior strength and a quicker connection every time. It's the secret weapon seasoned anglers rely on to maximize their catch and minimize their frustration.
Crimping offers a secure, reliable connection that outperforms many knots, leading to more confidence in your rig and less time spent re-rigging. This ultimate guide will walk you through the entire crimping process, from selecting the right tools and crimps to mastering the technique for a flawless, strong connection every time. Let's dive into the step-by-step instructions and unlock the power of crimped fishing line.
Preparation and Safety Guidelines
- Crimp tool
- Crimps
- Fishing line
- Hook/Snap/Swivel
- Always use a crimping tool specifically designed for the diameter of your fishing line. Using the wrong tool can lead to weak crimps and line failure.
- Ensure the crimp sleeve is properly seated on the line before crimping. Improper seating can result in a weak or ineffective crimp.
- Inspect the crimp after squeezing. If it looks deformed, uneven, or the sleeve is not fully closed, discard it and try again with a new sleeve. A faulty crimp is a weak point that can cause line breakage.
Step-by-Step Instructions
Prepare the Line
- Prepare your leader line (approx. 5 feet).

Prepare the Line Attach the Crimp
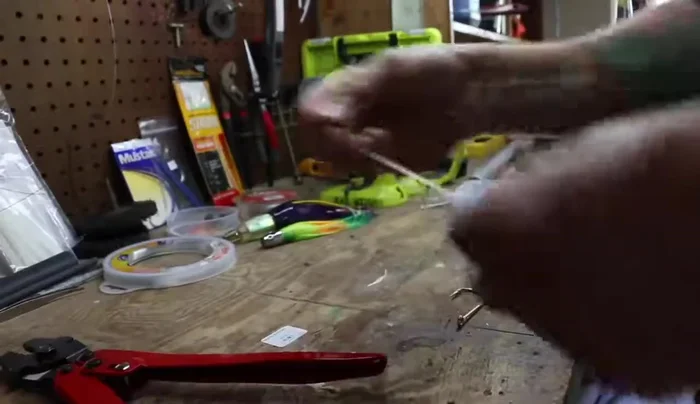
- Slide the crimp onto the leader line, leaving a small tag end.
Attach the Crimp Attach the Hook/Snap/Swivel
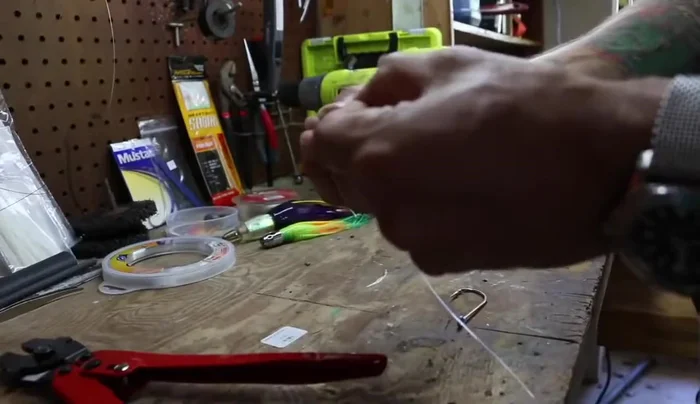
- Attach your hook, snap, or swivel through the crimp and back through the loop.
Attach the Hook/Snap/Swivel Position the Crimp
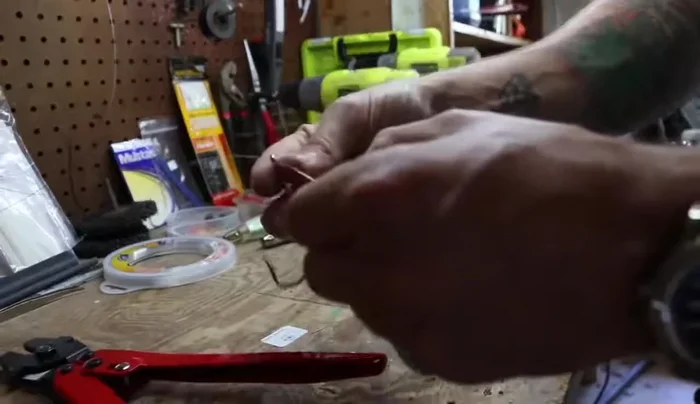
- Pull the crimp down tightly close to the base, ensuring the line is flat and not twisted.
Position the Crimp Select Crimp Tool Setting
- Match the crimp size with the corresponding number on your crimp tool.
Select Crimp Tool Setting Position in Crimp Tool
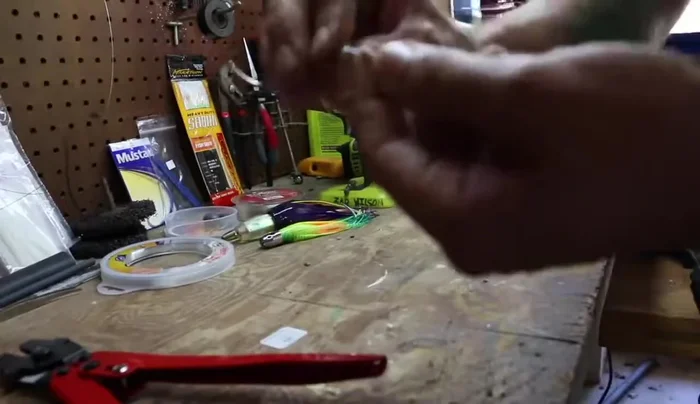
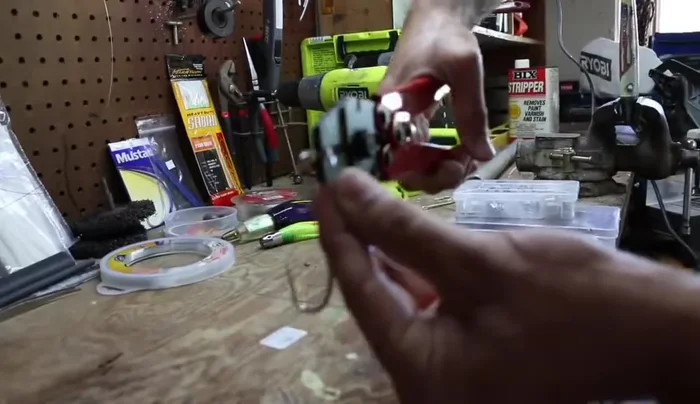
- Stand the crimp upright in the crimp tool.
Position in Crimp Tool Crimp the Line
- Apply a firm, two-handed squeeze to the crimp tool.
Crimp the Line
Read more: Rust Removal Showdown: Apple Cider vs. Distilled White vs. Industrial Vinegar
Tips
- Individually label your crimps for easy identification.
- Crimping is especially advantageous for heavier leader lines (500lb test and above).
- Ensure the crimp is properly seated and the line isn't twisted inside.
- Always stand the crimp upright in the tool to avoid crimping backward.
- A properly crimped connection will have two slightly pinched edges and a small barrel in between.