Tsunami 7.5-inch aluminum pliers are a valuable tool for any serious DIY enthusiast or professional, offering a lightweight yet robust solution for a variety of gripping and clamping tasks. Their aluminum construction, while beneficial for weight reduction and corrosion resistance, requires a specific cleaning and maintenance approach to ensure longevity and optimal performance. Neglecting proper care can lead to reduced grip strength, potential damage to the tool, and ultimately, a compromised workspace. Understanding how to maintain your Tsunami pliers is key to maximizing their lifespan and ensuring they remain a reliable part of your toolkit.
This guide will walk you through a step-by-step process for cleaning and maintaining your Tsunami 7.5-inch aluminum pliers, ensuring they stay in top condition for years to come. We'll cover everything from cleaning off stubborn grime and rust prevention to lubricating moving parts and storing them correctly. Let's get started!
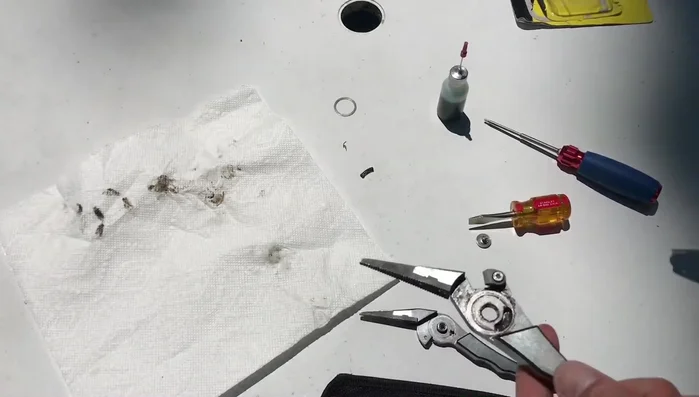
Preparation and Safety Guidelines
- Tsunami 7.5 inch ultra strong aluminum pliers
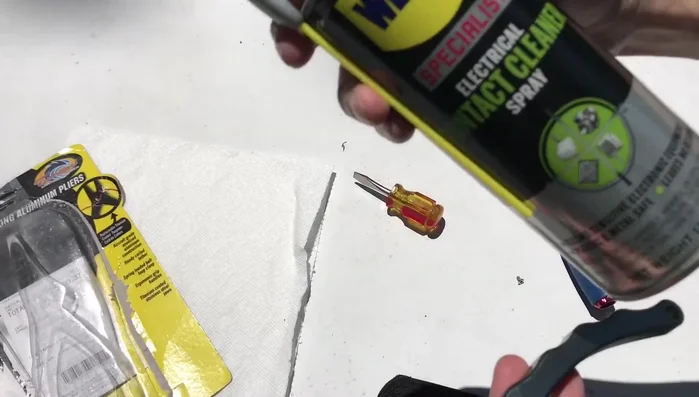
- Flathead screwdriver
- WD-40 electronic contact cleaner
- Corrosion X
- Q-tip
- Always disconnect the pliers from any power source before cleaning or performing maintenance.
- Never use abrasive cleaners or solvents on the pliers, as these can damage the aluminum finish and internal mechanisms.
- If the pliers are damaged or malfunctioning, discontinue use immediately and contact Tsunami customer service for repair or replacement.
Step-by-Step Instructions
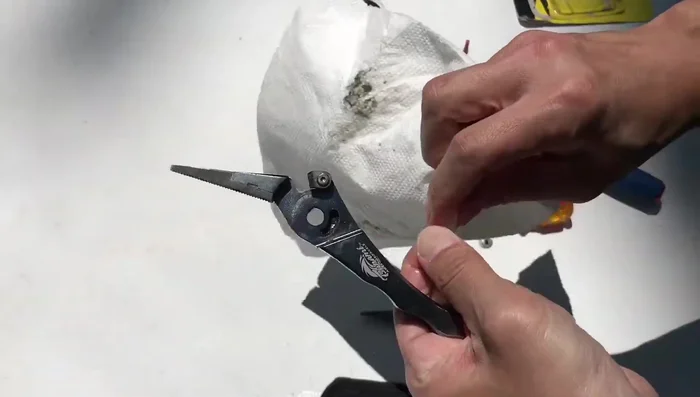
Disassembly
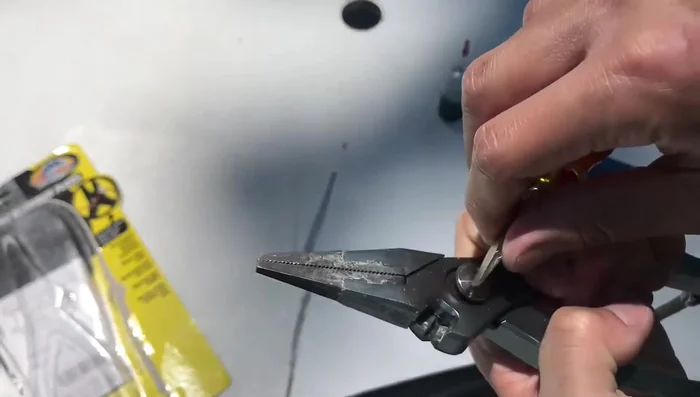
- Remove the cutter.
- Unscrew the set screw using a flathead screwdriver.
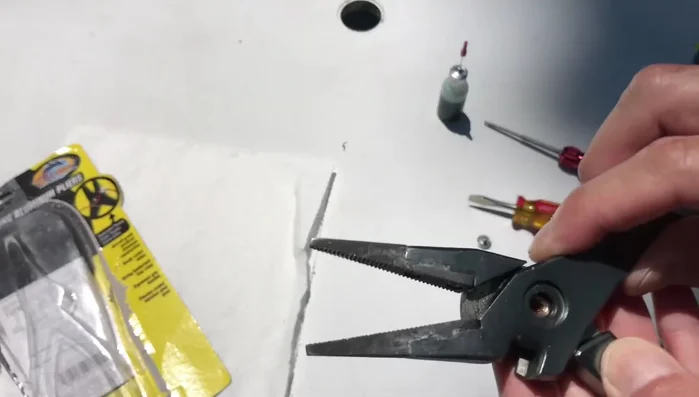
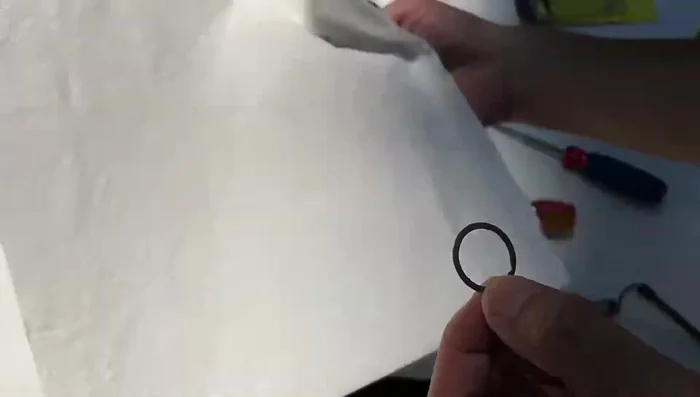
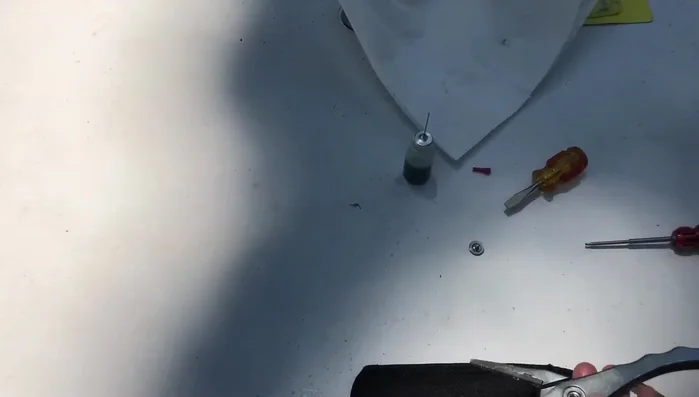
- Pull apart the pliers to access the spring and washer.

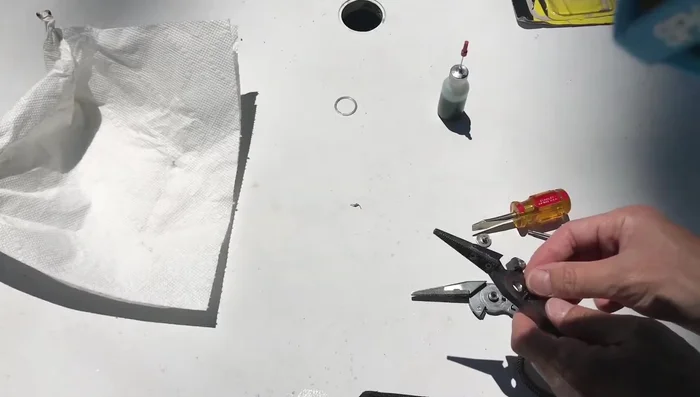
Disassembly Cleaning
- Clean the spring, washer, and internal components of the pliers.
- Remove any rust, gunk, sand, and grease using a cleaner (like carb cleaner or WD-40 electronic contact cleaner).
- Clean the moving mechanism thoroughly using a Q-tip.
Cleaning Reassembly and Lubrication
- Reassemble the pliers, ensuring the spring is correctly positioned and lubricated (Corrosion X is recommended).
- Tighten the set screw, leaving it slightly loose initially to allow for spring action.
Reassembly and Lubrication
Read more: Rust Removal Showdown: Apple Cider vs. Distilled White vs. Industrial Vinegar
Tips
- The cutters, spring, and other parts are replaceable.
- Use a cleaner like carb cleaner or WD-40 electronic contact cleaner to dissolve grease and remove gunk effectively.
- Lubricate the spring and spacer with Corrosion X or a similar lubricant.
- Use red locktite on the set screw for extra security (optional).