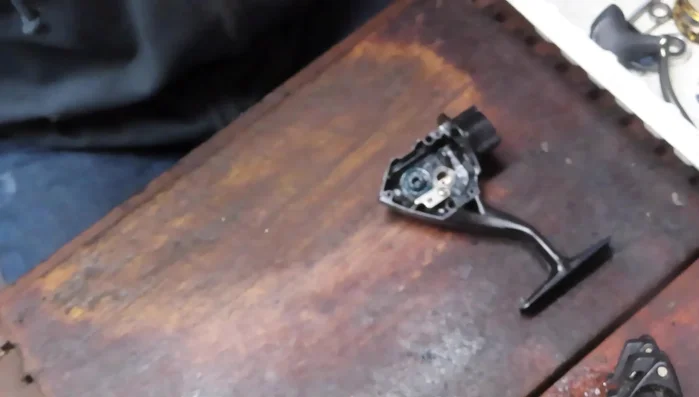
The Pen Battle 2 3000 fishing reel, a powerhouse known for its smooth performance and robust build, isn't immune to the wear and tear of consistent use. Over time, even the most durable components can require replacement, impacting your casting distance, retrieve smoothness, and overall fishing experience. This is especially true for the internal gears, crucial for the reel's function. A compromised gear system can lead to frustrating malfunctions and even irreparable damage if neglected.
This comprehensive guide provides a step-by-step walkthrough of completely replacing the gears in your Pen Battle 2 3000 reel. We'll cover everything from acquiring the necessary replacement parts to the precise techniques required for successful reassembly, ensuring your reel returns to peak performance. Let's dive into the detailed process and get your reel back in the fight.
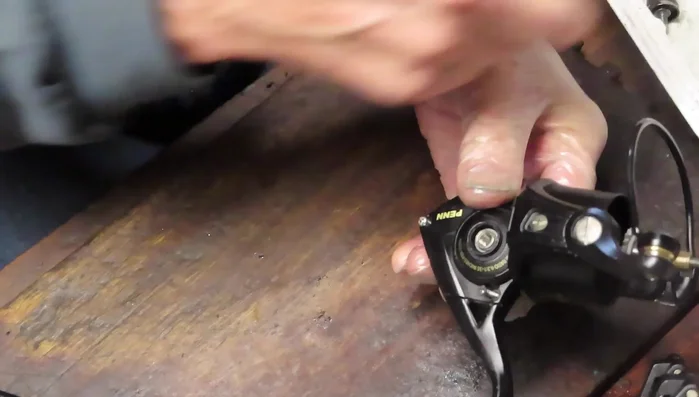
Preparation and Safety Guidelines
- Pen Battle 2 3000 fishing reel
- Replacement gears (main gear, pinion gear, oscillation gear)
- Grease
- Protective glove
- Screwdrivers (including micro driver)
- Schematic diagram of the reel
- Shim washers
- Bushing
- Always disconnect the power supply before starting any repair work on the Pen Battle 2 3000 reel. Electricity can cause serious injury.
- Use only genuine Pen Battle 2 3000 replacement parts. Using incompatible parts can damage the reel or cause malfunctions.
- If you are not comfortable with small-part assembly or electronics repair, seek professional help. Attempting a repair beyond your skill level can lead to further damage.
Step-by-Step Instructions
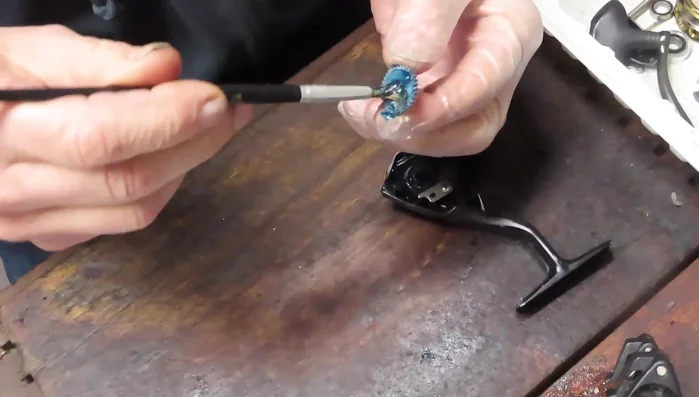
Prepare Components
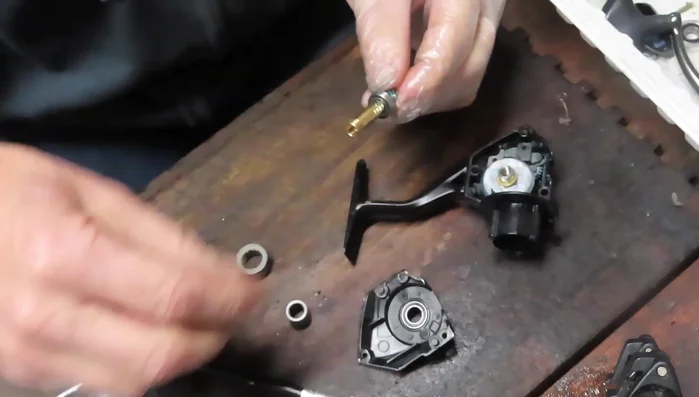
- Insert the ball bearing into the back case.
- Grease the oscillation gear on all sides and insert it over the stud, ensuring it sits low.
- Grease the crosswind block and insert it, with the tag under the holder and the other side resting on the sidebar. Ensure it rests low.
- Install the teflon bushing inside the axle shaft.

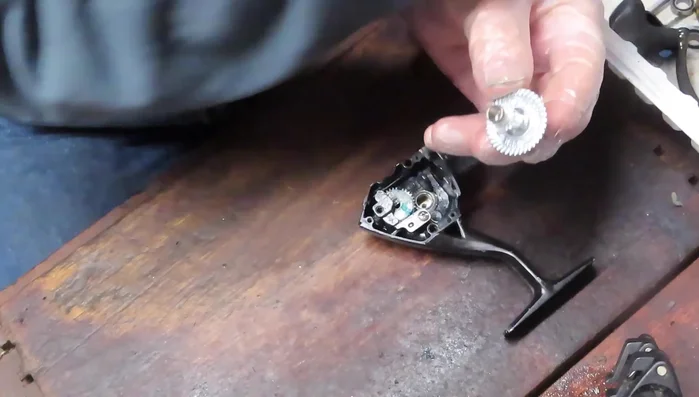
Prepare Components Assemble Main Gear Assembly
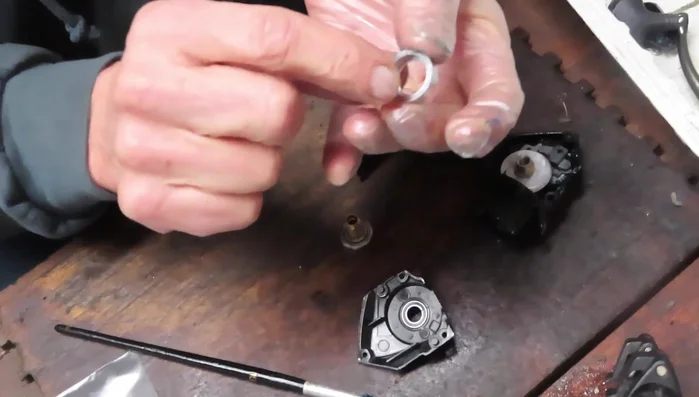
- Install the main gear, adding grease to the main gear shaft. Then add a washer.
- Add a spacer washer, followed by a bearing (with grease on both sides of the shaft).
- Install the first bearing shield.
- Install the anti-reverse clutch (teflon side down).
Assemble Main Gear Assembly - Install the second bearing (indentation down).
Assemble Main Gear Assembly Install Main Gear Assembly into Case
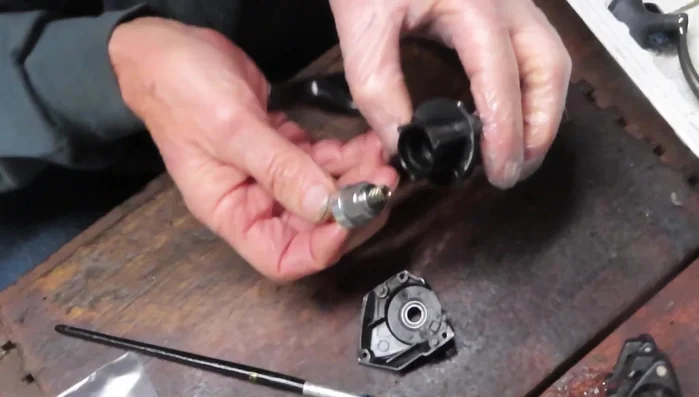
- Place the assembly into the case, aligning the main gear. Add the collar and screws, partially tightening.
- Install the washer on top of the bearing, followed by the cap (hand tighten).
- Install the tie-down screw.
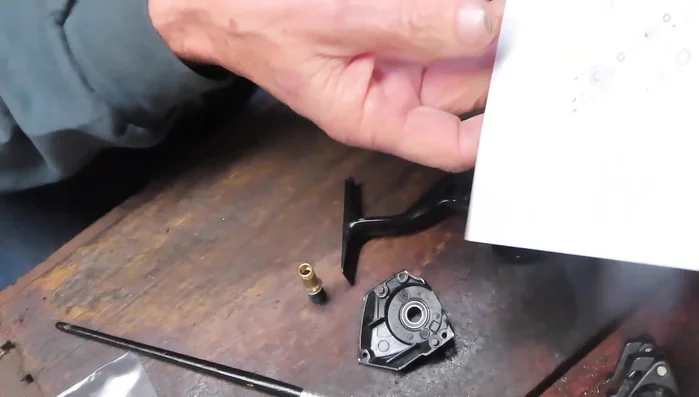
Install Main Gear Assembly into Case Install Axle and Pinion Gear
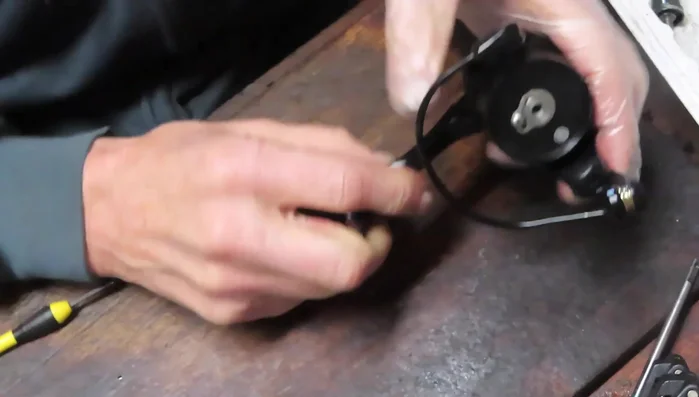
- Re-insert the crosswind block (stud towards the bottom).
- Grease the axle shaft and insert it through the pinion gear and bushing. Secure with a screw.
Install Axle and Pinion Gear Final Assembly
- Attach the case with three long screws and a bump guard screw.
- Attach the handle and spool.
Final Assembly


Read more: Ultimate Fishing Reel Cleaning & Maintenance Guide: Prevent Corrosion & Extend Reel Life
Tips
- Use a schematic diagram to ensure correct part placement.
- Don't over-tighten the cap; it's self-limiting.
- Pay attention to small details; they matter.
- Use the correct type of screw (flathead for the axle shaft).
- Do not oil the anti-reverse clutch.