Your fishing reel is a precision instrument, vital to your success on the water. But saltwater, grime, and neglect can quickly take their toll, leading to corrosion, decreased performance, and ultimately, a costly replacement. Protecting your investment and ensuring smooth operation for years to come requires diligent cleaning and maintenance. Ignoring this crucial aspect can mean the difference between landing that trophy fish and watching it swim away due to a malfunctioning reel. Regular care significantly extends the lifespan of your reel, enhancing its performance and saving you money in the long run.
This comprehensive guide will walk you through a step-by-step process of cleaning and maintaining your fishing reel, covering everything from basic cleaning techniques to tackling stubborn corrosion. We’ll explore the essential tools and supplies you'll need and address common problems encountered by anglers. Let's dive in and learn how to keep your fishing reel in top shape.
Preparation and Safety Guidelines
- Fishing reel
- Fresh water
- Light spray
- Q-tips
- Grease (thick, waterproof)
- Paper towel
- Screwdrivers (appropriate sizes)
- 11mm socket or wrench
- Always disconnect the reel from the rod before cleaning and maintenance to prevent accidental damage.
- Never use abrasive cleaners or solvents that can damage the reel's components or its finish. Use only reel-specific lubricants and cleaners.
- If you are unsure about any step of the cleaning or maintenance process, consult your reel's manual or a professional repair service.
Step-by-Step Instructions
Initial Cleaning
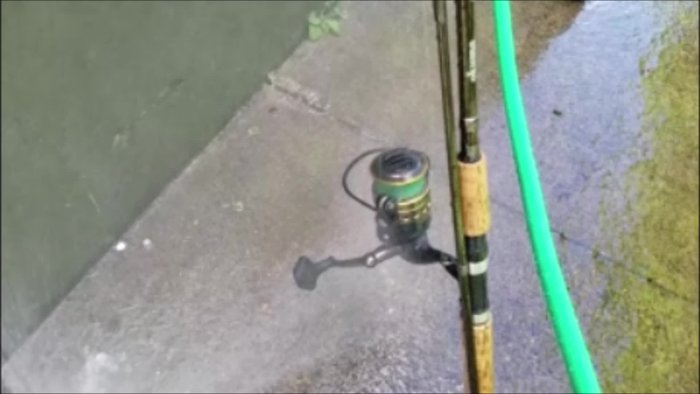
- Rinse the reel after every saltwater fishing trip.

Initial Cleaning Pre-Disassembly
- Let the reel dry for 24 hours before disassembling.
Pre-Disassembly Disassemble Handle and Spool
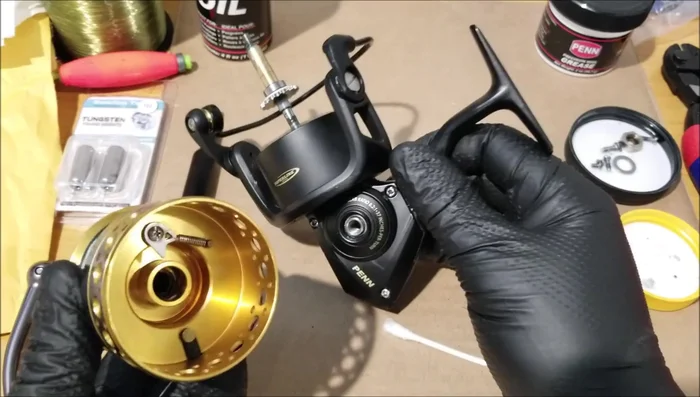
- Remove the handle (unscrew counterclockwise). Inspect the handle collar for sand; remove with a Q-tip if necessary.
- Remove the spool. Inspect the inside for sand; remove with a Q-tip if necessary.
Disassemble Handle and Spool Inspect and Clean Main Components
- Inspect the rotor for sand; remove any found.
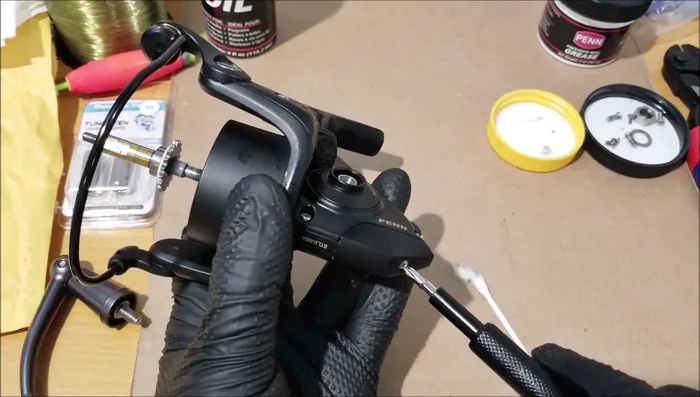
- Inspect the bail for sand in the grooves. If sand is present and causes grinding, remove the screw to clean.
Inspect and Clean Main Components Remove Side Plate and Inspect
- Remove the side plate (four screws). Visually inspect for sand; remove with a Q-tip if necessary.
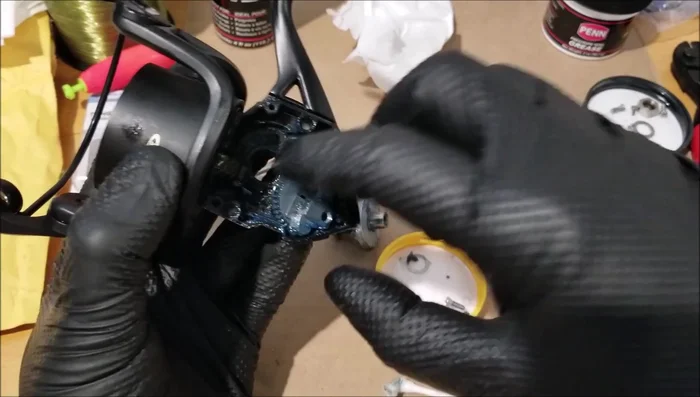
Remove Side Plate and Inspect Remove and Clean Center Pin and Bearings
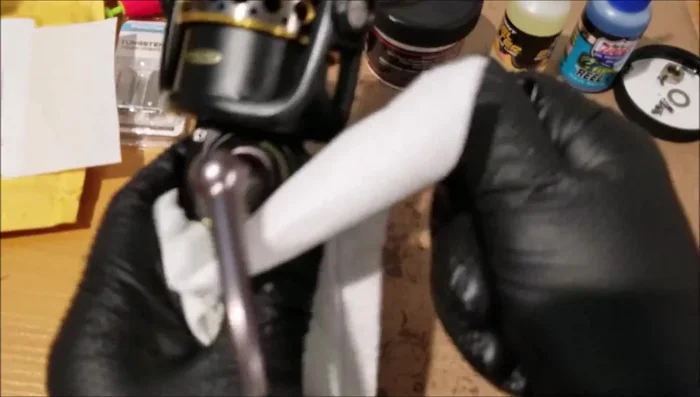
- Remove the center pin (remove screw first). Remove the small washer carefully. Wipe clean with tissue paper.
Remove and Clean Center Pin and Bearings Remove and Clean Sprocket and Gears
- Remove the sprocket and gears. Inspect for sand; remove and apply grease if necessary.
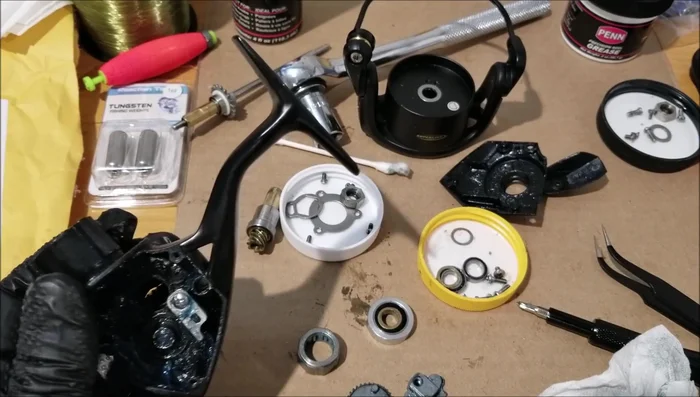
Remove and Clean Sprocket and Gears Inspect and Clean Reel Body
- Visually inspect the reel body for sand and grease. Add more grease if needed. Remove sand with Q-tip.
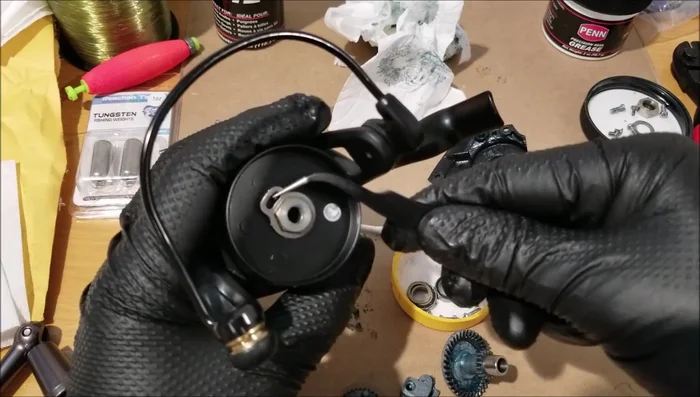
Inspect and Clean Reel Body Disassemble and Clean Rotor
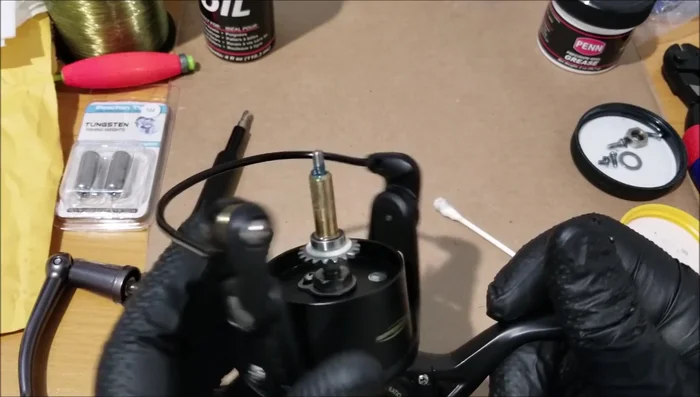
- Remove the rotor (remove small screw first), then remove the inner components using an 11mm socket. Inspect for sand.
Disassemble and Clean Rotor Reassembly and Lubrication
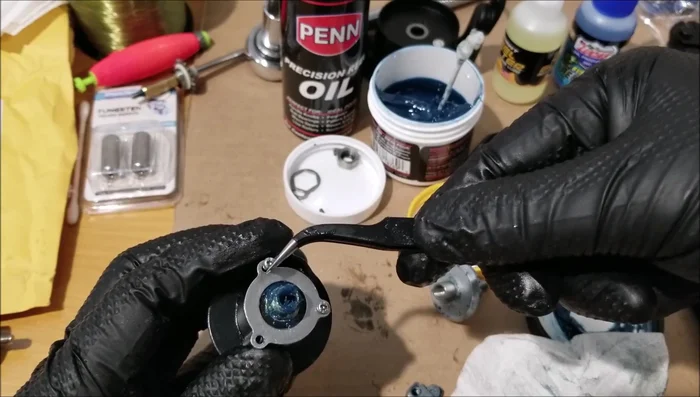
- Clean all parts and reassemble, applying grease liberally to all gears and bearings.
- Reassemble the reel, tightening screws gradually and evenly. Ensure proper alignment of all parts.
Reassembly and Lubrication Final Cleaning
- Wipe excess grease from the reel body.
Final Cleaning


Read more: How to Fix a Sandy Fishing Reel: A Quick and Easy Guide
Tips
- Use a light spray of freshwater to rinse, avoid high-pressure jets.
- Grease is better than oil for waterproofing.
- Don't lose the small washer during disassembly.
- Tighten screws gradually to ensure even pressure and avoid damage.