Landing that trophy fish often hinges on the strength and reliability of your fishing leader. A poorly crimped leader can mean the difference between a successful catch and a heartbreaking snap. Far too many anglers struggle with inconsistent crimps, leading to lost fish and wasted time. But achieving a perfect crimp every single time isn't about luck; it's about mastering the right technique and understanding the crucial details. A strong, secure crimp is essential for maintaining the integrity of your leader, ensuring your connection to the lure or fly remains unbroken even under intense pressure.
This guide will walk you through a step-by-step process, demystifying the art of crimping and equipping you with the knowledge to confidently create flawlessly secure connections. We’ll cover everything from selecting the appropriate crimping tool and leader material to executing the perfect crimp, ensuring your leader holds up to the challenge, no matter how hard the fight. Let’s get started and learn how to achieve a perfect crimp every time!
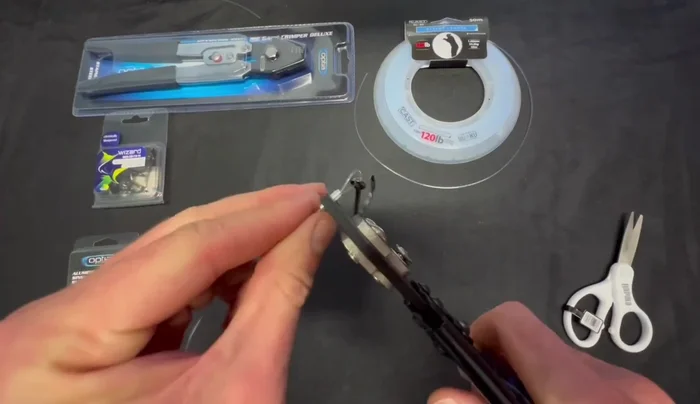
Preparation and Safety Guidelines
- 120-pound leader (1mm diameter)
- 1mm crimps
- Crimping pliers with holes (not teeth)
- Knife or cutters
- Always use crimp sleeves designed for the diameter of your leader material. Using the wrong size can lead to weak crimps and leader failure.
- Never crimp over a knot. Crimp only on bare leader material for maximum strength and reliability.
- Inspect each crimp carefully after squeezing. If it looks deformed, uneven, or the sleeve isn't fully closed, re-crimp or discard and try again with a new sleeve.
Step-by-Step Instructions
Prepare the Leader
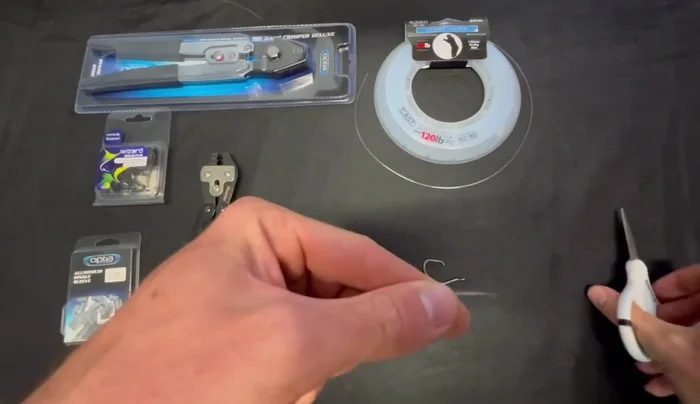
- Cut the end of the leader at a 45-degree angle.

Prepare the Leader Position the Crimp
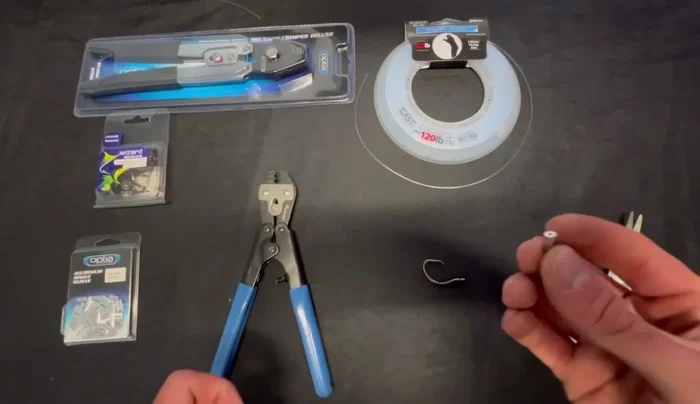
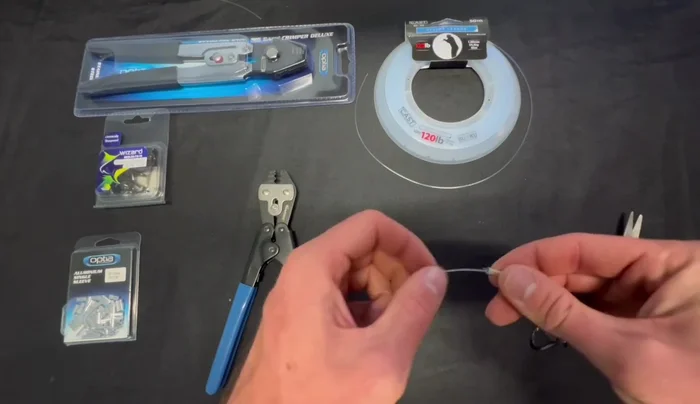
- Place the crimp onto the leader.
- Adjust the crimp to your desired length above the hook.
Position the Crimp Attach Hook/Swivel
- Attach your hook or swivel (in this case, a circle hook) through the leader and crimp.
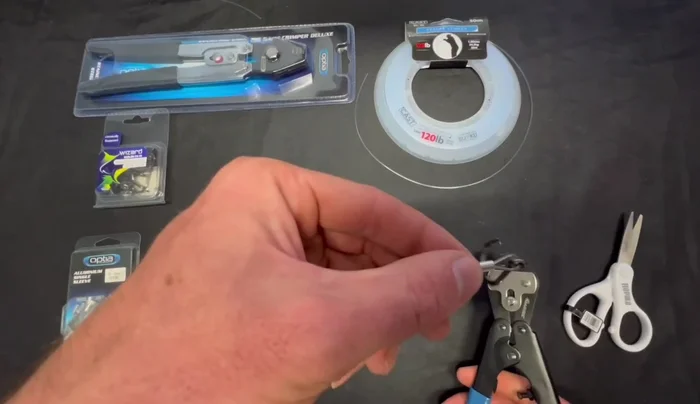
Attach Hook/Swivel Crimp the Connection
- Turn the crimp so the deep side faces up. Crimp using the crimping pliers, starting from the edge and working inwards, to avoid cutting into the fishing line.
- Repeat crimping from the other end. Ensure both sides are well crimped.
Crimp the Connection

Read more: Eliminate Knots & Loops in Your Spinning Reel: The Ultimate Fishing Tip
Tips
- Use crimping pliers with holes, not teeth, for a clean crimp. Each hole size corresponds to a specific crimp size.
- A 45-degree angle cut on the leader helps the crimp slide on more easily.
- Crimp from the edge inwards to prevent damaging the fishing line. The small flange on the crimp helps prevent this.
- After crimping, test your connection by applying stress (carefully!) to ensure the crimp holds securely.