Fly fishing demands a reliable fly line, and a flawlessly welded loop is crucial for seamless connection to your leader. A broken or poorly formed loop can lead to frustrating lost casts and ultimately, lost fish. Whether you're tying on a new leader, replacing a damaged loop, or simply want to improve the efficiency of your setup, mastering the art of creating or repairing a welded loop is a valuable skill for any angler. A strong, even loop ensures smooth transitions and prevents those agonizing moments of line failure at the critical juncture.
This guide will equip you with the knowledge and techniques to create or mend a welded loop with confidence, eliminating the guesswork and frustration often associated with this crucial aspect of fly fishing preparation. We'll cover everything from the necessary tools and materials to a detailed, step-by-step process for achieving a perfect, reliable loop that will enhance your fly fishing experience. Let's dive into the process, step by step.
Preparation and Safety Guidelines
- Heat shrink tubing (3/32" or 1/8" depending on fly line size)
- Lighter
- Always use appropriate safety glasses to protect your eyes from sparks and potential line breakage.
- Ensure the welding area is well-ventilated to avoid inhaling fumes. Welding materials can produce hazardous gases.
- Use a low heat setting and short welding bursts to prevent melting or damaging your fly line. Practice on scrap line first.
Step-by-Step Instructions
Prepare the Fly Line
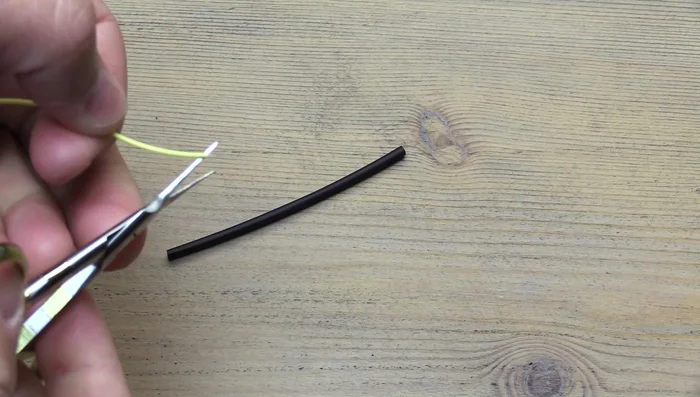
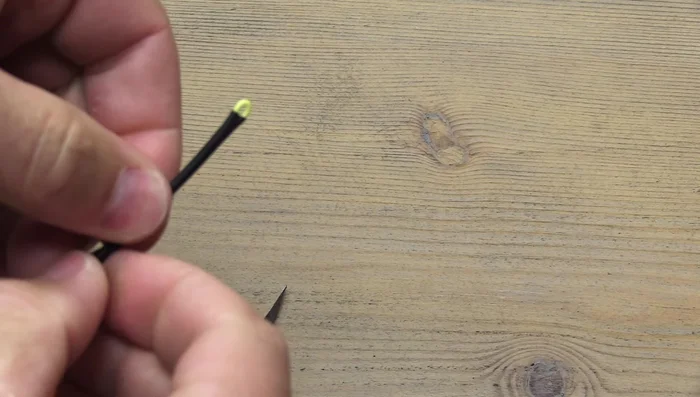
- Cut the tip of your broken fly line at a slight angle.
- Fold over about an inch of the fly line.

Prepare the Fly Line Prepare the Heat Shrink Tubing
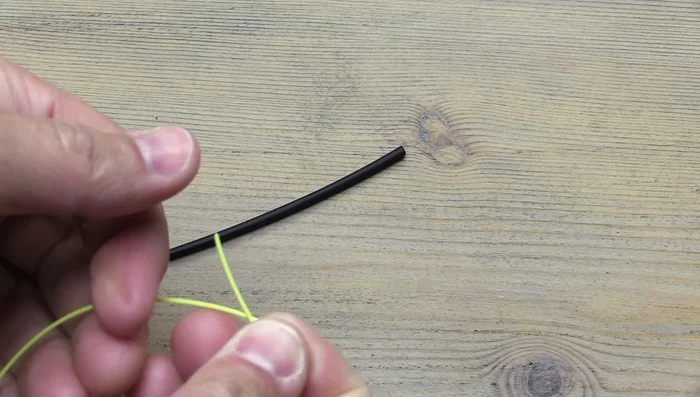
- Cut a piece of heat shrink tubing long enough to cover the majority of the loop and extend past the tag end.
Prepare the Heat Shrink Tubing Apply and Shrink the Tubing
- Slide the heat shrink tubing onto the folded fly line, leaving a small portion of the loop exposed.
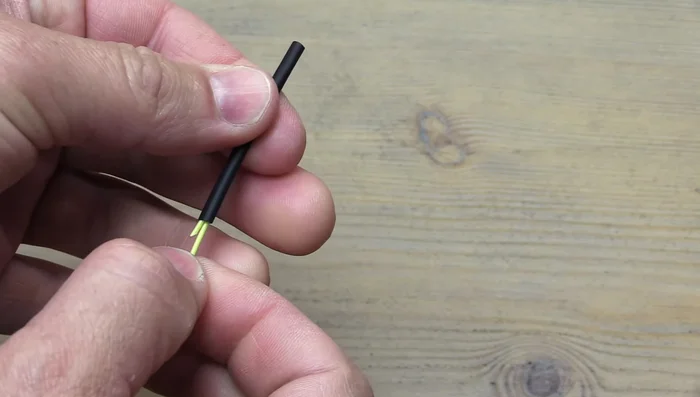
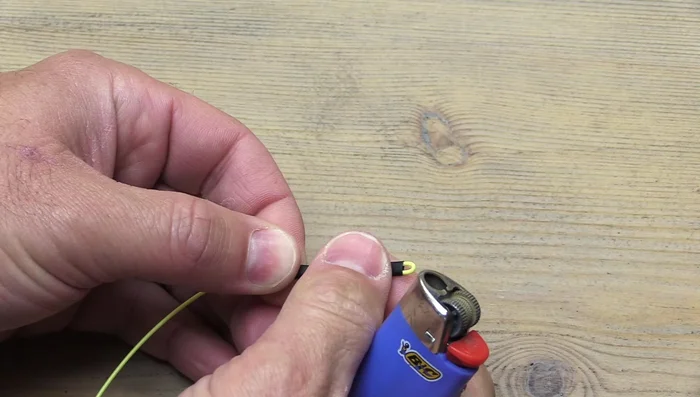
- Using a lighter, evenly heat the heat shrink tubing to shrink it around the fly line. Avoid heating the fly line itself at this stage.
Apply and Shrink the Tubing Weld the Loop
- Gently heat the loop itself with the side of the flame, avoiding direct heat, until it slightly wilts. Do not overheat.
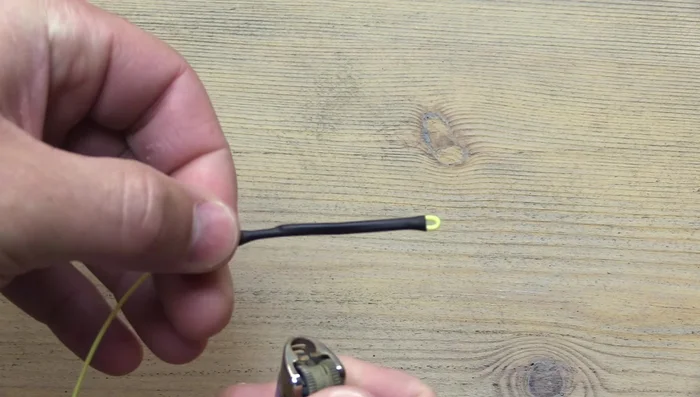
Weld the Loop Cool and Finish
- Allow the loop to cool.
- Carefully remove excess heat shrink tubing by peeling it away.
Cool and Finish
Read more: Eliminate Knots & Loops in Your Spinning Reel: The Ultimate Fishing Tip
Tips
- Only fuse the top layer of the fly line; avoid burning the Dacron core.
- Don't heat the loop directly; use the side of the flame for better temperature control.
- If the loop starts to wilt, you're using the right amount of heat. If it drops quickly, you've overheated it.
- Stretch the loop slightly while heating to keep it straight.
- A slight burn mark at the bottom of the loop is acceptable.