Landing that trophy fish often hinges on one crucial element: a reliable knot. A poorly tied knot can mean the difference between a thrilling catch and a heartbreaking loss. For anglers seeking a strong, dependable connection between line and lure, the Uni Knot reigns supreme. Its simple elegance belies its surprising strength and versatility, making it a favorite among both seasoned professionals and enthusiastic beginners. This knot excels with a wide variety of lines and lures, ensuring a secure hold even under intense pressure.
This comprehensive tutorial will guide you through the step-by-step process of tying the perfect Uni Knot, equipping you with the confidence to tackle any fishing challenge. From understanding the essential elements to mastering the precise techniques, we'll cover everything you need to know to confidently tie this invaluable knot. Let's get started and learn how to tie the Uni Knot, a knot you can depend on for years to come.
Preparation and Safety Guidelines
- fishing line
- hook or lure
- hook
- lure
- Always wet your line before tying the Uni knot. Dry line is more prone to friction and breakage during tightening.
- Ensure the tag end is at least 6 inches long for sufficient wraps and secure tightening. A shorter tag end risks a weak knot.
- After tightening, carefully check the knot for any loose wraps or imperfections. If found, re-tie the knot for maximum strength and reliability.
Step-by-Step Instructions
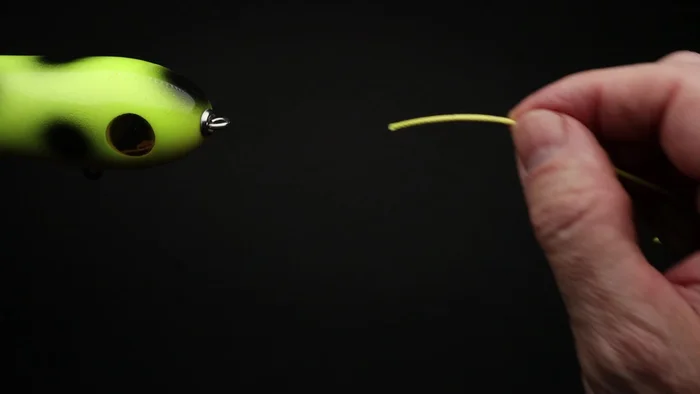
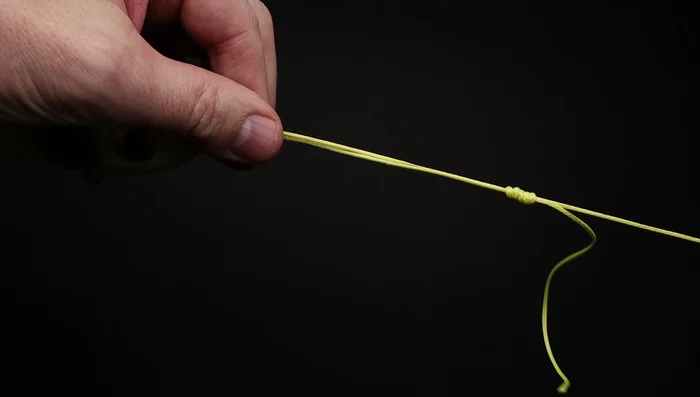
Prepare the Line
- Run the end of the line through the eye of your hook or lure.
- Pull through about eight to ten inches of line.

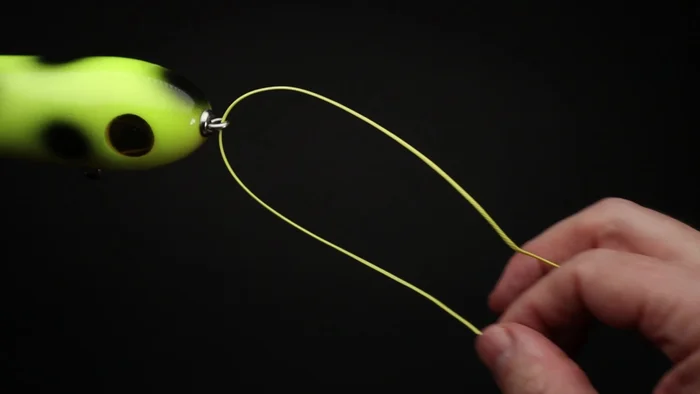
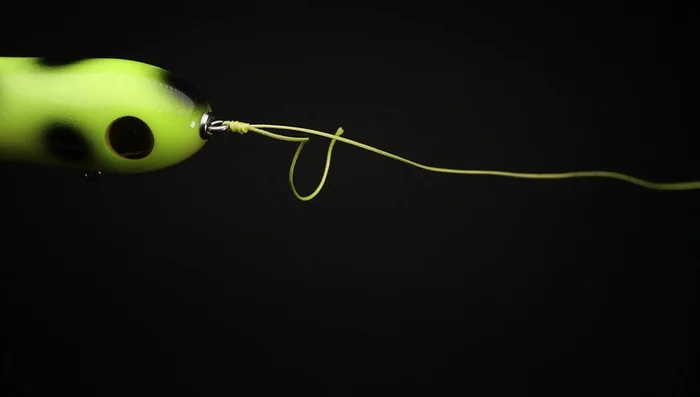
Prepare the Line Form the Initial Knot
- Pinch the two lines together at the eye of your hook or lure.
- Create a loop by laying the end of the line over the main line and pinch all three lines together.
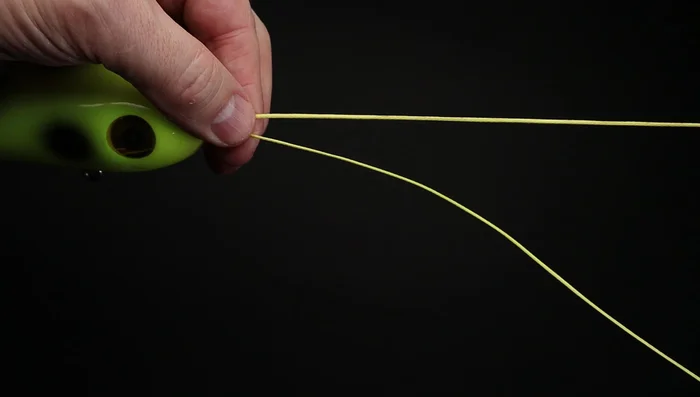
Form the Initial Knot Wrap the Line
- Bring the end of the line down through the loop and wrap it around both lines six to eight times (six for heavier lines, seven to eight for lighter lines).
Wrap the Line Initial Tightening
- Pull on the end of the line just until the knot forms, being careful not to tighten the knot down yet.
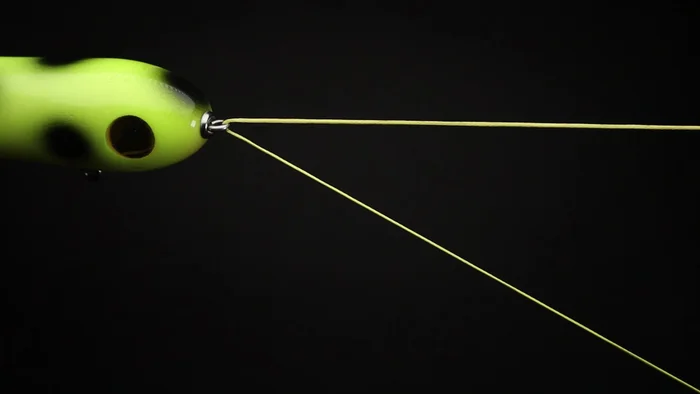
Initial Tightening Position and Tighten
- Let go of the end of the line and pull on the main line until the knot reaches the eye of your hook or lure.
- Give a light pull on the end of the line, then switch to the main line and pull firmly to tighten the knot.
Position and Tighten Finish
- Trim off the end of the line.
Finish


Read more: Eliminate Knots & Loops in Your Spinning Reel: The Ultimate Fishing Tip
Tips
- For heavier lines, six wraps are sufficient; for lighter lines, use seven to eight wraps.
- Be careful not to tighten the knot down completely until the final step.