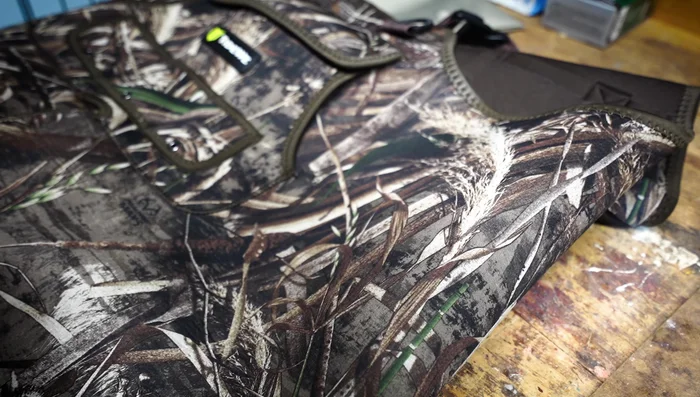
Neoprene waders are a vital piece of equipment for anglers, hunters, and anyone working or playing in wet environments. Their durability and waterproof nature make them invaluable, but even the toughest waders are susceptible to punctures, tears, and general wear and tear. A small hole can quickly ruin a day outdoors, leading to discomfort and potentially even dangerous situations. Fortunately, repairing neoprene waders is often simpler than you might think, saving you the cost and hassle of replacing a perfectly good pair.
This guide offers a comprehensive, step-by-step approach to effectively patching even the most challenging neoprene wader damage. Whether you're dealing with a small puncture, a significant tear, or general abrasion, we'll equip you with the knowledge and techniques to get your waders back in top shape. Let's dive into the process and get your waders ready for their next adventure.
Preparation and Safety Guidelines
- Neoprene Wader Repair Kit (patch, glue)
- Dry Cloth
- Something heavy (for weighting the patch)
- Always work in a well-ventilated area. Neoprene cement and other repair materials can release strong fumes.
- Clean the repair area thoroughly before applying any adhesive. Dirt, debris, and moisture will prevent proper bonding.
- Allow ample drying time between steps. Rushing the process can lead to a weak and ineffective repair.
Step-by-Step Instructions
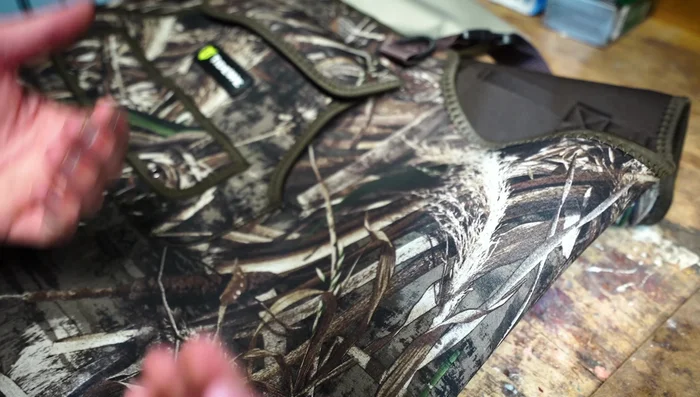
Locate and Prepare the Leak
- Locate the leak by wearing waders in water and checking for wet spots.
- Turn the waders inside out to access the leak.
- Clean the area around the leak with a dry cloth to remove any debris.

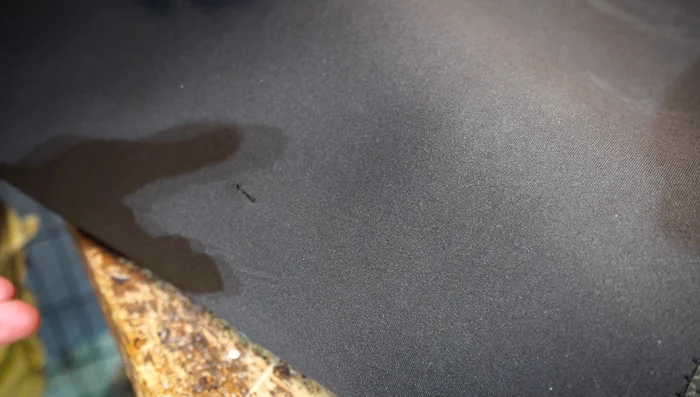
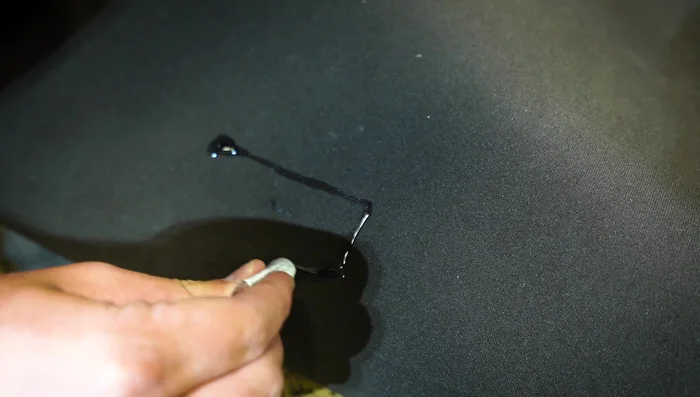
Locate and Prepare the Leak Seal the Cut
- Apply a minimal amount of glue to both sides of the cut. Press the cut together and hold firmly for about a minute.
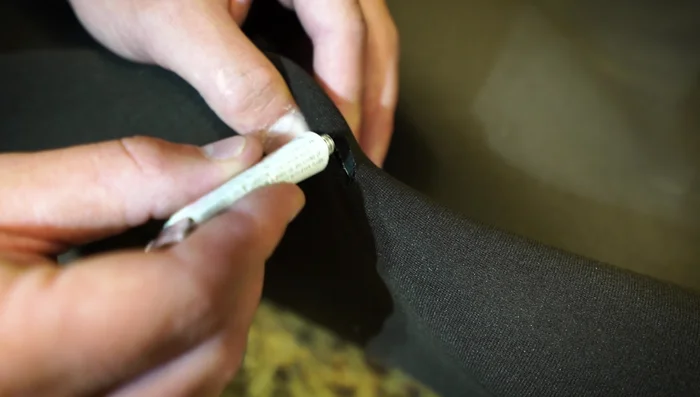
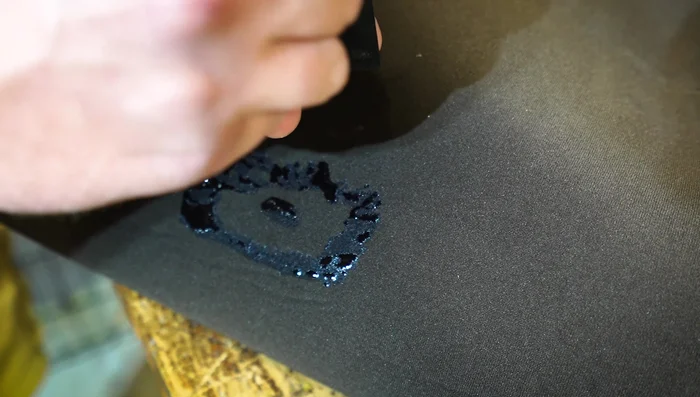
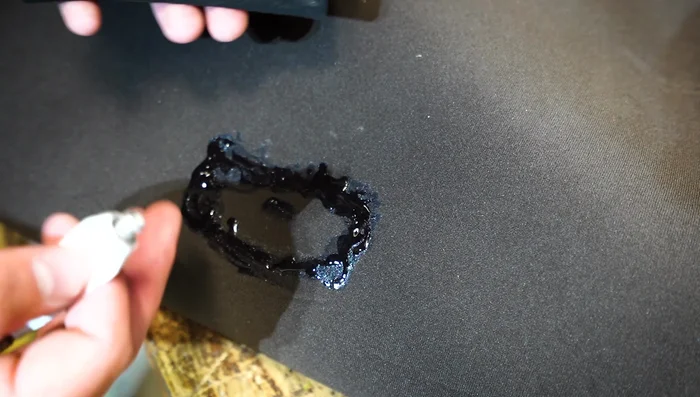
Seal the Cut Apply Glue to Wader and Patch
- Trace the outside of the patch with glue on the inside of the waders, ensuring even coverage.
- Apply glue to the patch itself.
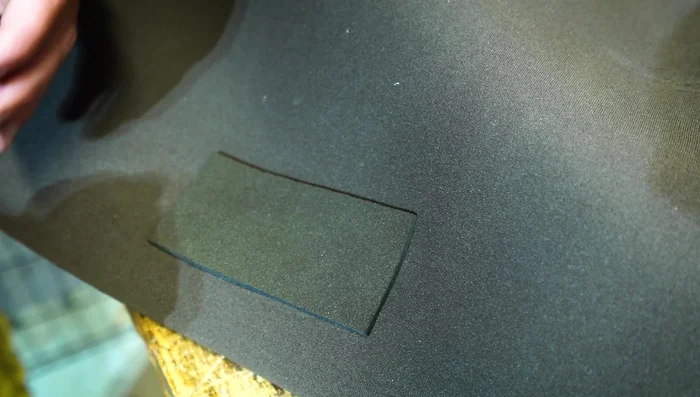
Apply Glue to Wader and Patch Apply and Secure the Patch
- Wait 3-5 minutes for the glue to become tacky.
- Place the patch over the cut and press down firmly. Place something heavy on top for about three hours.
Apply and Secure the Patch
Read more: DIY Wader Dryer: The Fastest & Cheapest Way to Dry Your Waders
Tips
- Ensure the area is clean before applying glue for optimal adhesion.
- Apply glue evenly to both the wader and patch for a strong, lasting repair.
- Allow sufficient drying time (3 hours) with weight applied for the best results.