A torn net bag on your fly fishing net is more than just an aesthetic annoyance; it's a potential loss of precious catches and a frustrating disruption to your day on the water. Replacing an entire net can be costly and inconvenient, especially when the damage is minor. Fortunately, a simple and effective repair is within reach, even without specialized sewing skills. This surprisingly robust solution utilizes the power of heat to create a strong, long-lasting mend, saving you time, money, and the frustration of a compromised net.
Forget cumbersome stitching and clumsy knots; this article details a quick and easy heat-welding method to repair tears in your fly fishing net bag. Using readily available household tools, you can swiftly restore your net to its former glory, ensuring you're prepared for your next angling adventure. For a step-by-step guide to achieving a professional-looking repair, read on!
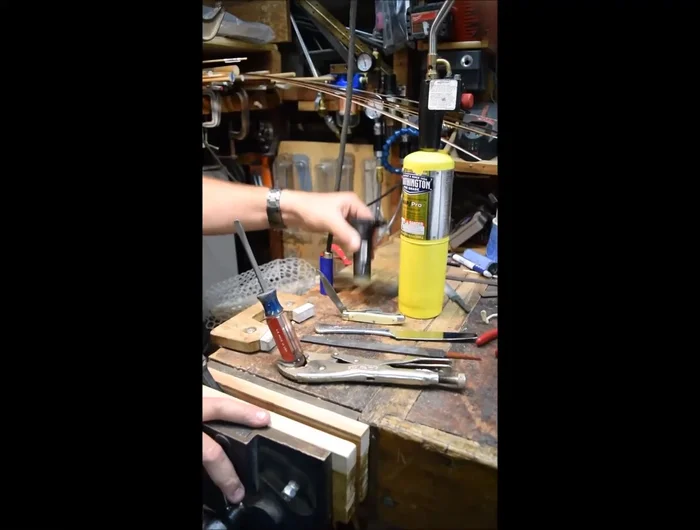
Preparation and Safety Guidelines
- Heat source (soldering iron, butane torch, lighter, gas stove)
- Flat piece of metal (butter knife, pocket knife, file)
- Vise grips (optional)
- Always use appropriate safety gear, including eye protection, when working with a heat source near your face.
- Ensure adequate ventilation to avoid inhaling fumes from the melting mesh. Work in a well-ventilated area or outdoors.
- Test the heat on a scrap piece of mesh material first to determine the optimal heat setting and avoid burning a hole in your net.
Step-by-Step Instructions
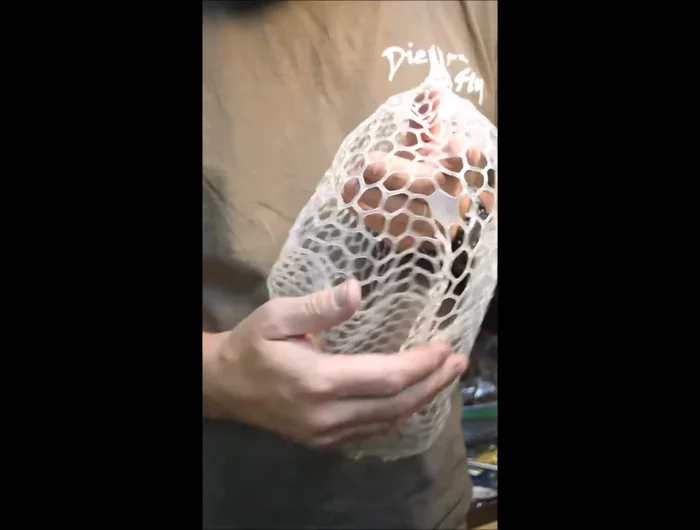
Prepare for Repair
- Prepare your tools and the torn net bag. Identify the torn edges.
Heat the Tool
- Heat your flat piece of metal using your chosen heat source. Aim for a temperature where the net material will melt, but avoid overheating (blackening indicates excessive heat).

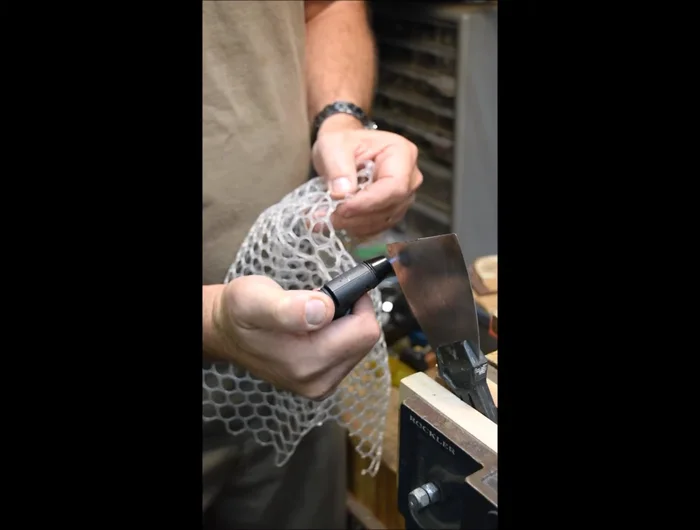
Heat the Tool Melt and Join
- Quickly apply the heated metal to both edges of the tear, pressing them together firmly. You should see melting and smoke.
- Slide the melted edges together, creating a smooth joint. Hold firmly for 15-20 seconds to allow the material to cool and solidify.
Melt and Join Cool the Joint
- Blow on the joint or apply a small amount of saliva to accelerate cooling.
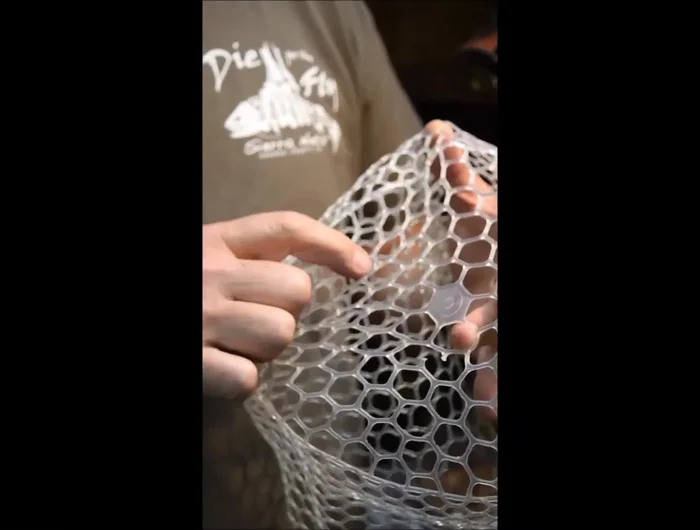
Cool the Joint Inspect the Repair
- Inspect the repair. The joint should be strong and smooth, resembling the original net material.
Inspect the Repair
Read more: How to Repair Damaged Monofilament Heron Nets: A Step-by-Step Guide
Tips
- Don't overheat the net material; this will damage it.
- Work efficiently to avoid the metal cooling before you can complete the joint.
- Use a thin blade to avoid holding excess heat.