Heron nets, essential for protecting fish ponds and aquaculture facilities from these elegant but voracious birds, are often subjected to wear and tear. Strong winds, accidental snagging, and the sheer force of a determined heron can all lead to damage, compromising the net's effectiveness and potentially resulting in significant fish loss. Repairing these seemingly delicate monofilament nets might seem daunting, but with the right approach and a few simple tools, even substantial damage can be mended effectively. This is crucial for maintaining the integrity of your protective barrier and safeguarding your valuable fish stock.
This guide provides a comprehensive, step-by-step process to repair damaged monofilament heron nets, from identifying the type of damage to selecting the appropriate repair materials and techniques. Whether you're dealing with small tears or larger holes, following the instructions below will allow you to quickly and efficiently restore your heron net to its optimal protective function.
Preparation and Safety Guidelines
- Nippers
- Always wear appropriate safety gloves and eye protection when handling damaged monofilament. The thin, sharp strands can easily cause cuts.
- Never attempt repairs while the net is in use or near water. Ensure the net is completely dry and safely secured before starting repairs.
- Dispose of any severely damaged sections responsibly. Do not attempt to reuse heavily degraded or knotted areas; they pose a significant risk to wildlife.
Step-by-Step Instructions
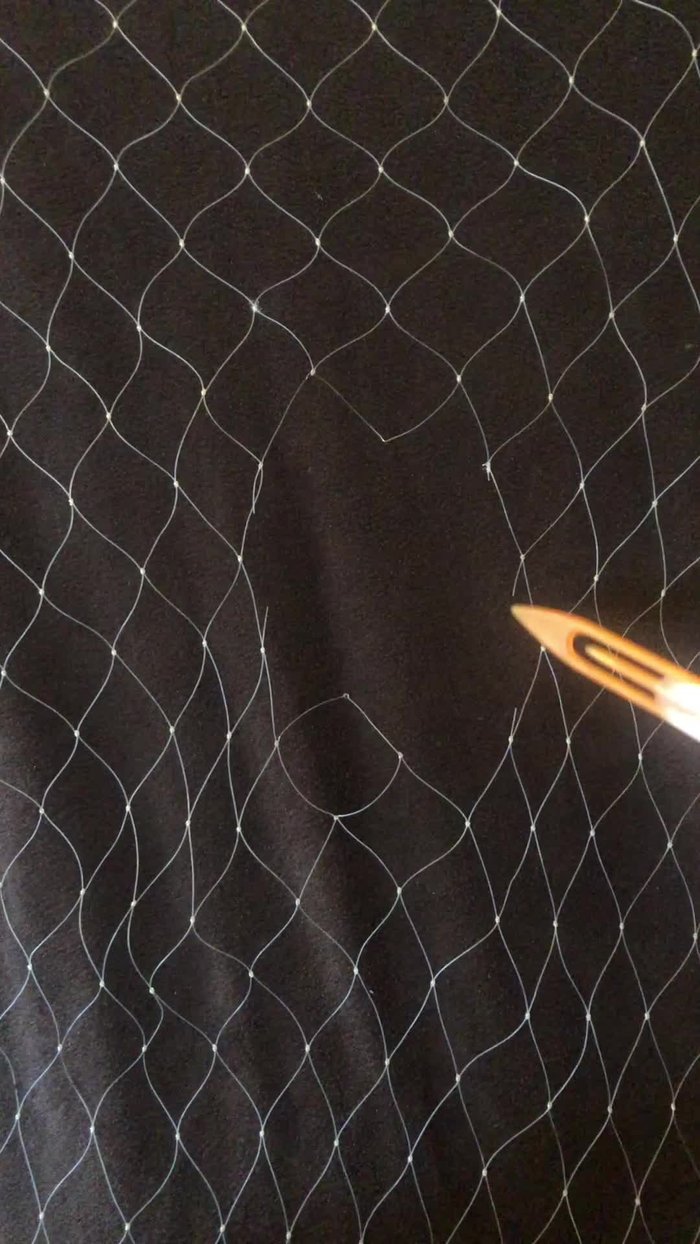
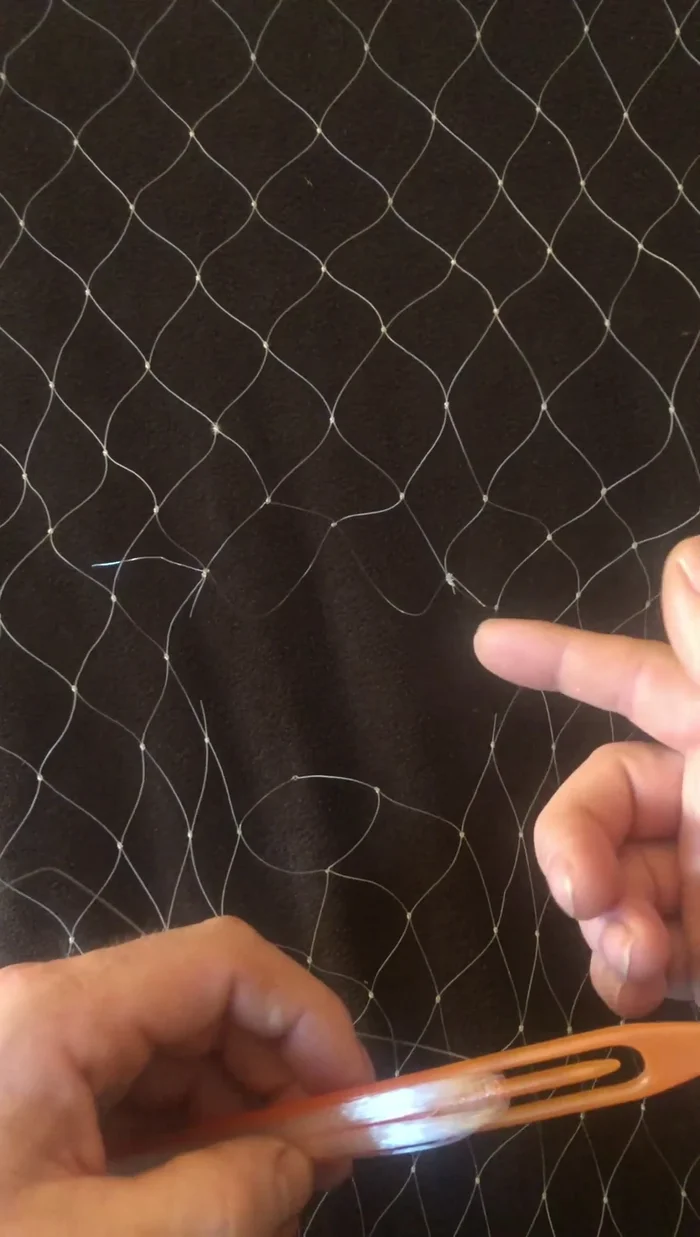
Prepare the Net
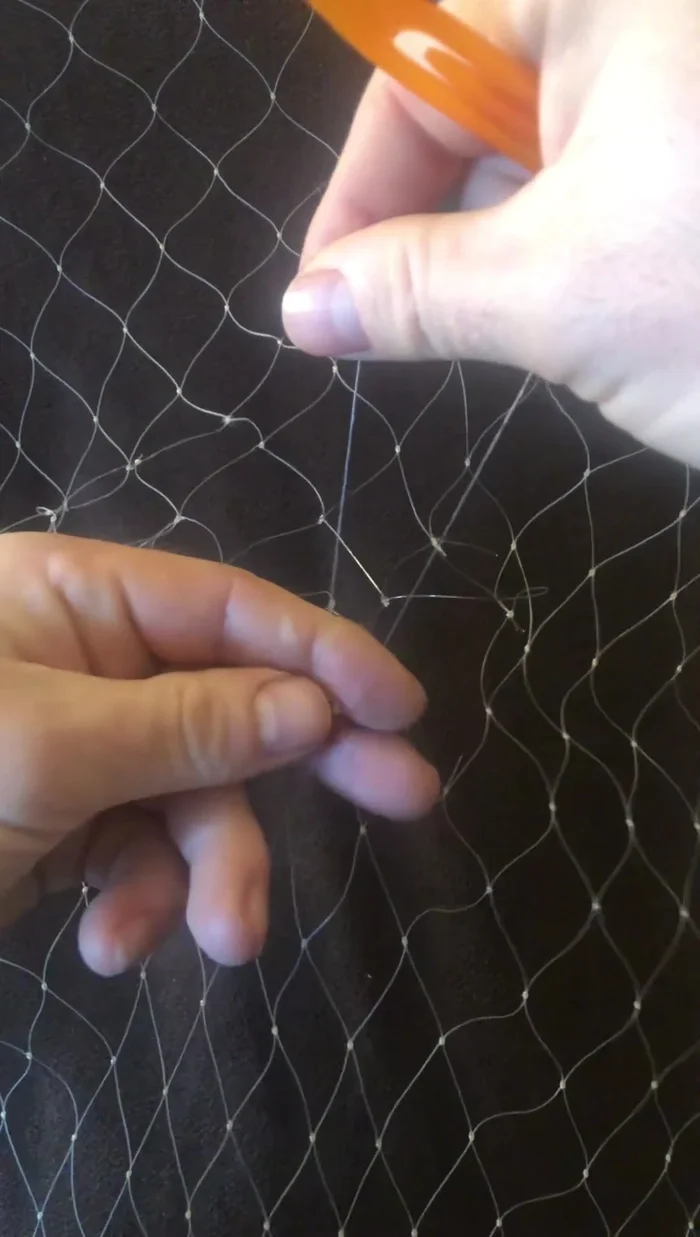
- Trim away scraggly bits, leaving a basic hull.

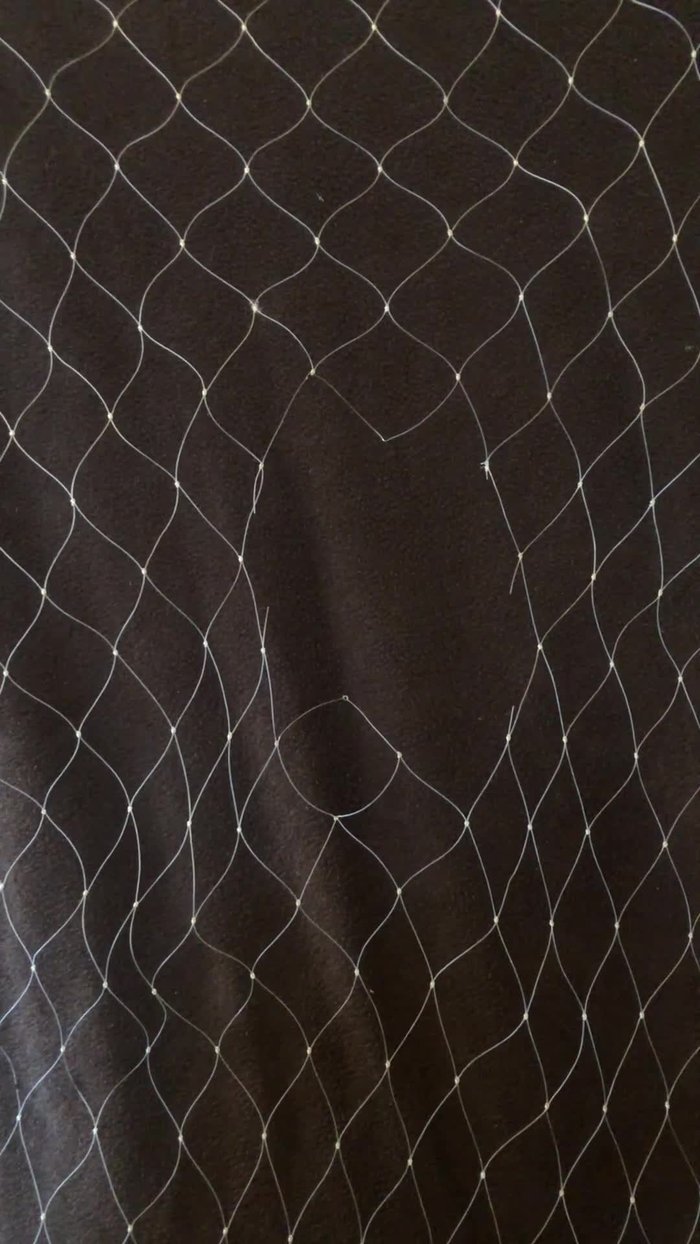
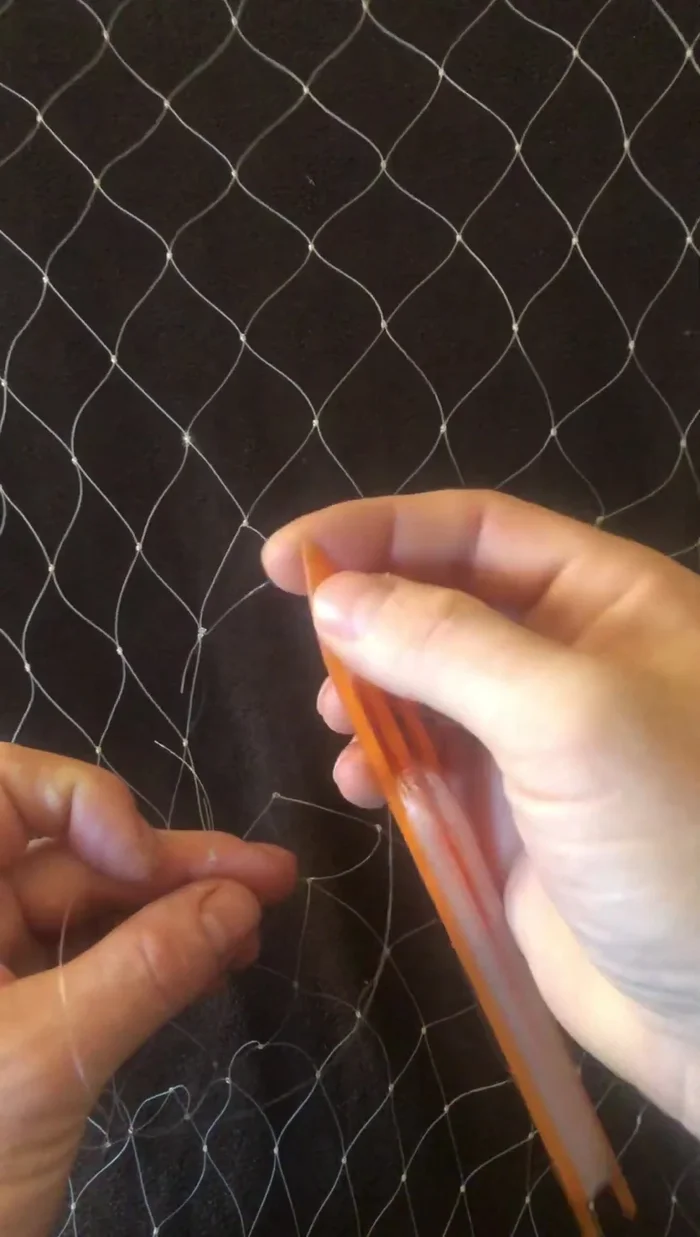
Prepare the Net Initial Sheet Bends
- Create a double sheet bend on all damaged meshes.
- For the first sheet bend, use the adjacent mesh as a guide. Aim for a slightly larger than the original mesh to avoid distortion.
- Repeat step 3 for the second sheet bend, pulling tight.
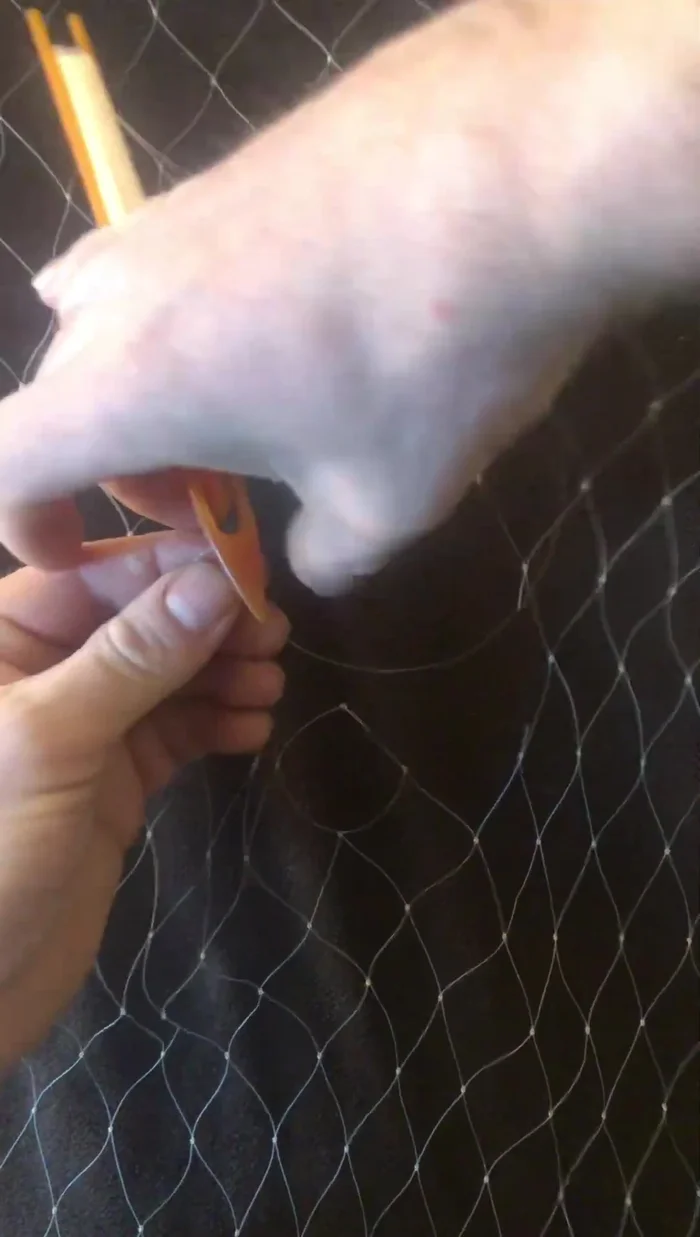
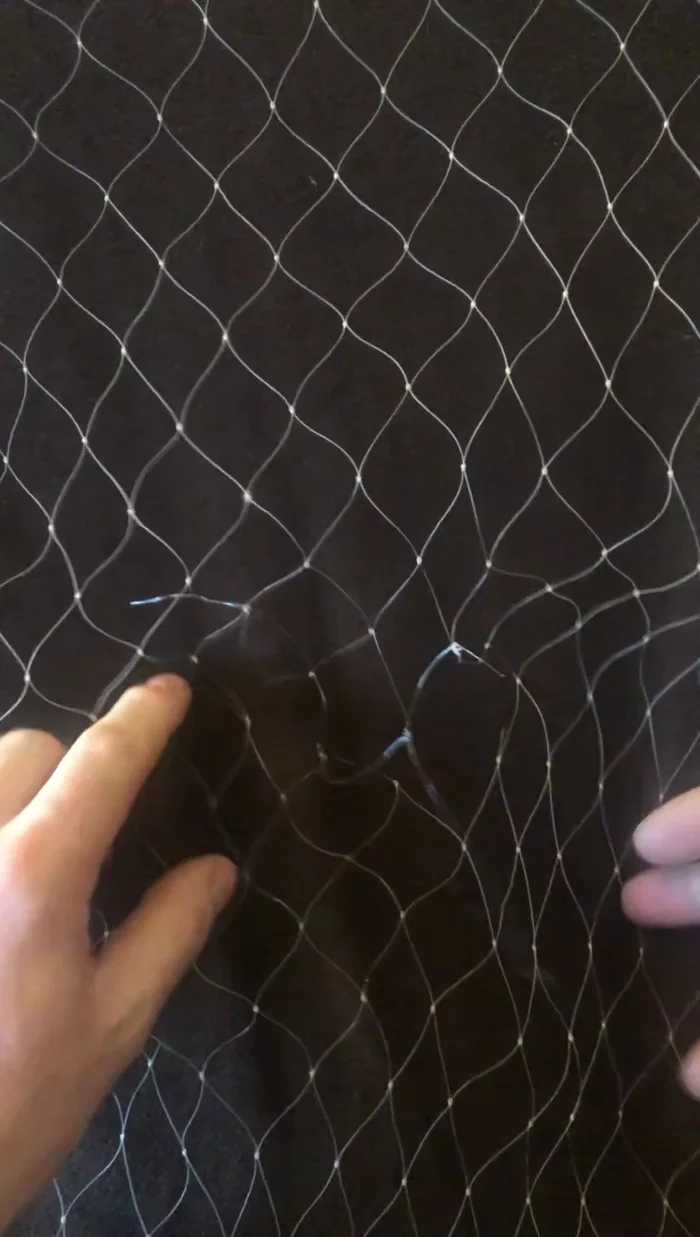
Initial Sheet Bends Complete Mesh Repair
- Complete the mesh repair by using the adjacent mesh as a guide to create new meshes, ensuring they are slightly larger than the original mesh to prevent distortion.
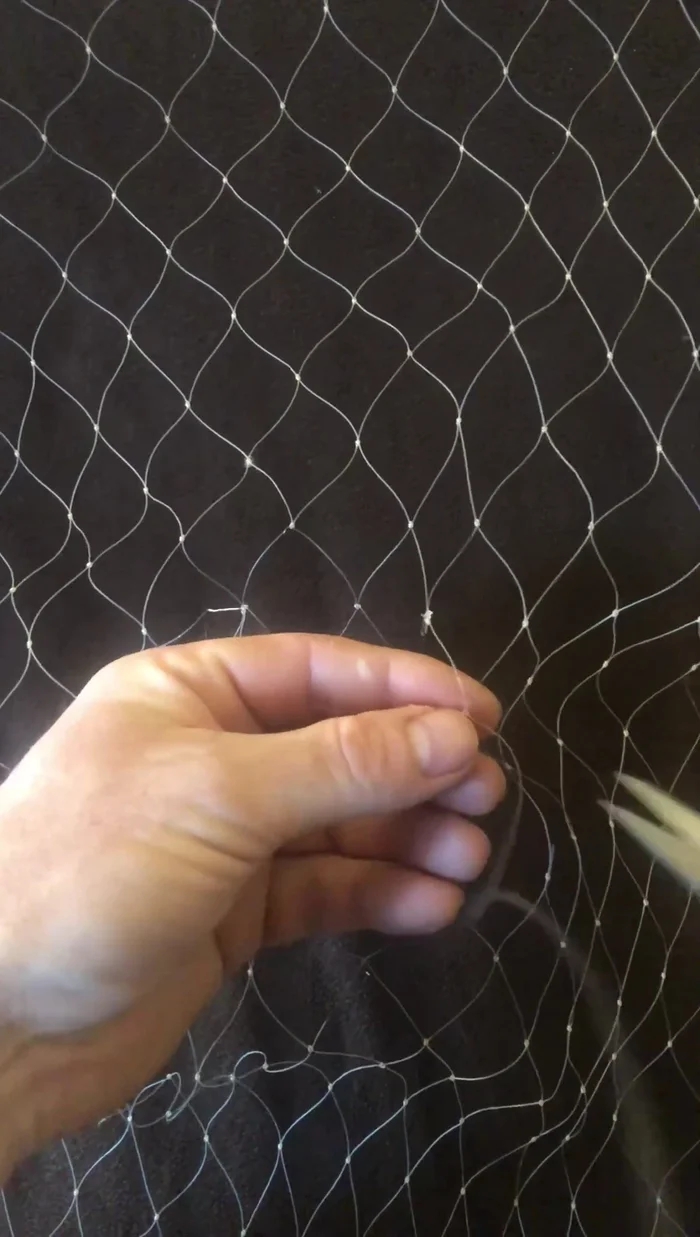
Complete Mesh Repair Secure and Trim
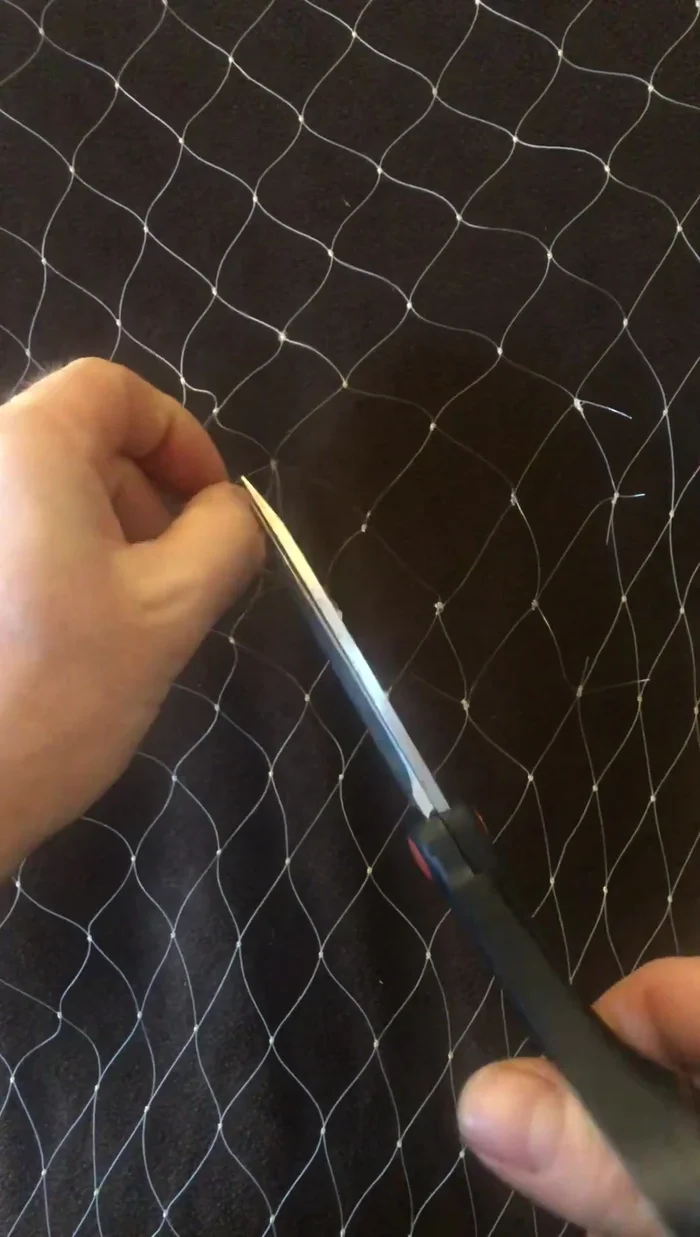
- Cut off excess monofilament, leaving a half-inch tail to prevent fraying. Fold back the short end to make it stiffer.
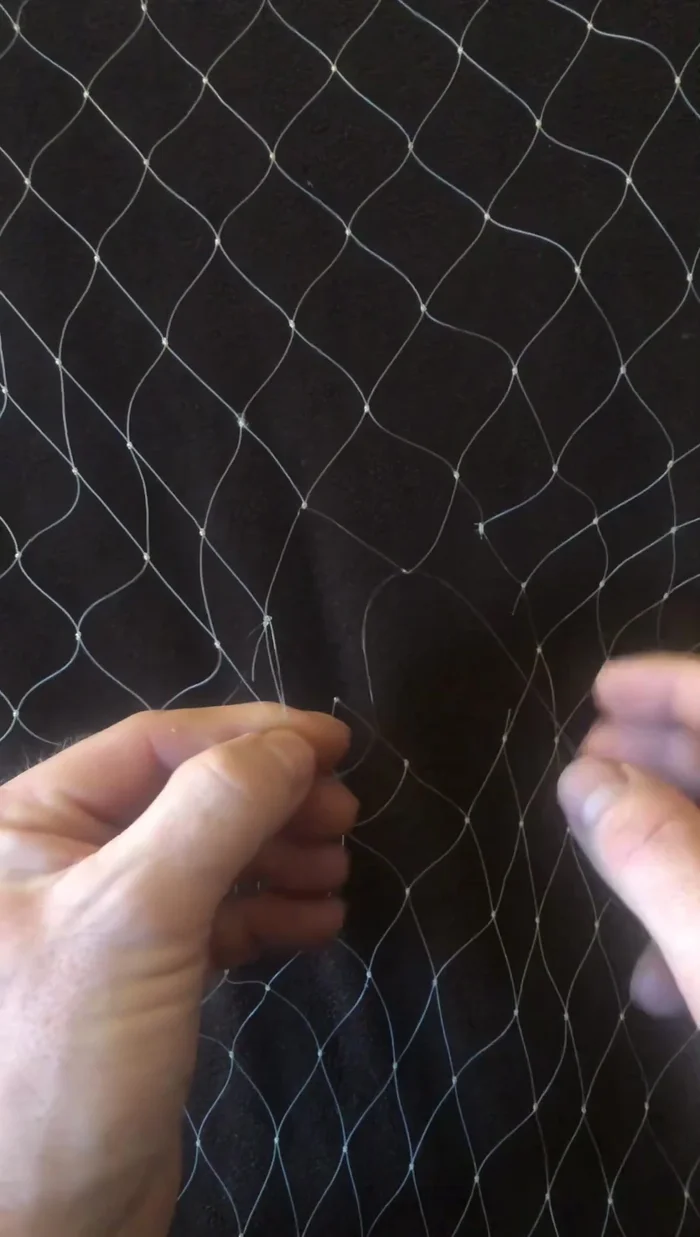
Secure and Trim Repair Remaining Meshes
- Repeat steps 3-6 for each damaged mesh, working your way through the damaged area of the net.
Repair Remaining Meshes Final Mesh Securement
- For the last mesh, create another sheet bend, pulling it tight to secure the repair.
- Cut off excess monofilament, leaving a half-inch tail.
Final Mesh Securement Final Trimming
- Repeat steps for remaining damaged areas.
- Trim the straggly ends, leaving about half an inch.
Final Trimming
Tips
- When creating new mesh, make them slightly larger than the original to prevent net distortion.
- Leaving a half-inch tail on cut ends helps prevent fraying and keeps the repair strong.
- Practice is key to mastering this repair technique.