This tutorial provides a step-by-step guide to tying a Twin Hook Snell Rig, a highly effective and surprisingly simple fishing rig perfect for both live and dead bait. We'll cover the essential techniques for creating a strong, reliable setup that maximizes your chances of a successful catch. From choosing the right hook and leader material to mastering the crucial Snell Knot, we'll walk you through each stage, ensuring you can confidently tie this rig in any fishing situation. This method emphasizes a natural bait presentation, crucial for enticing fish and securing a solid hookset.Whether you're a seasoned angler looking to refine your techniques or a beginner eager to learn a reliable and effective rig, this guide will equip you with the knowledge and skills needed. We'll explore the importance of proper line placement to prevent breakage and ensure optimal hook performance. By focusing on key details like hook spacing and knot tying, you'll learn how to create a rig that not only catches fish but also minimizes frustration and maximizes your fishing time. Let's get started and improve your fishing game!
Read more: Top 5 Fishing Hooks You Need
Preparing the Leader Material
Begin by cutting a desired length of leader material. A good starting point is 800 millimeters to a meter, but remember to add extra length for your Snell Knot. This knot typically requires around 15 to 20 centimeters of leader, depending on the material's thickness and hook size. Ensure you have sufficient length for easy tying and knotting.
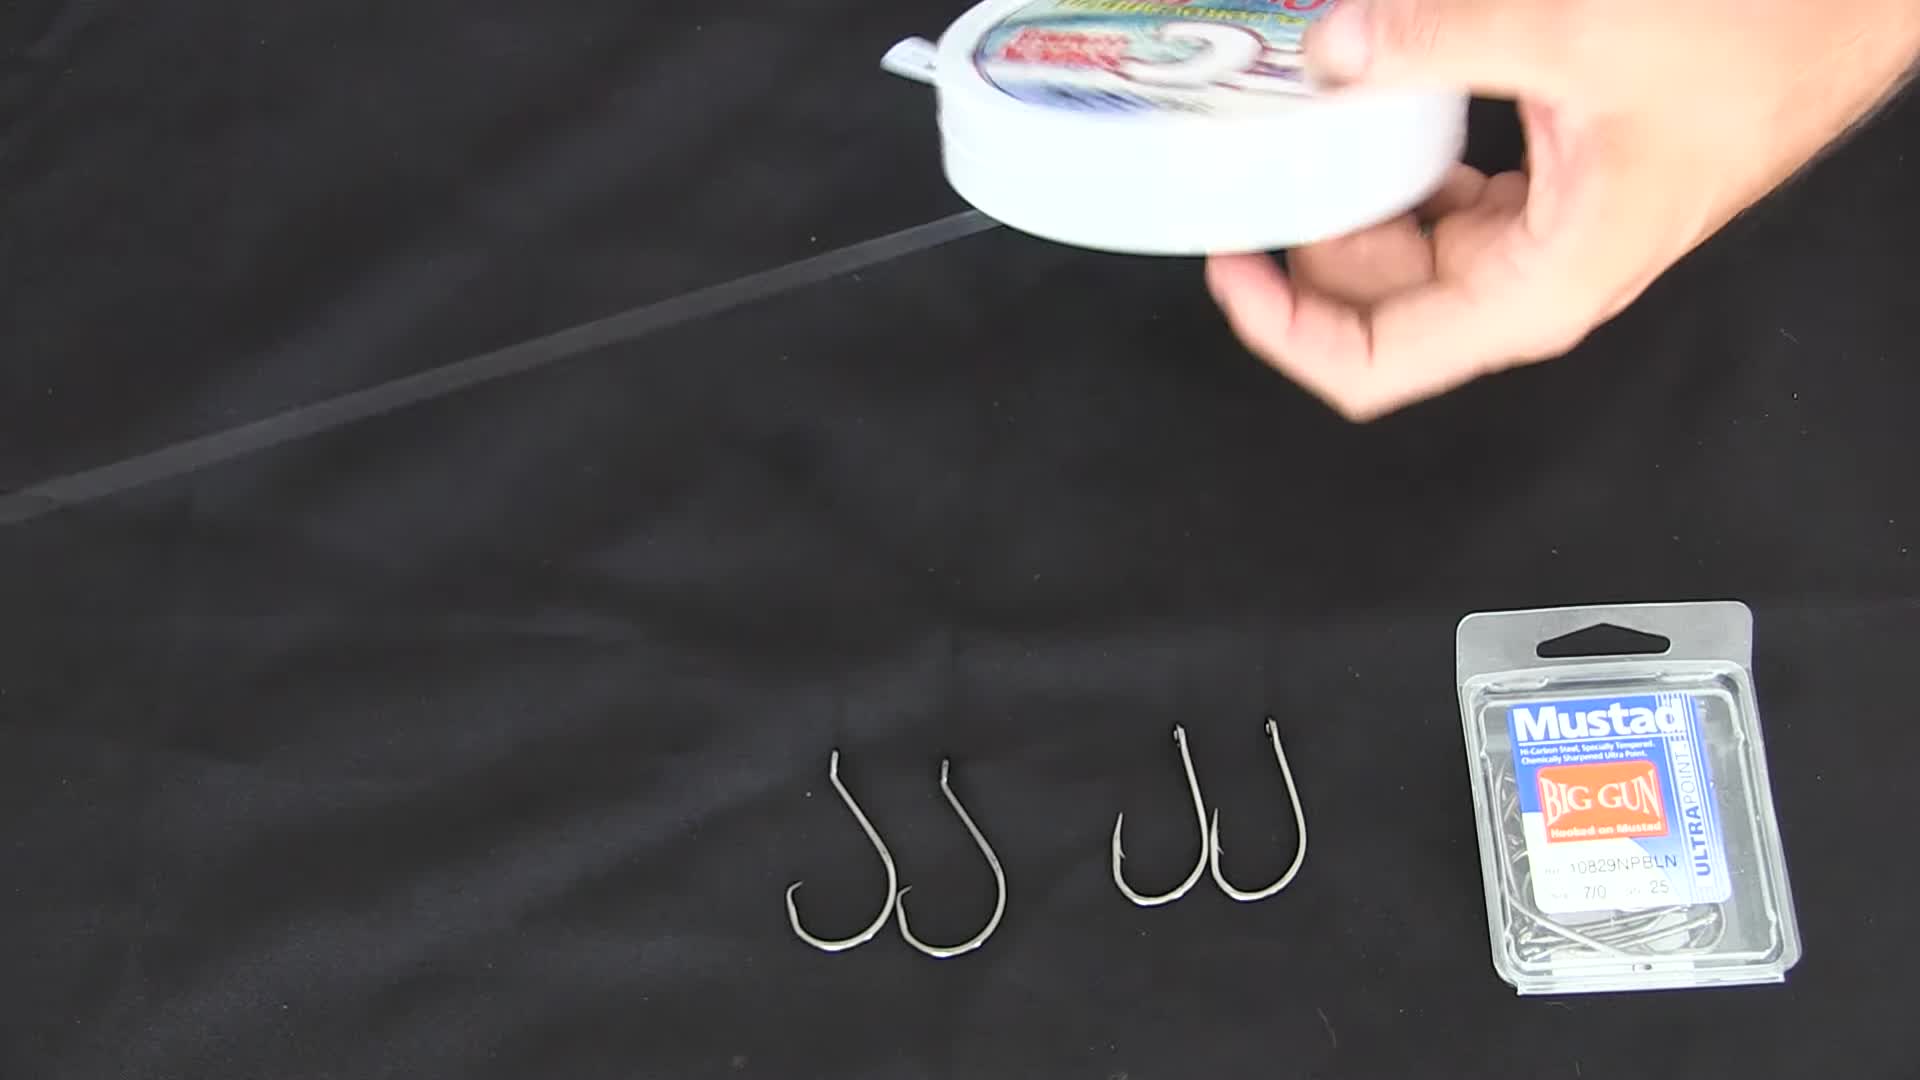
You can use either a J hook or a circle hook for this rig. The choice depends on your preference and the type of fish you are targeting. In this tutorial, a J hook will be used for simplicity and effectiveness in demonstration.
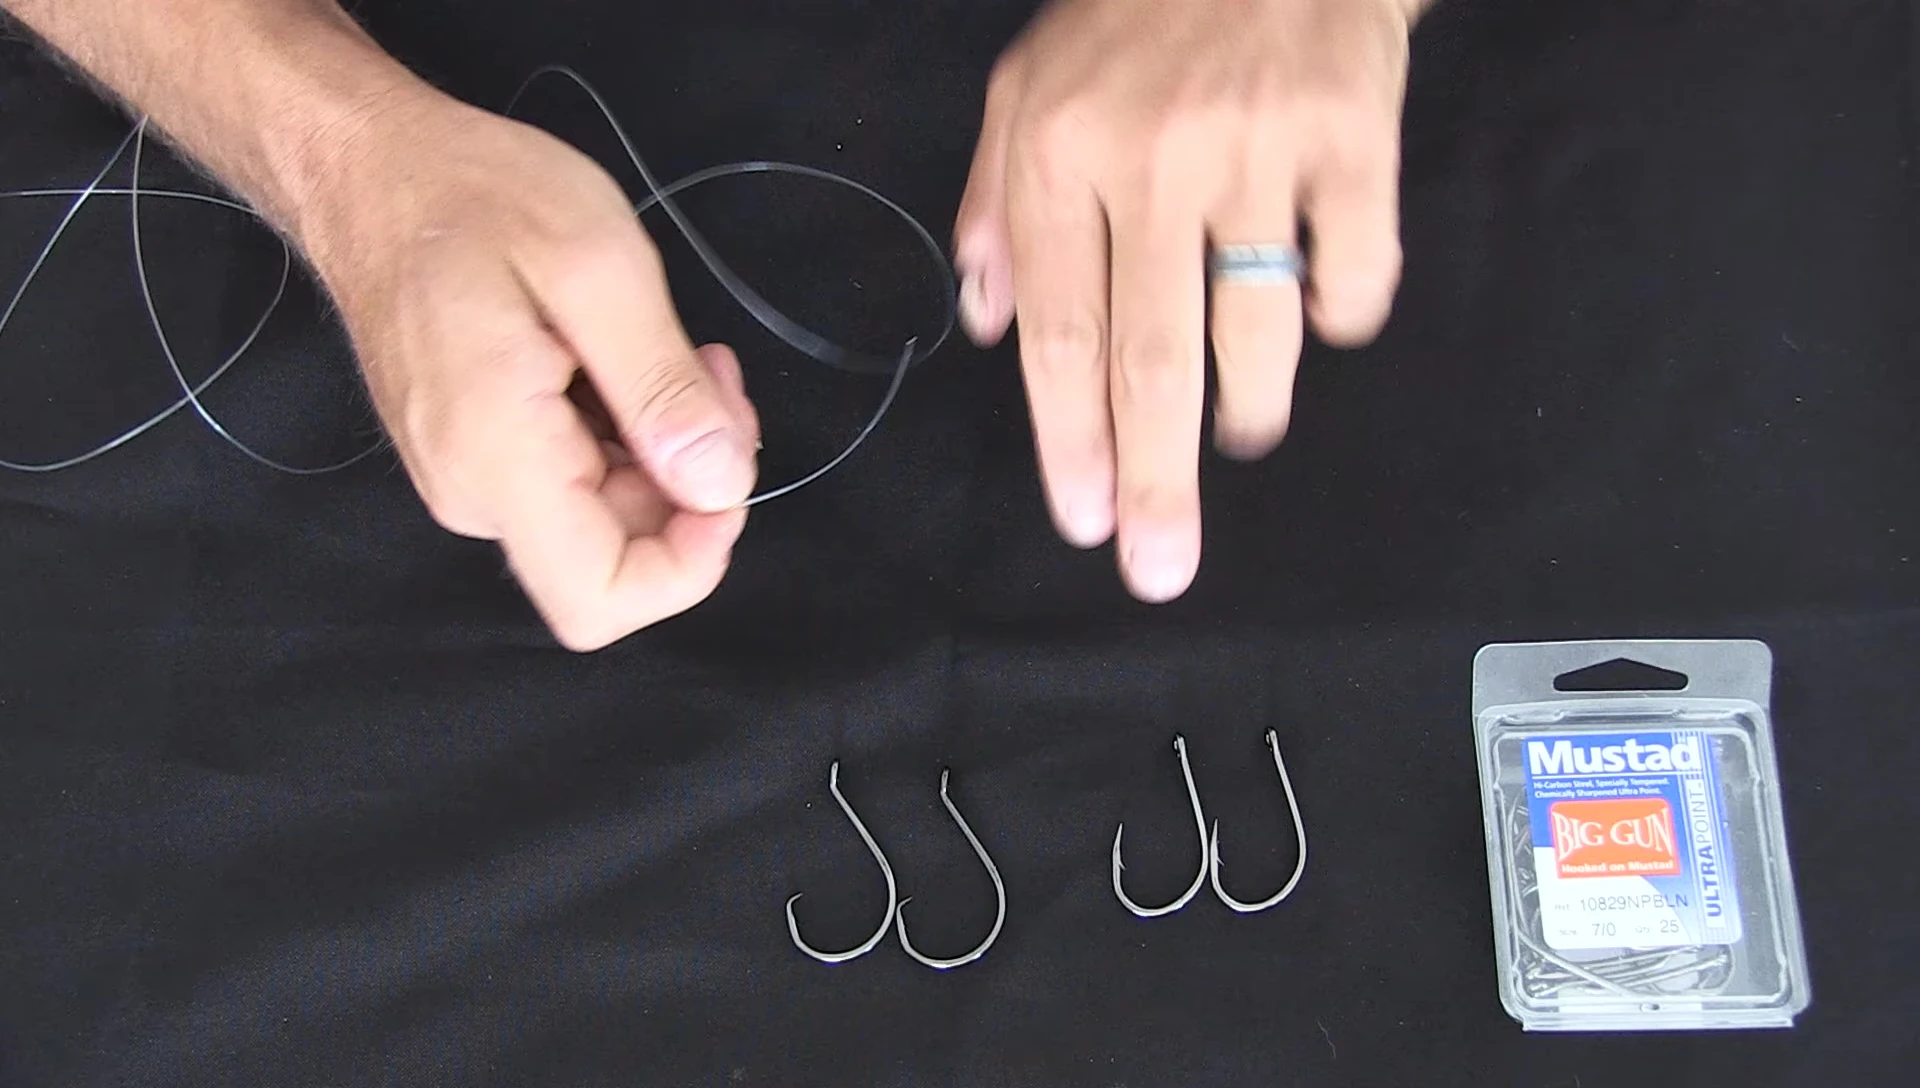
To save time, we'll start by tying the end hook using a simple Uni Knot, rather than a Snell Knot. This quicker method allows for slight hook movement and helps prevent stiffness.
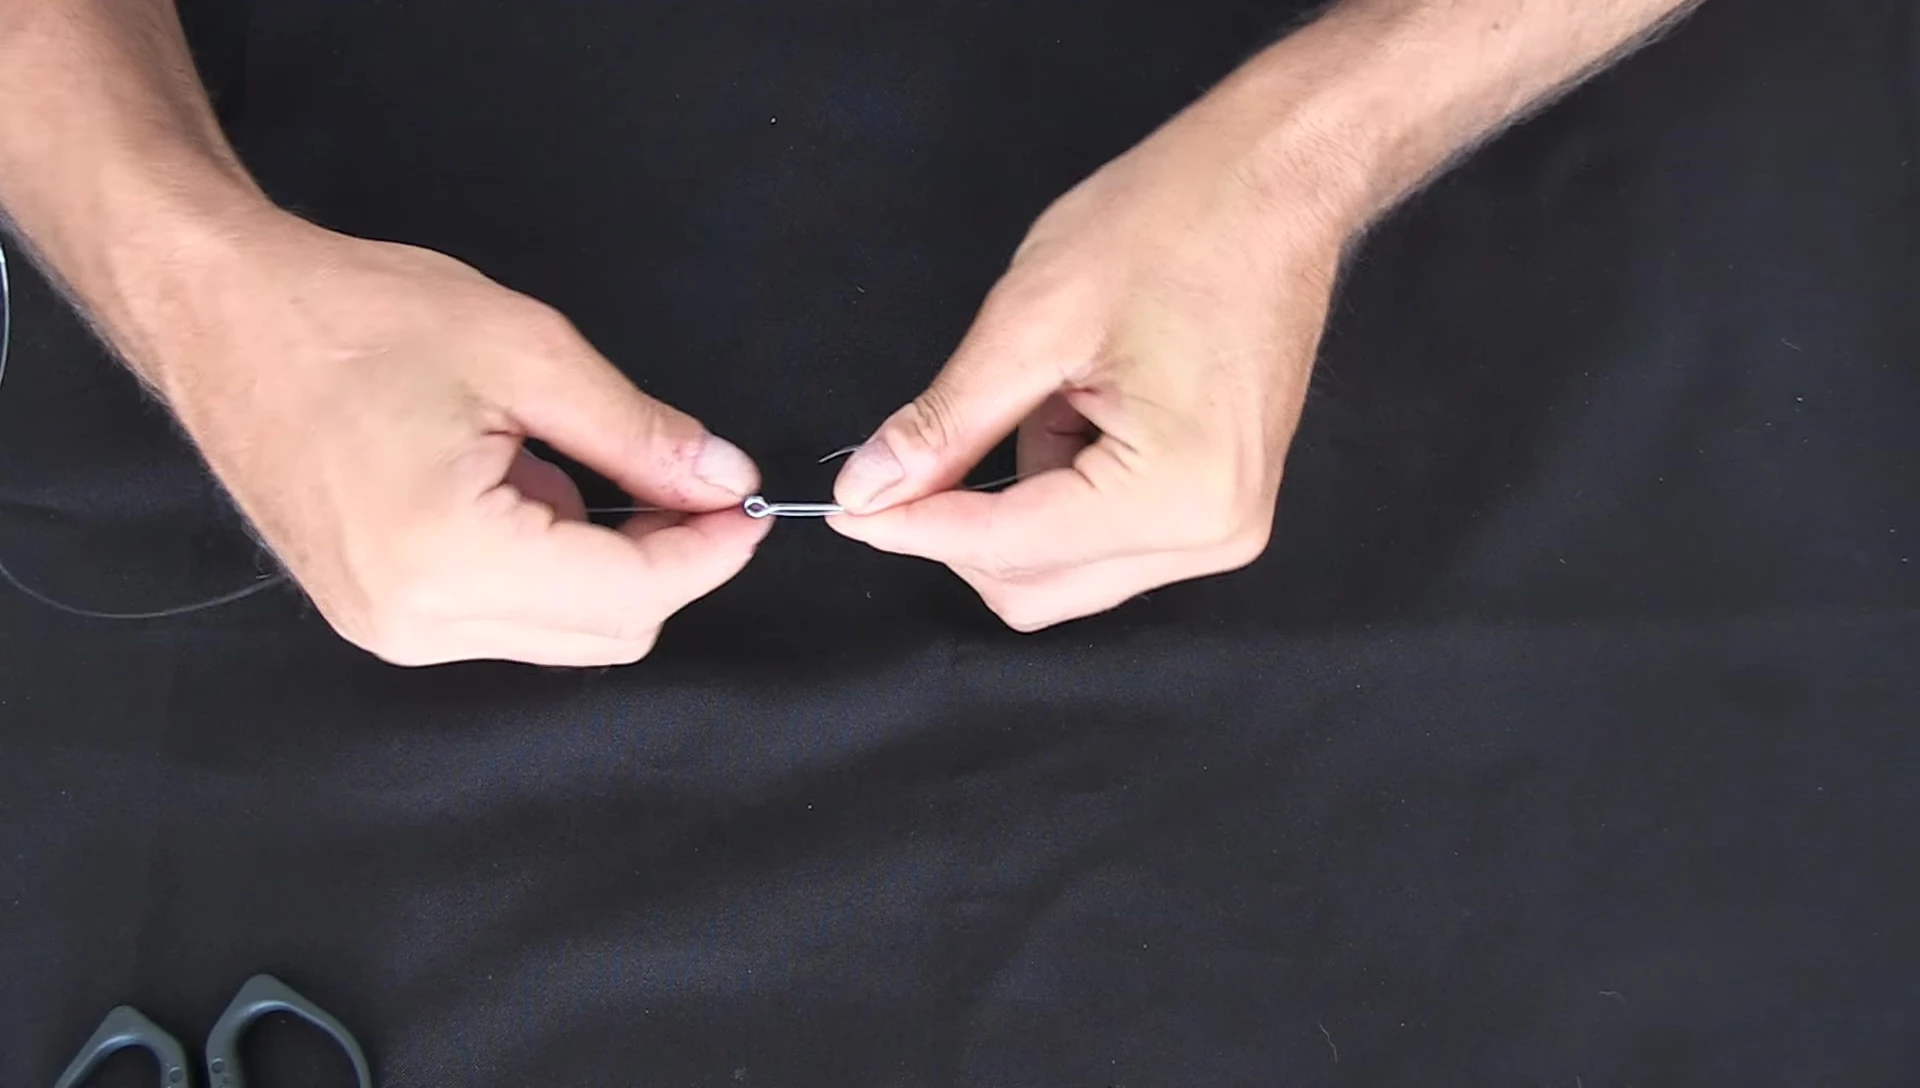
Attaching the First Hook and Positioning the Leader
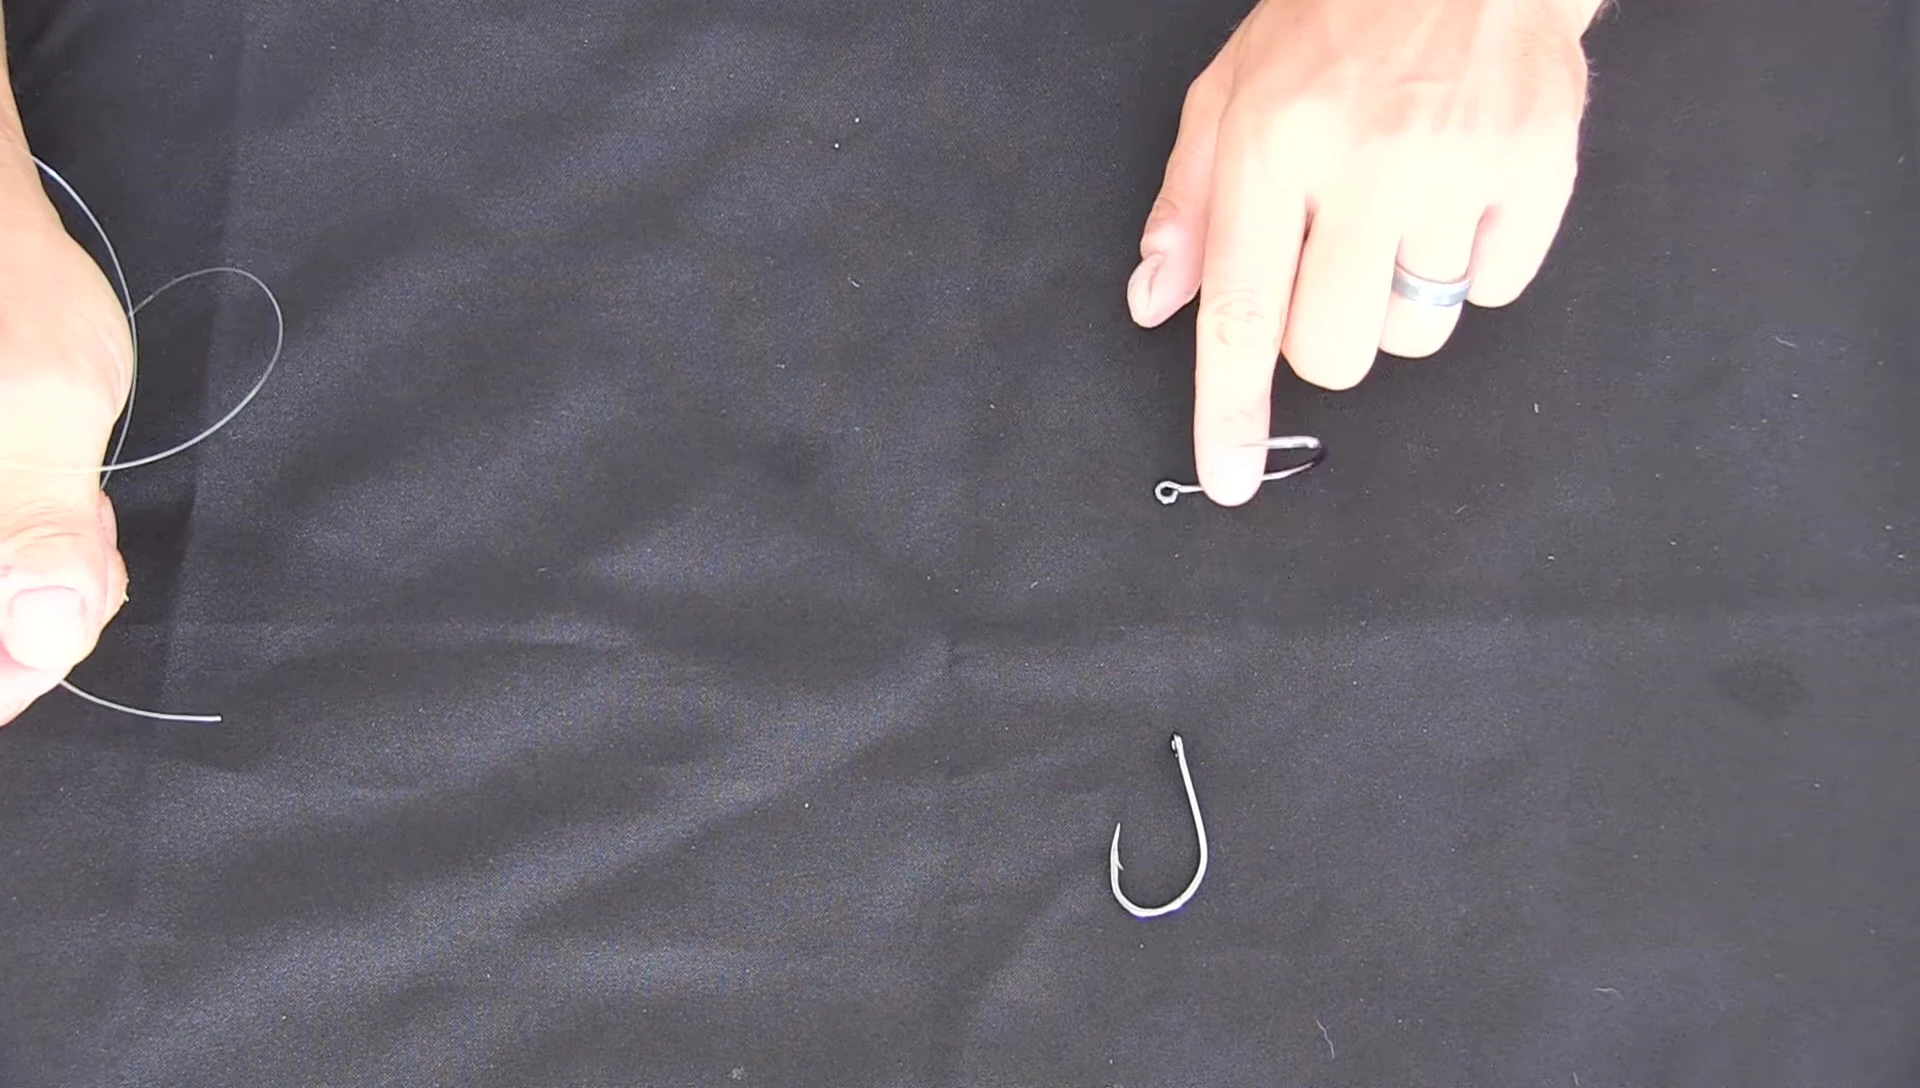
After securing the Uni Knot, carefully position the leader. Ensure the top of the line runs along the top of the hook's shank and not underneath. This top-side placement prevents line rubbing on the hook gape, reducing the risk of breakage during a fish fight.
Running the line underneath can create a weak point and potentially lead to hook failure when fighting a strong fish. The line should pass through the hook eye from the top. This prevents abrasion against the fish's mouth, ultimately increasing the hook's longevity.
It's critical to maintain the line along the top of the hook to avoid potential damage or breakage from contact with the fish's teeth or mouth. Avoiding this wear is a key aspect of long-term rig effectiveness.
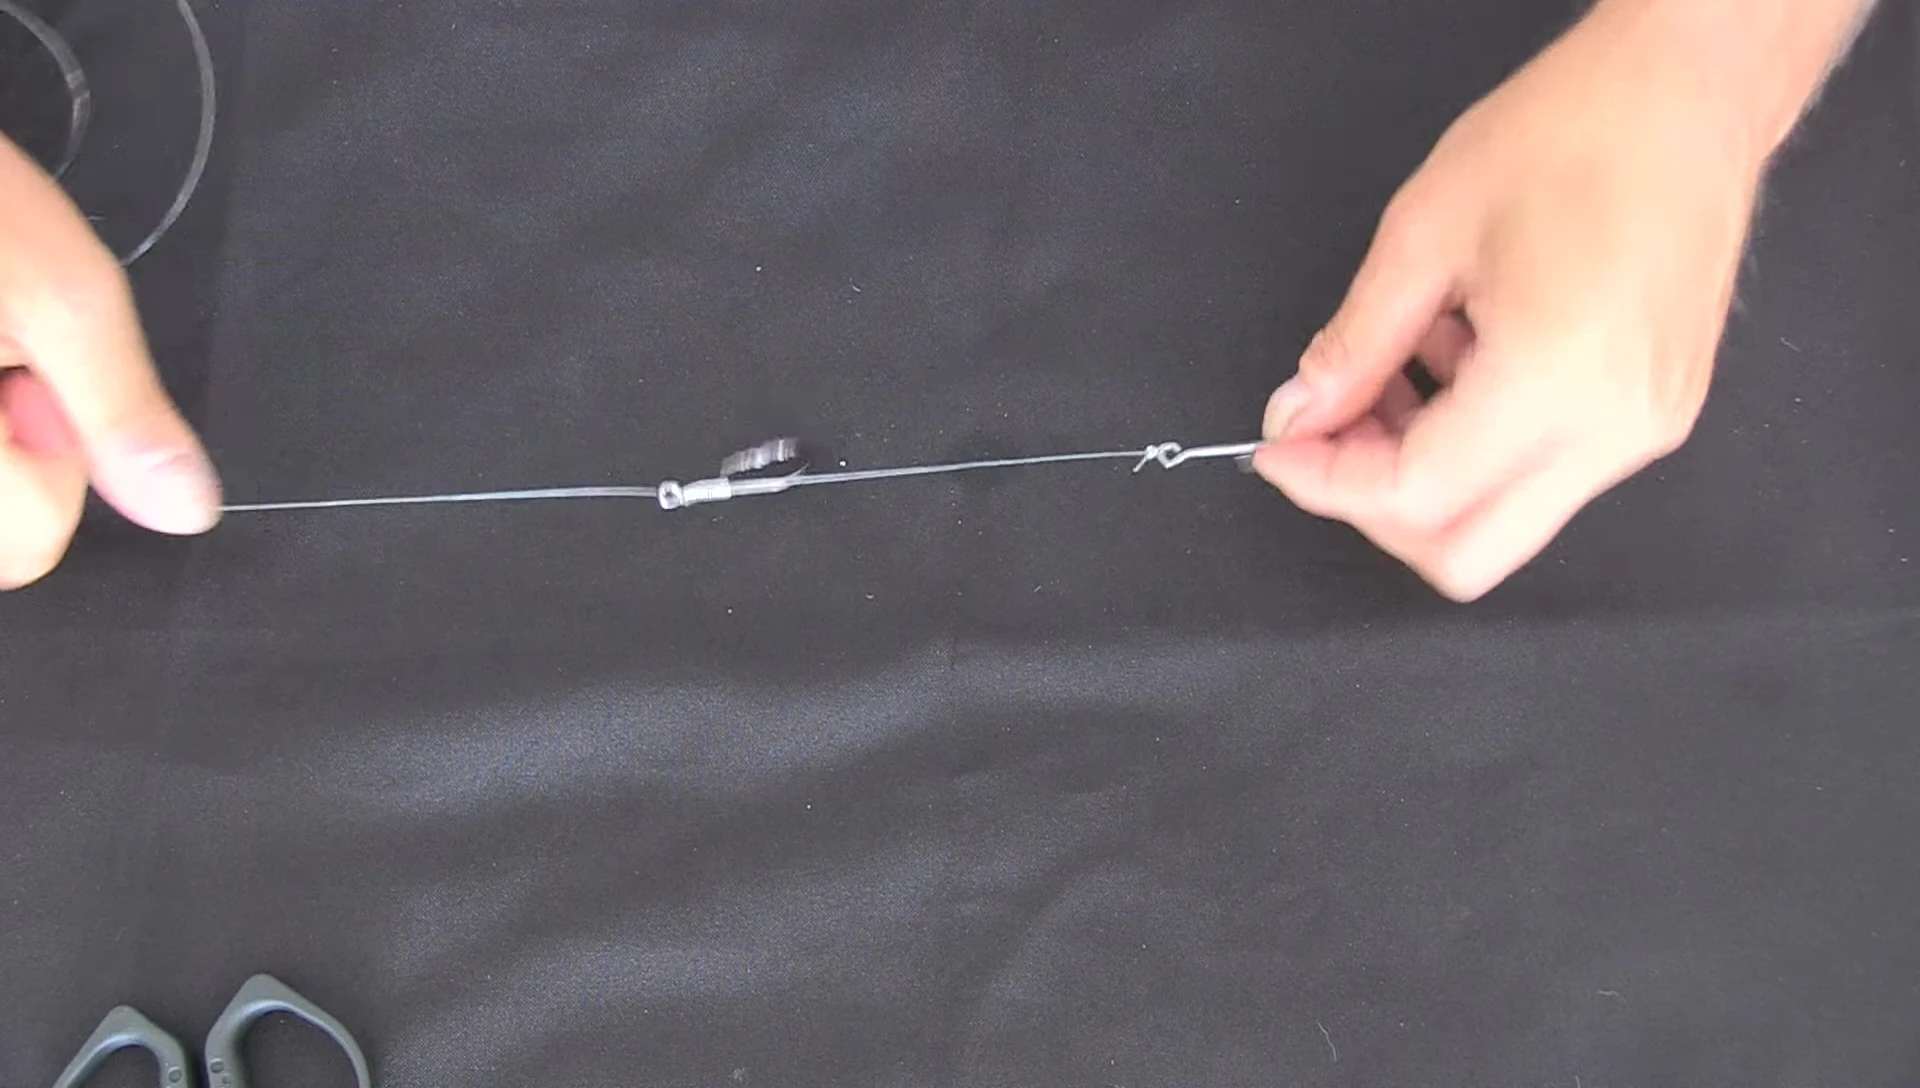
Determining and Setting the Second Hook Distance
The distance between hooks depends on your bait size. Consider whether you are using live bait, dead bait, or bait strips. Sufficient space is essential for the bait's natural movement and presentation.

If you're using live bait, allow enough space so it can swim freely. A tight connection restricts movement and reduces effectiveness. Ensure enough room for the hook to be positioned naturally near the bait's tail.
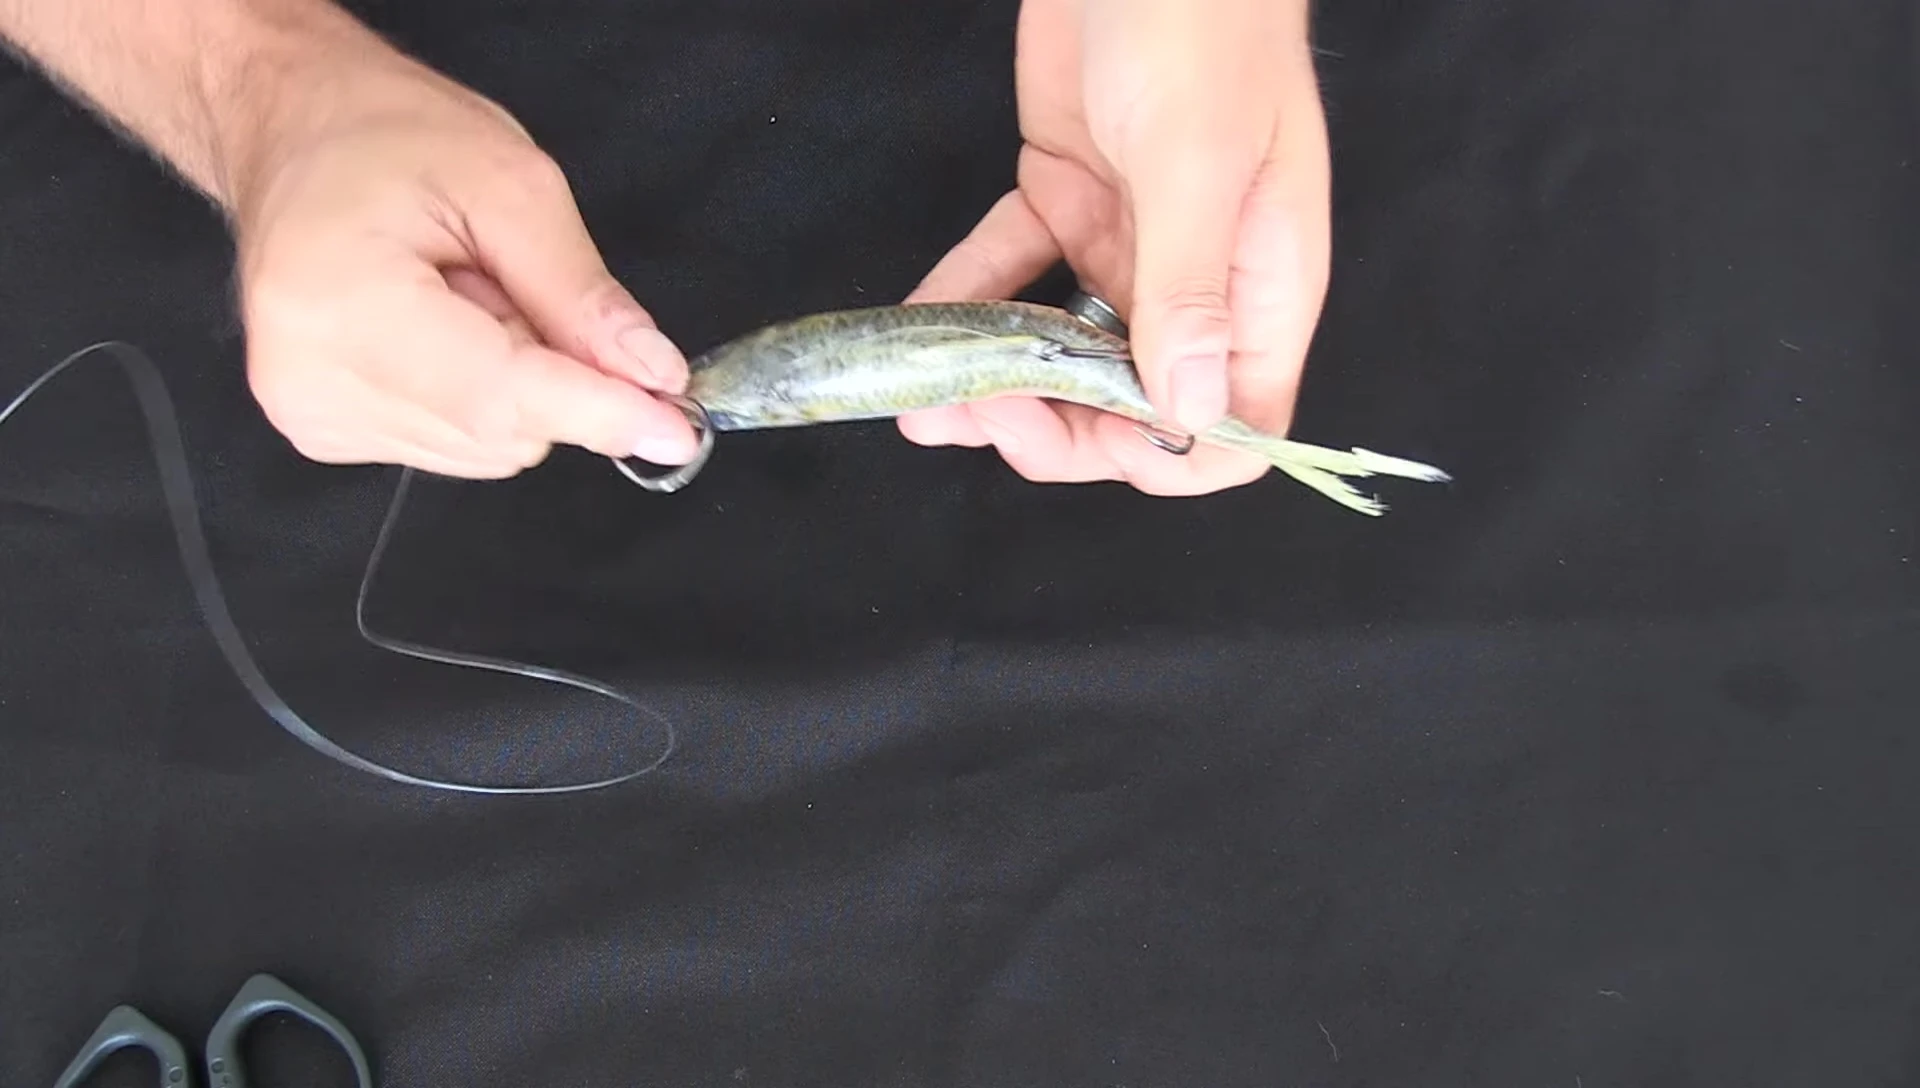
The goal is a natural presentation—not too loose to create unnecessary slack, nor too tight to impede the bait's action. The ideal spacing keeps the bait mobile and appealing to the target fish.
Tying the Snell Knot
The Snell Knot is crucial for a secure and effective rig. Ensure you wrap the line around the hook shank in the correct direction—down the shank, not back toward the eye. Incorrect wrapping creates a weak point near the hook eye, potentially leading to failure under pressure.
Aim for 12-15 tight wraps around the shank. Pinch the line securely between your thumb and forefinger as you work. This ensures a firm, evenly-distributed knot.
Once the wraps are complete, thread the tag end back through the hook eye's top, pulling it tightly to secure the Snell Knot. The knot should be snug but not overly tight to avoid damaging the hook.
Conclusion
This Twin Hook Snell Rig offers a fast, efficient, and effective method for fishing with live or dead bait. The Uni Knot simplifies initial hook attachment, while the carefully tied Snell Knot ensures a strong, reliable connection.
Proper leader positioning and appropriate hook spacing are crucial for natural bait presentation and successful hooksets. Paying attention to these details maximizes the rig's effectiveness and increases your chances of a successful catch.
Remember that the key to success lies in understanding and correctly executing the Snell Knot, ensuring the line is routed properly to avoid weak points. Practice makes perfect, leading to confident and efficient rig creation in the field.