Learn how to craft your own elegant and durable fish hook earwires with this easy-to-follow DIY tutorial. This simple jewelry-making project requires only a few basic tools and materials, making it perfect for beginners and experienced crafters alike. You'll discover how to transform readily available wire into beautiful, customized earwires, perfectly tailored to your style and preferences. Forget expensive pre-made options; this guide empowers you to create high-quality jewelry at a fraction of the cost.Whether you're looking to add a personalized touch to your existing jewelry collection or embark on a fulfilling crafting journey, this tutorial provides a step-by-step guide to creating professional-looking fish hook earwires. From selecting the right materials – including sterling silver for superior quality – to mastering the essential techniques, this guide ensures a successful and rewarding DIY experience. Get ready to unleash your creativity and design unique earwires that reflect your individual style!
Pros And Cons
- Can be made easily with simple materials and tools.
- Cost-effective if you frequently run out of pre-made ones.
- Using craft wire is not ideal; a better quality wire like sterling silver is preferable for earrings.
Read more: Top 5 Fishing Hooks You Need
Materials Needed
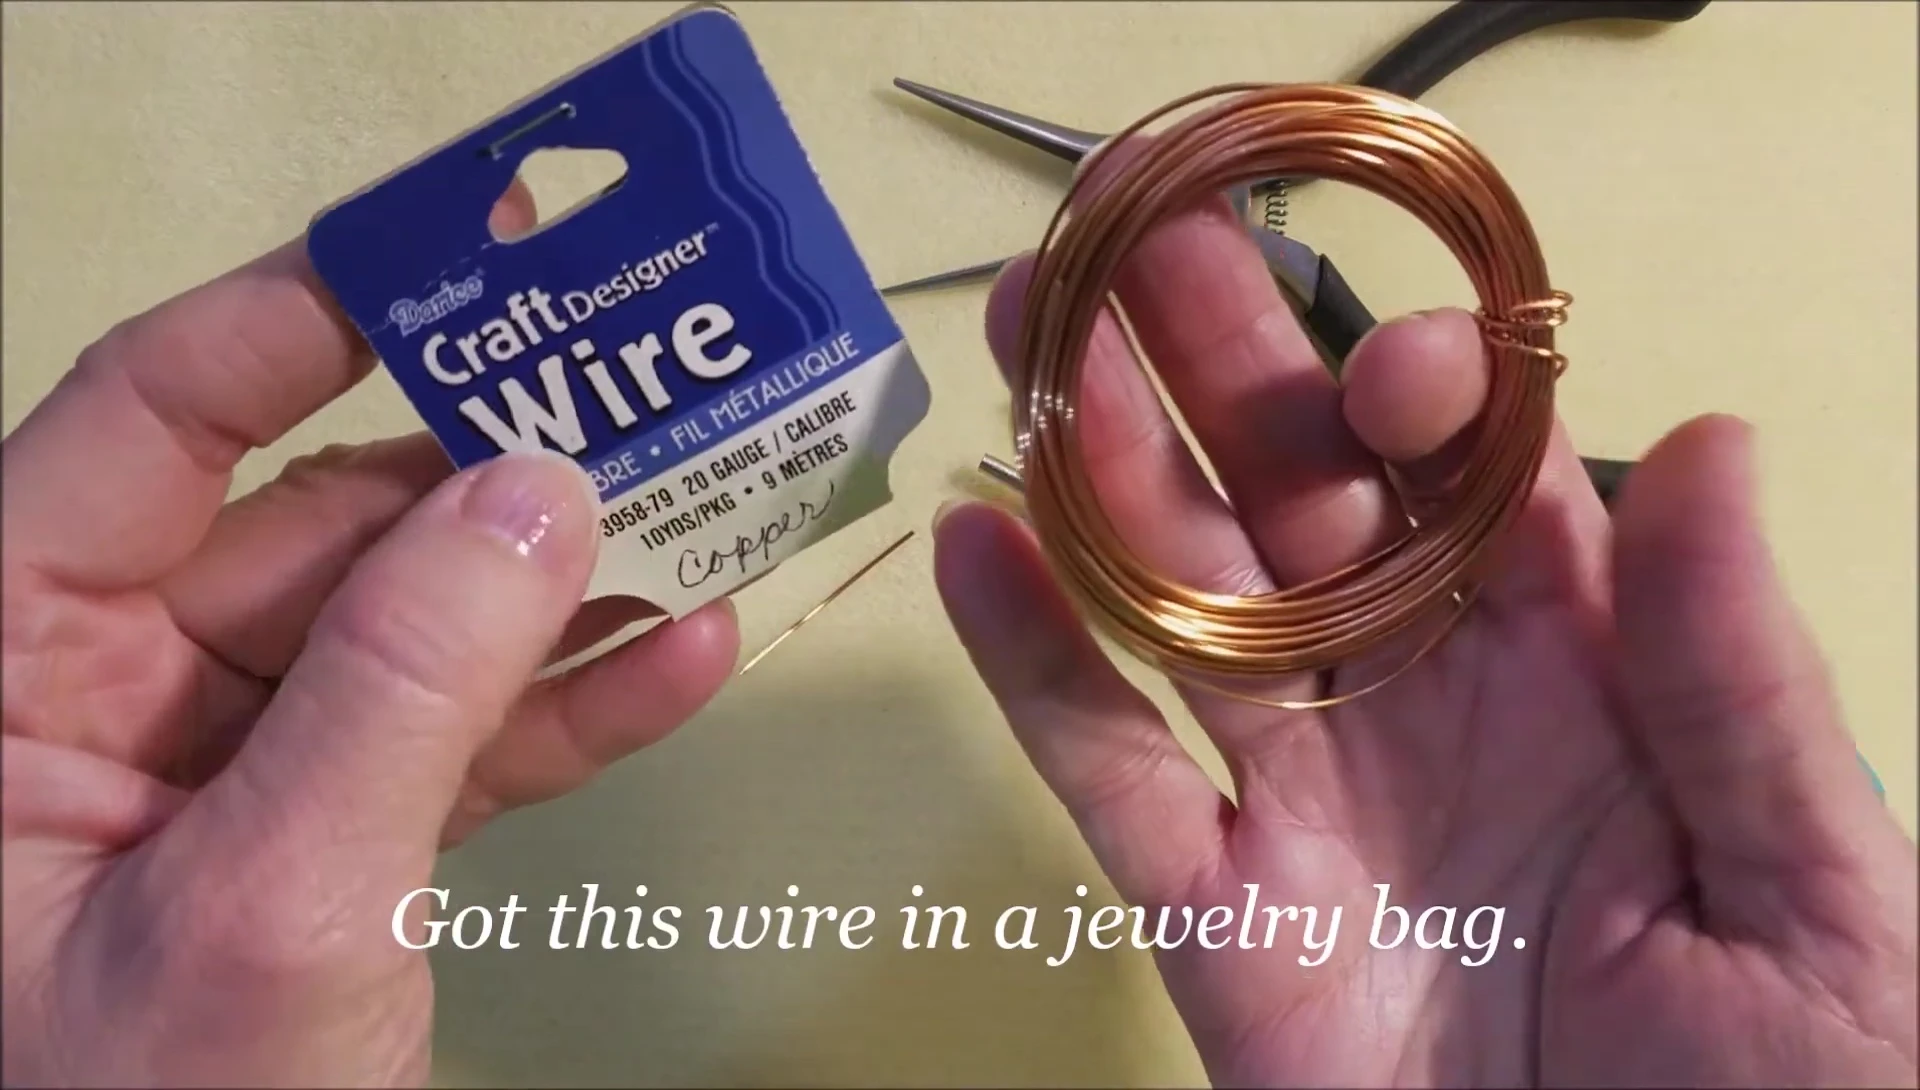
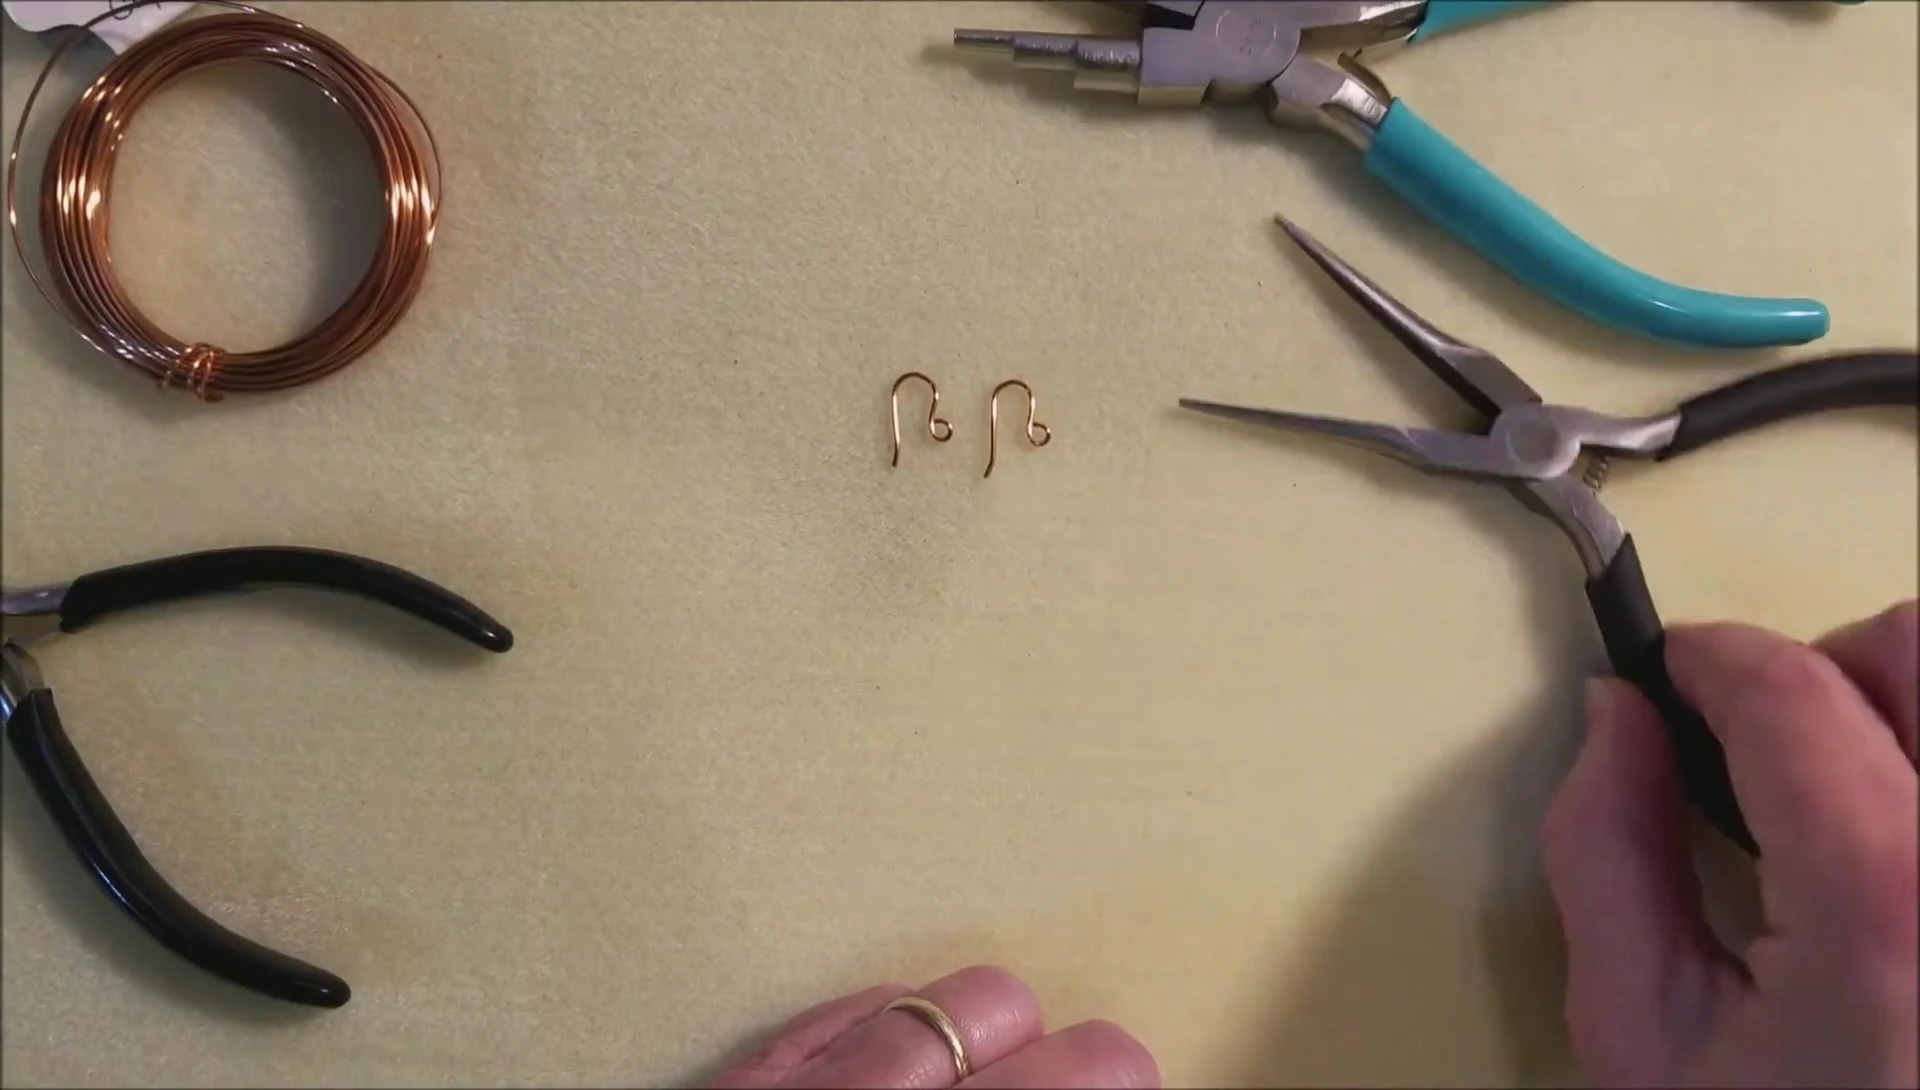
To create your own fish hook earwires, you'll need a few basic materials. The most important is your wire; 20-gauge copper wire is used in this tutorial for demonstration, but sterling silver is recommended for jewelry-making purposes due to its superior quality and durability. You'll also need a jump ring maker (or a crochet hook as an alternative), flush cutters, and needle-nose pliers.
Other useful tools include a round-nose plier for creating the loop and optionally, a nail file for smoothing any rough edges. Remember to always use flush cutters for clean cuts to avoid sharp edges on the finished earwire.

Creating the Earwire Hook
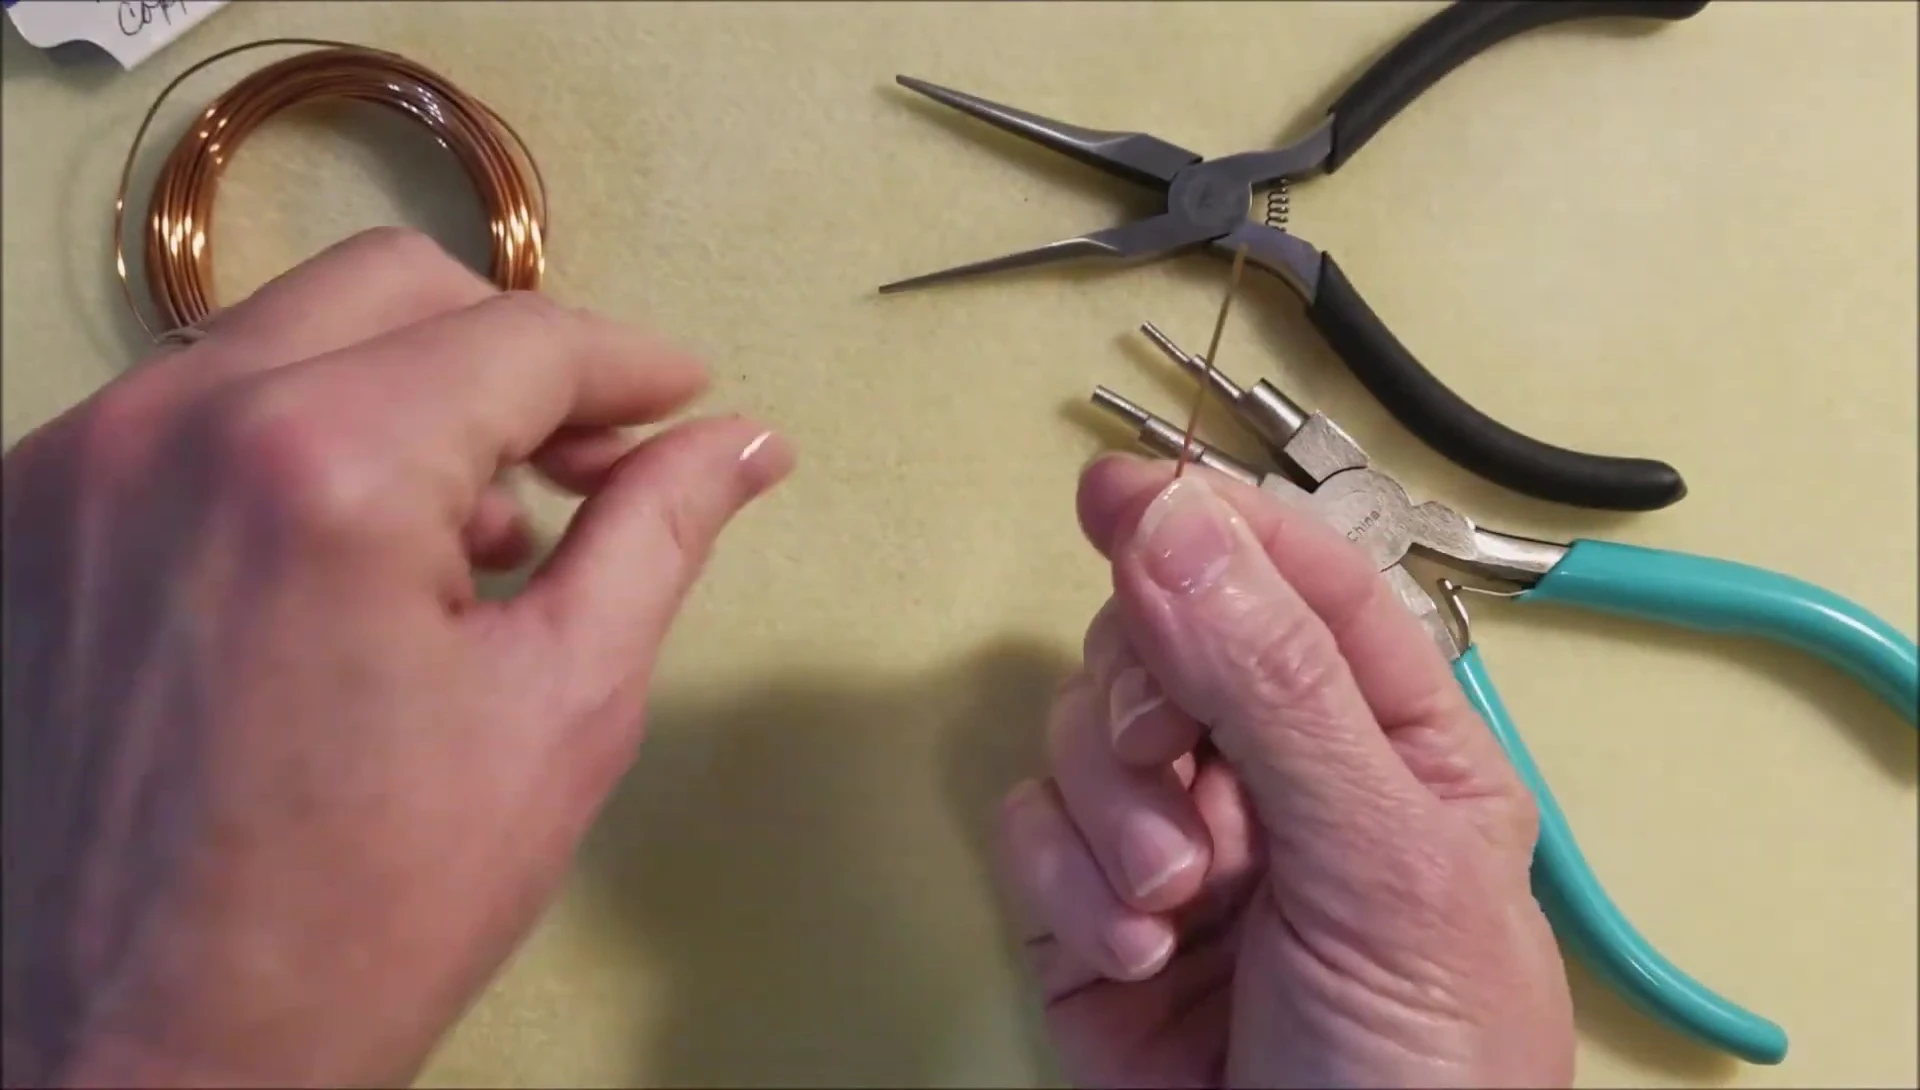
Start by cutting two 1.5-inch pieces of wire. Use the jump ring maker (or crochet hook) to create the initial bend in the center of the wire. This forms the base for the hook portion of the earwire. Ensure the bend is centered for a balanced and symmetrical look.
Then, gently bend the wire in half to create a U-shape. This step creates the initial shape for the fishhook earwire. Using flush cutters to make clean cuts ensures a smooth and safe finish.
Forming the Hook and Loop
Use needle-nose pliers to create a slight bend at one end of the U-shaped wire. This will form the hook that goes into your earlobe. Avoid excessively sharp bends to prevent discomfort.
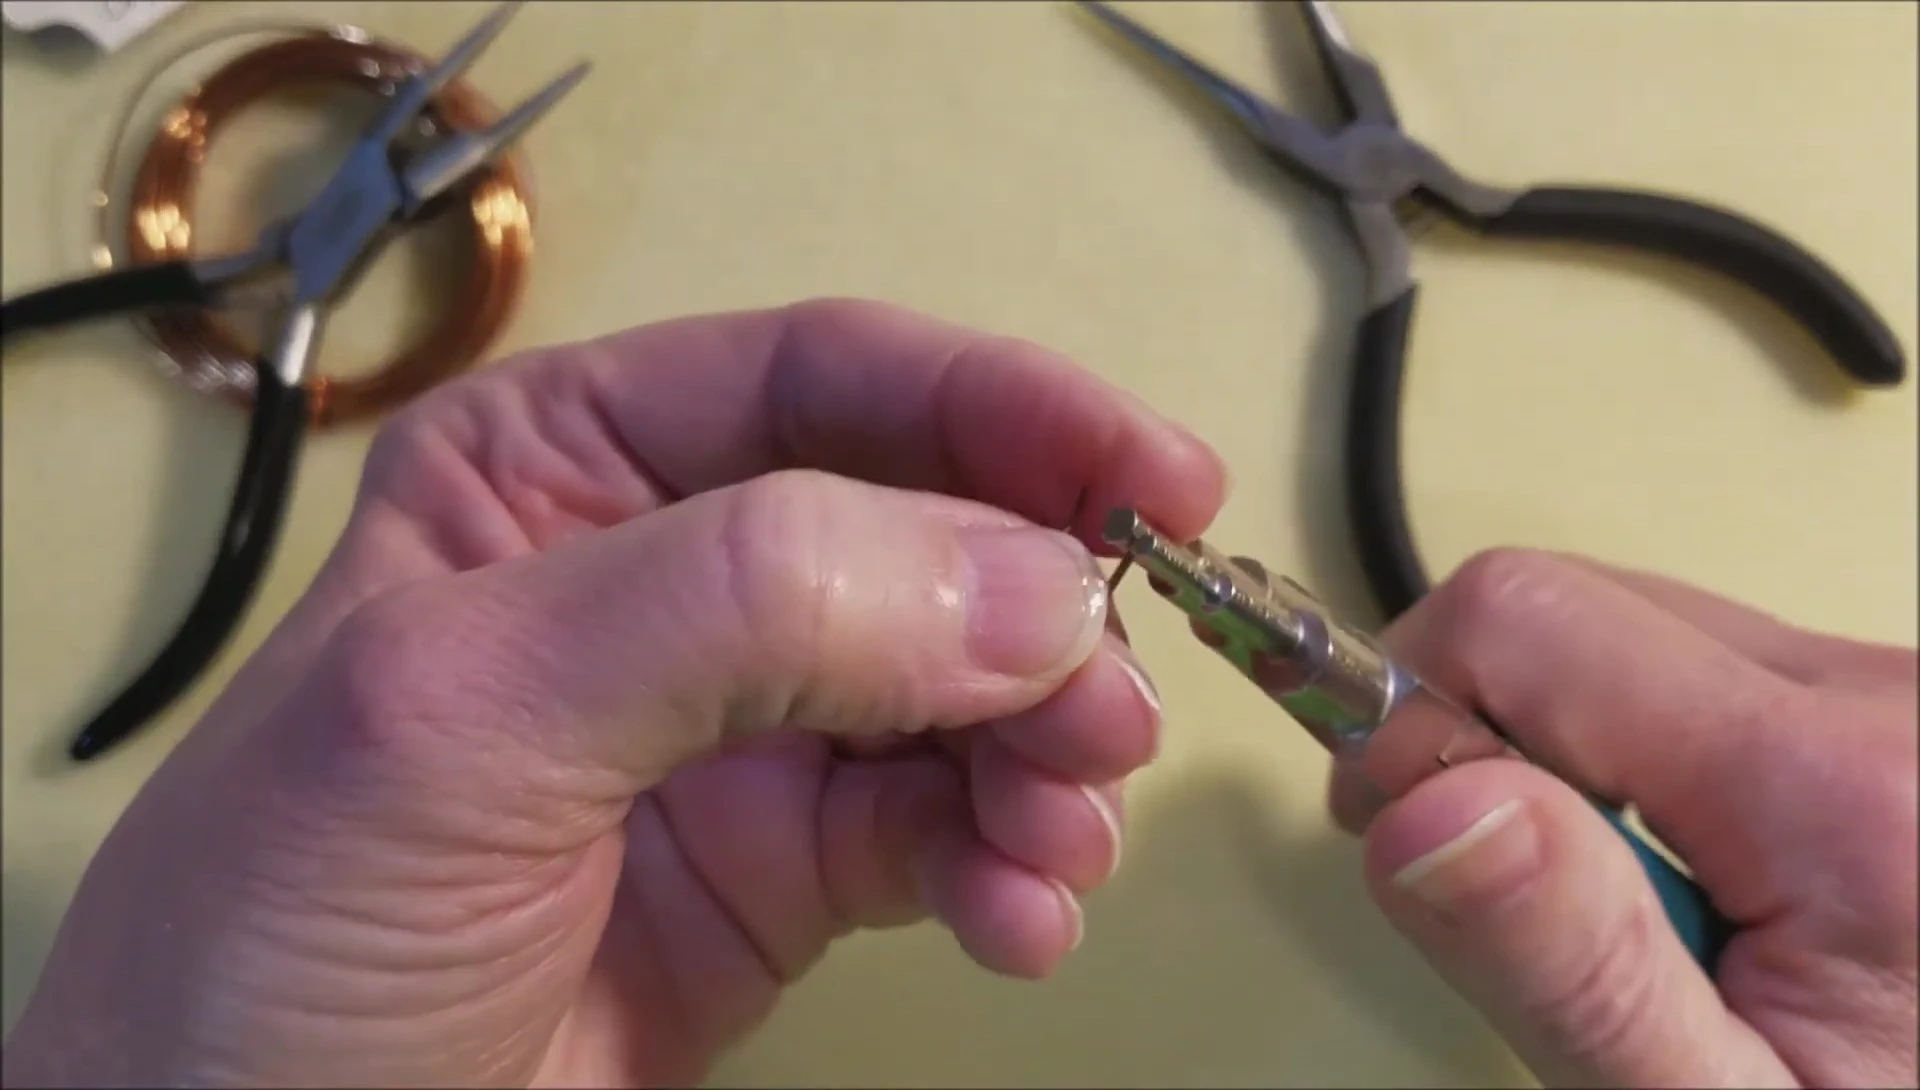
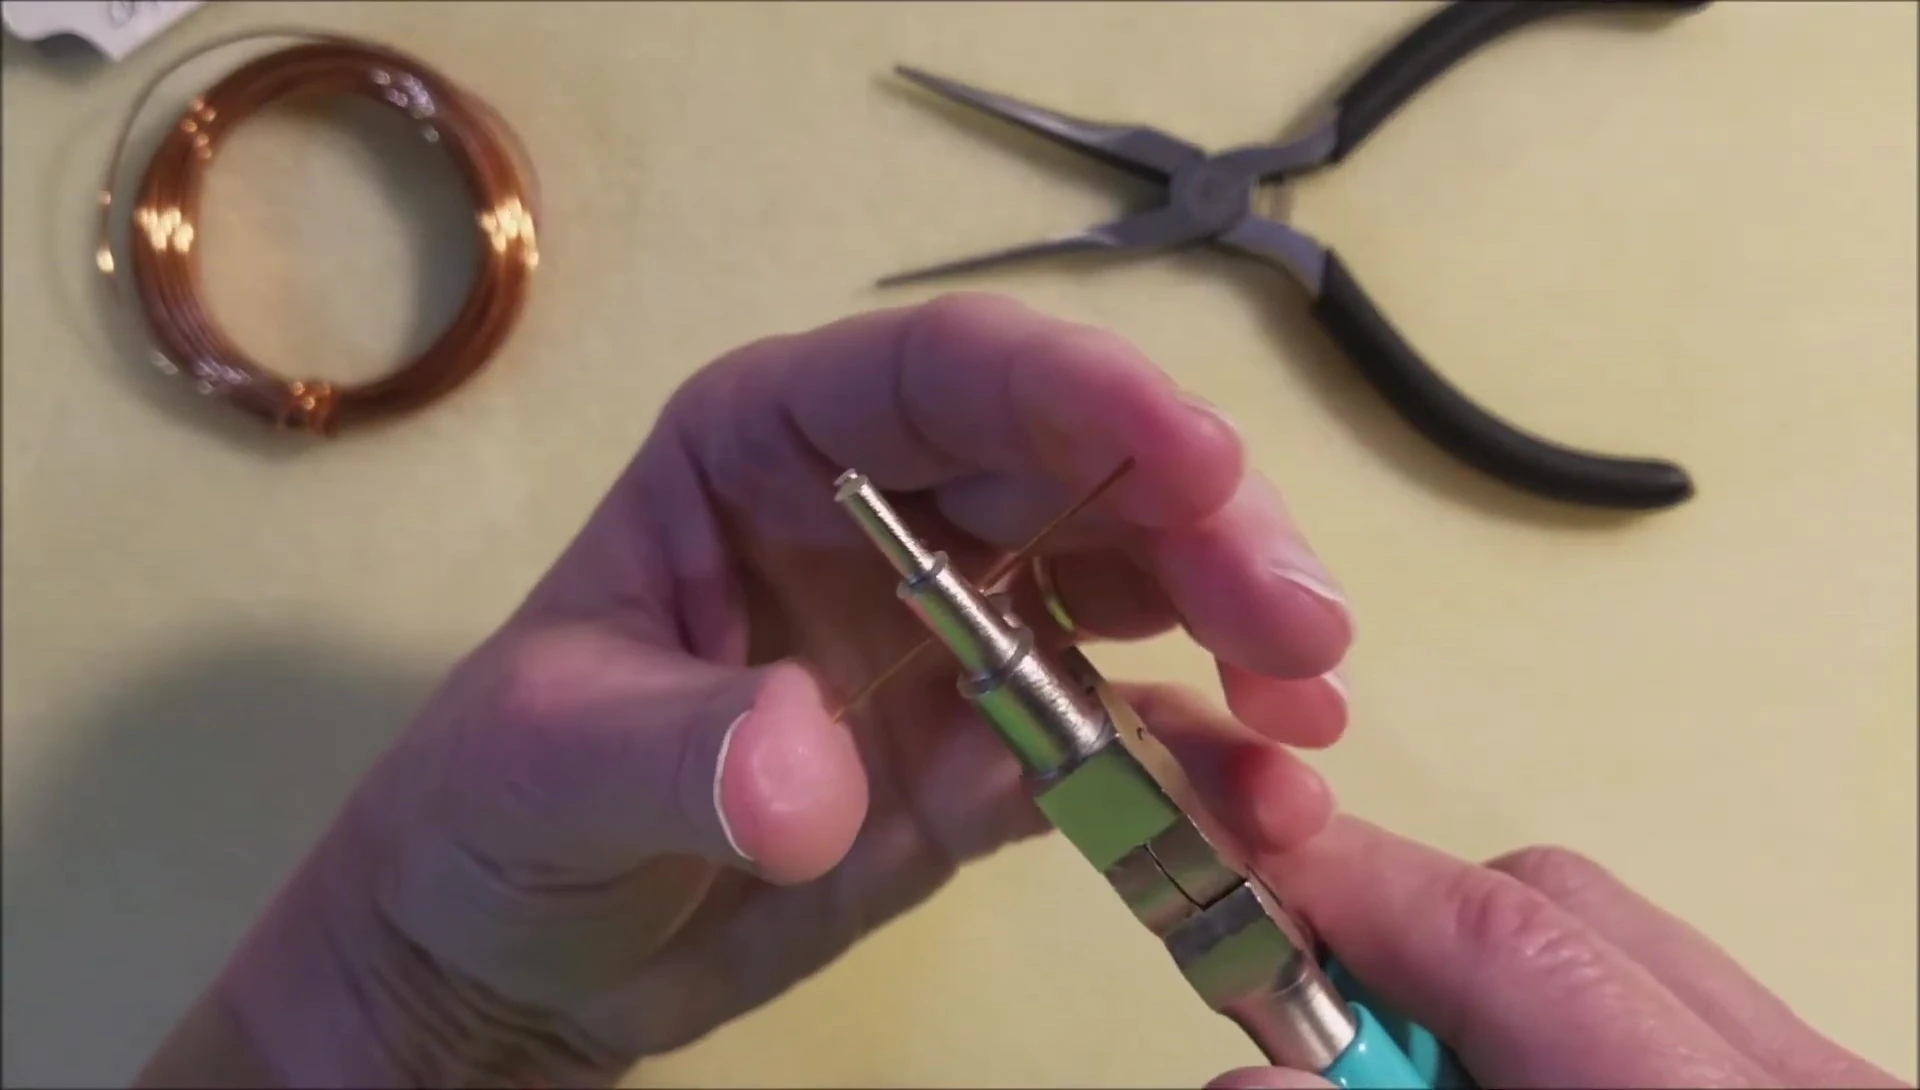
For the loop, use either the jump ring maker or round-nose pliers to carefully shape the wire into a small loop at the other end. Ensure the loop is neat, evenly sized and isn't sticking out beyond the pliers.
Finishing Touches and Tips
Once you have formed both the hook and loop, carefully examine your earwires for any rough edges. If necessary, use a nail file to gently smooth out any imperfections. This step ensures a comfortable and safe wear experience.

Experiment with different gauge wire and loop sizes to personalize your earwires. A thinner gauge, such as 22-gauge, is ideal for creating smaller, more delicate loops, while thicker gauges offer more strength and stability.

Conclusion
Making your own fish hook earwires is a simple and rewarding process. This DIY method allows for customization and provides a cost-effective alternative to buying pre-made options. Experiment with different materials and sizes to create unique designs that match your style.
While this tutorial uses 20-gauge copper wire, using sterling silver will create more durable and higher quality earwires. Remember to always prioritize safety and comfort during the process, ensuring smooth edges and secure loops.