This guide provides a comprehensive tutorial on building your own extended fishing net, significantly enhancing your fishing experience, whether from a kayak or the shore. We'll transform a standard Everlast G2 Pro float net into a robust, longer-reaching tool perfect for accessing hard-to-reach spots. Forget flimsy nets that break easily – this DIY project utilizes high-strength materials and construction techniques to create a virtually indestructible fishing net. The result is a custom-built net tailored to your specific needs, offering superior durability and reach compared to commercially available options.This step-by-step instruction will guide you through each stage, from gathering the necessary components – including PVC pipe, epoxy, and stainless steel hardware – to the final assembly and finishing touches. We'll cover techniques for securely attaching the net to the PVC base, creating a comfortable grip using expansion foam and X-tube, and ensuring a watertight, durable end cap. Get ready to upgrade your fishing gear with this simple yet effective DIY project, providing years of reliable service.
Read more: 5 Best Fishing Nets for Catching Trout
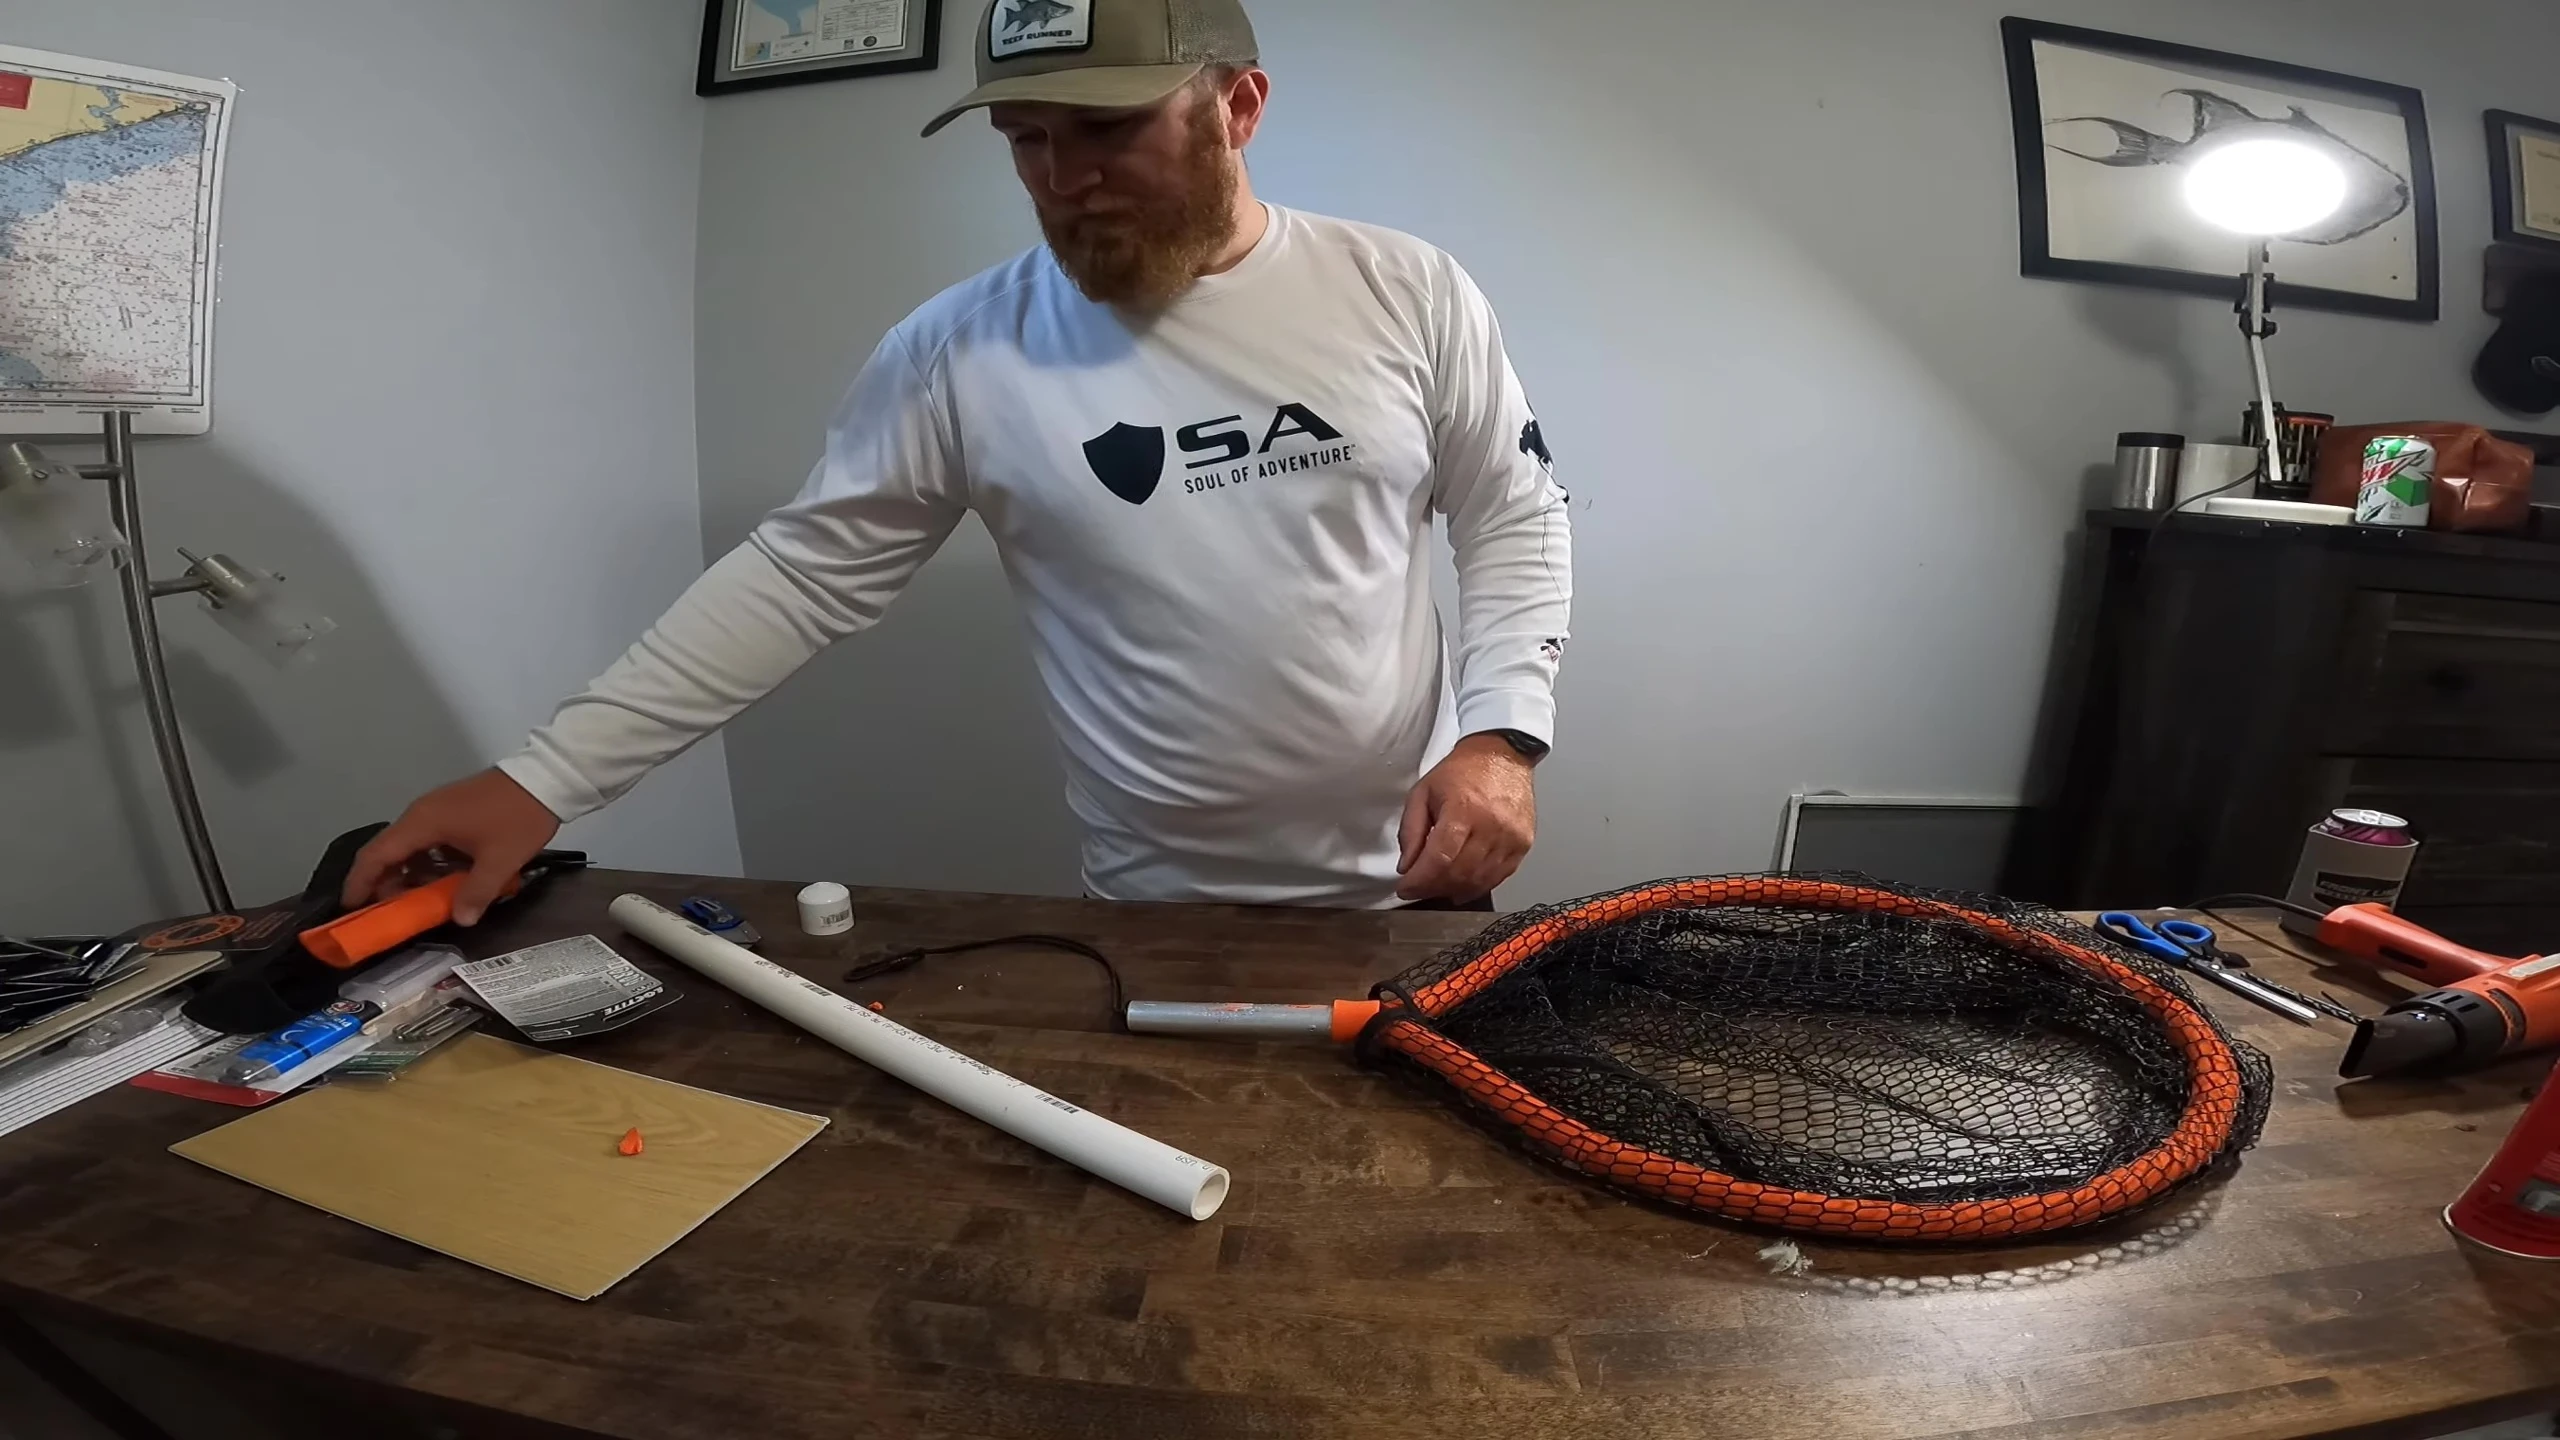
Materials Needed
To construct this extended fishing net, you'll need several key components. A two-foot section of one-inch PVC pipe forms the base. You'll also need a one-inch PVC end cap to provide stability and a secure connection.
Super glue is essential for initial assembly, ensuring a strong bond. For a truly durable structure, high-strength epoxy like JB Weld is recommended. Its faster curing time proves beneficial.
Finally, you'll need an Everlast G2 Pro float net (ensure you have the proper size!), X-tube (for gripping), and stainless steel hardware, including Nylock nuts, for the mounting system.
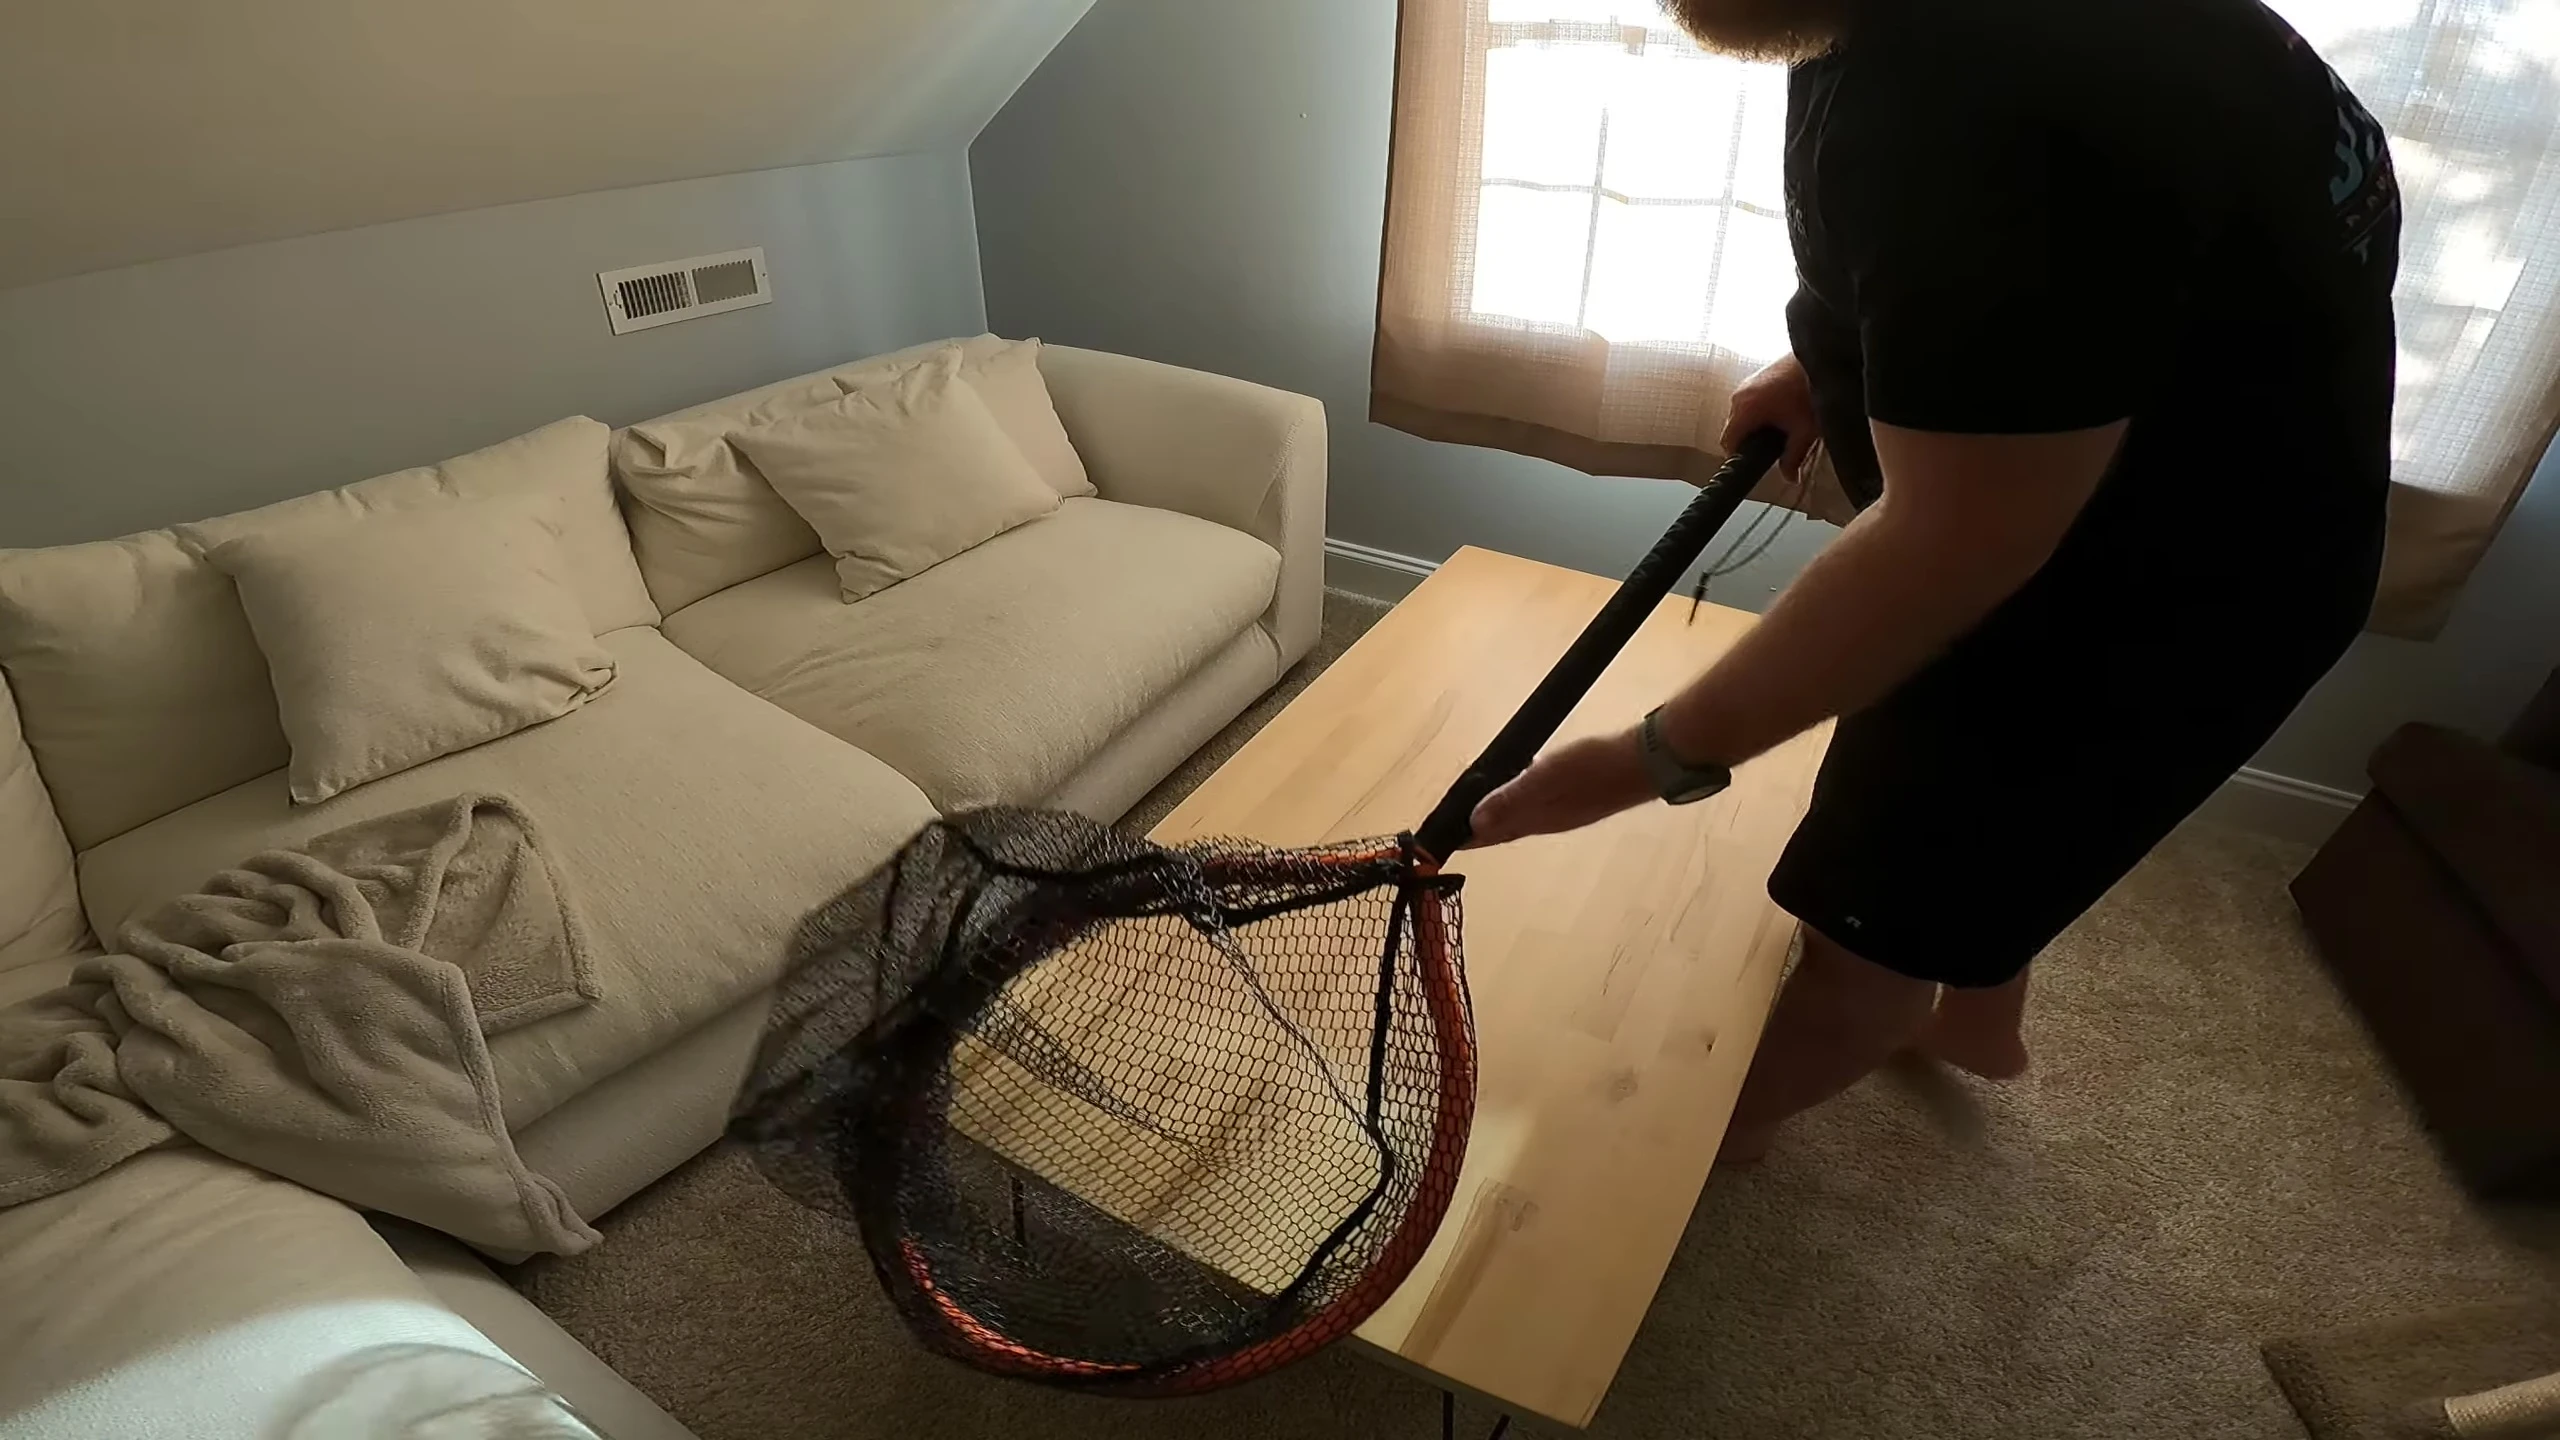
Preparing the Float Net
Begin by carefully removing the foam padding from the float net. Use a box cutter or sharp scissors to score the foam along the aluminum tube, then gently separate it from the net material.
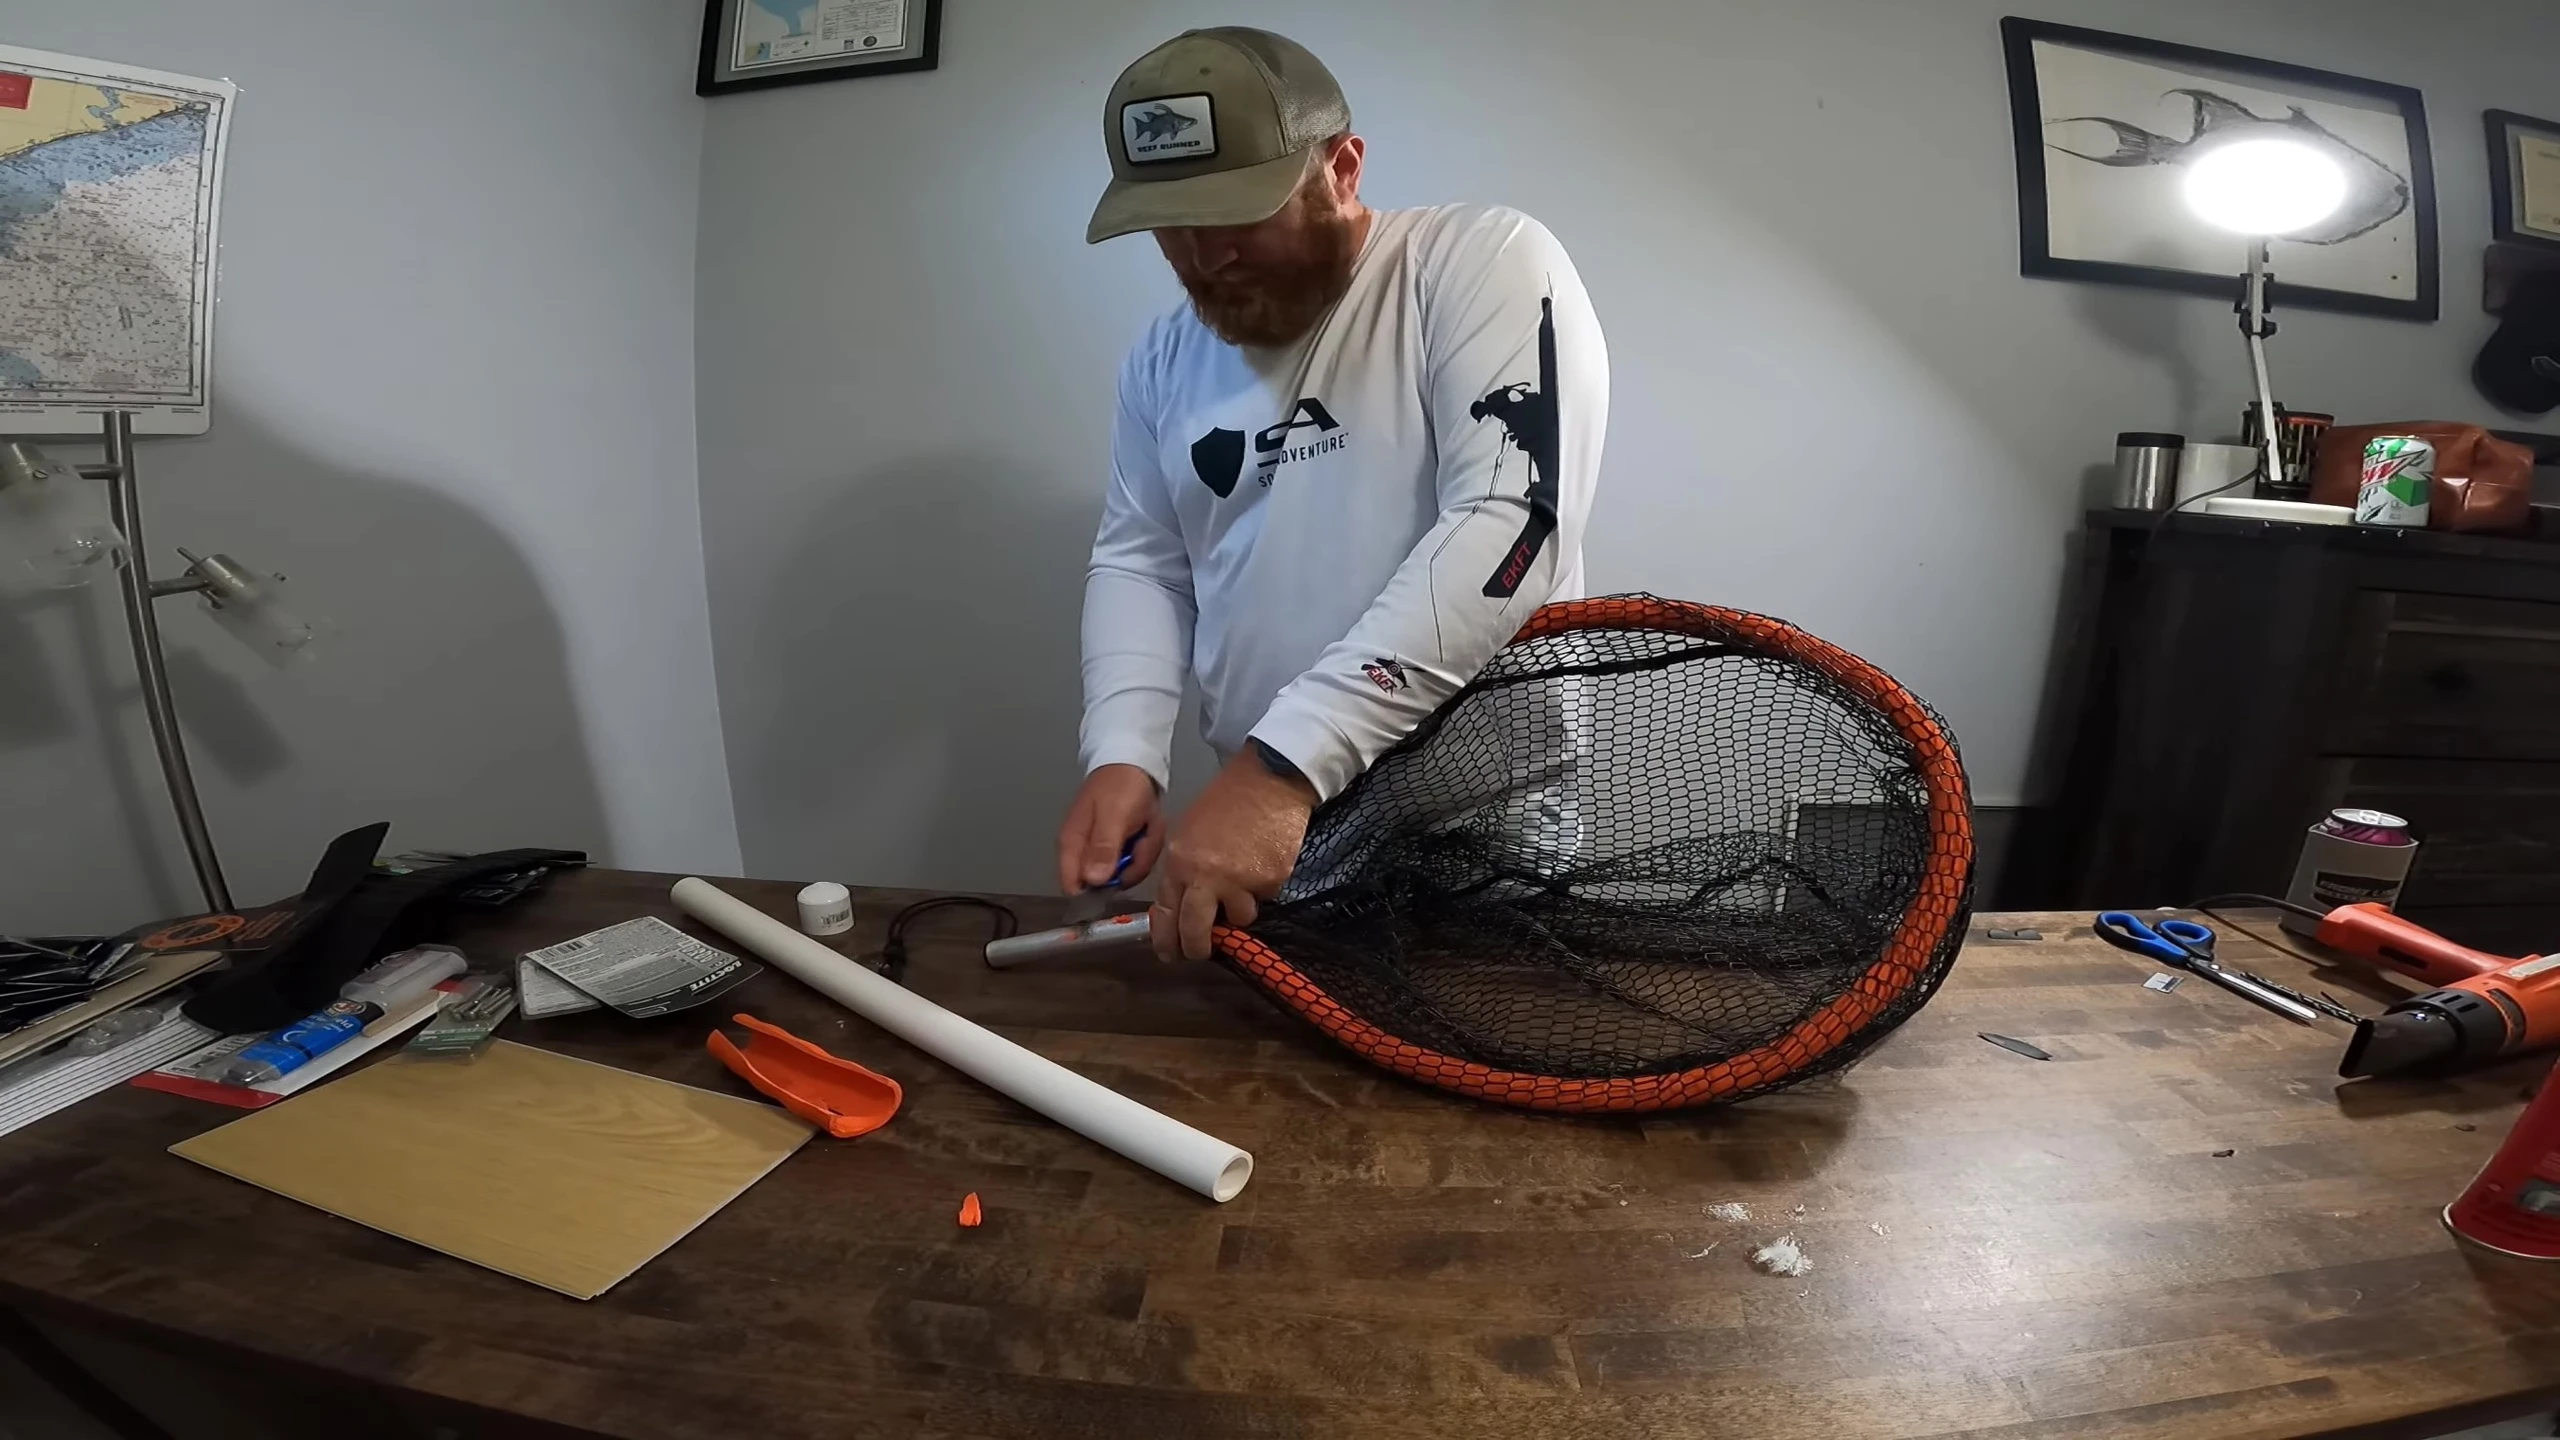
Some nets have glue holding the foam in place, requiring a little more effort for removal. Clean any excess glue residue from the net for a better epoxy bond.
A slightly roughened surface on the net will aid in a stronger epoxy bond.
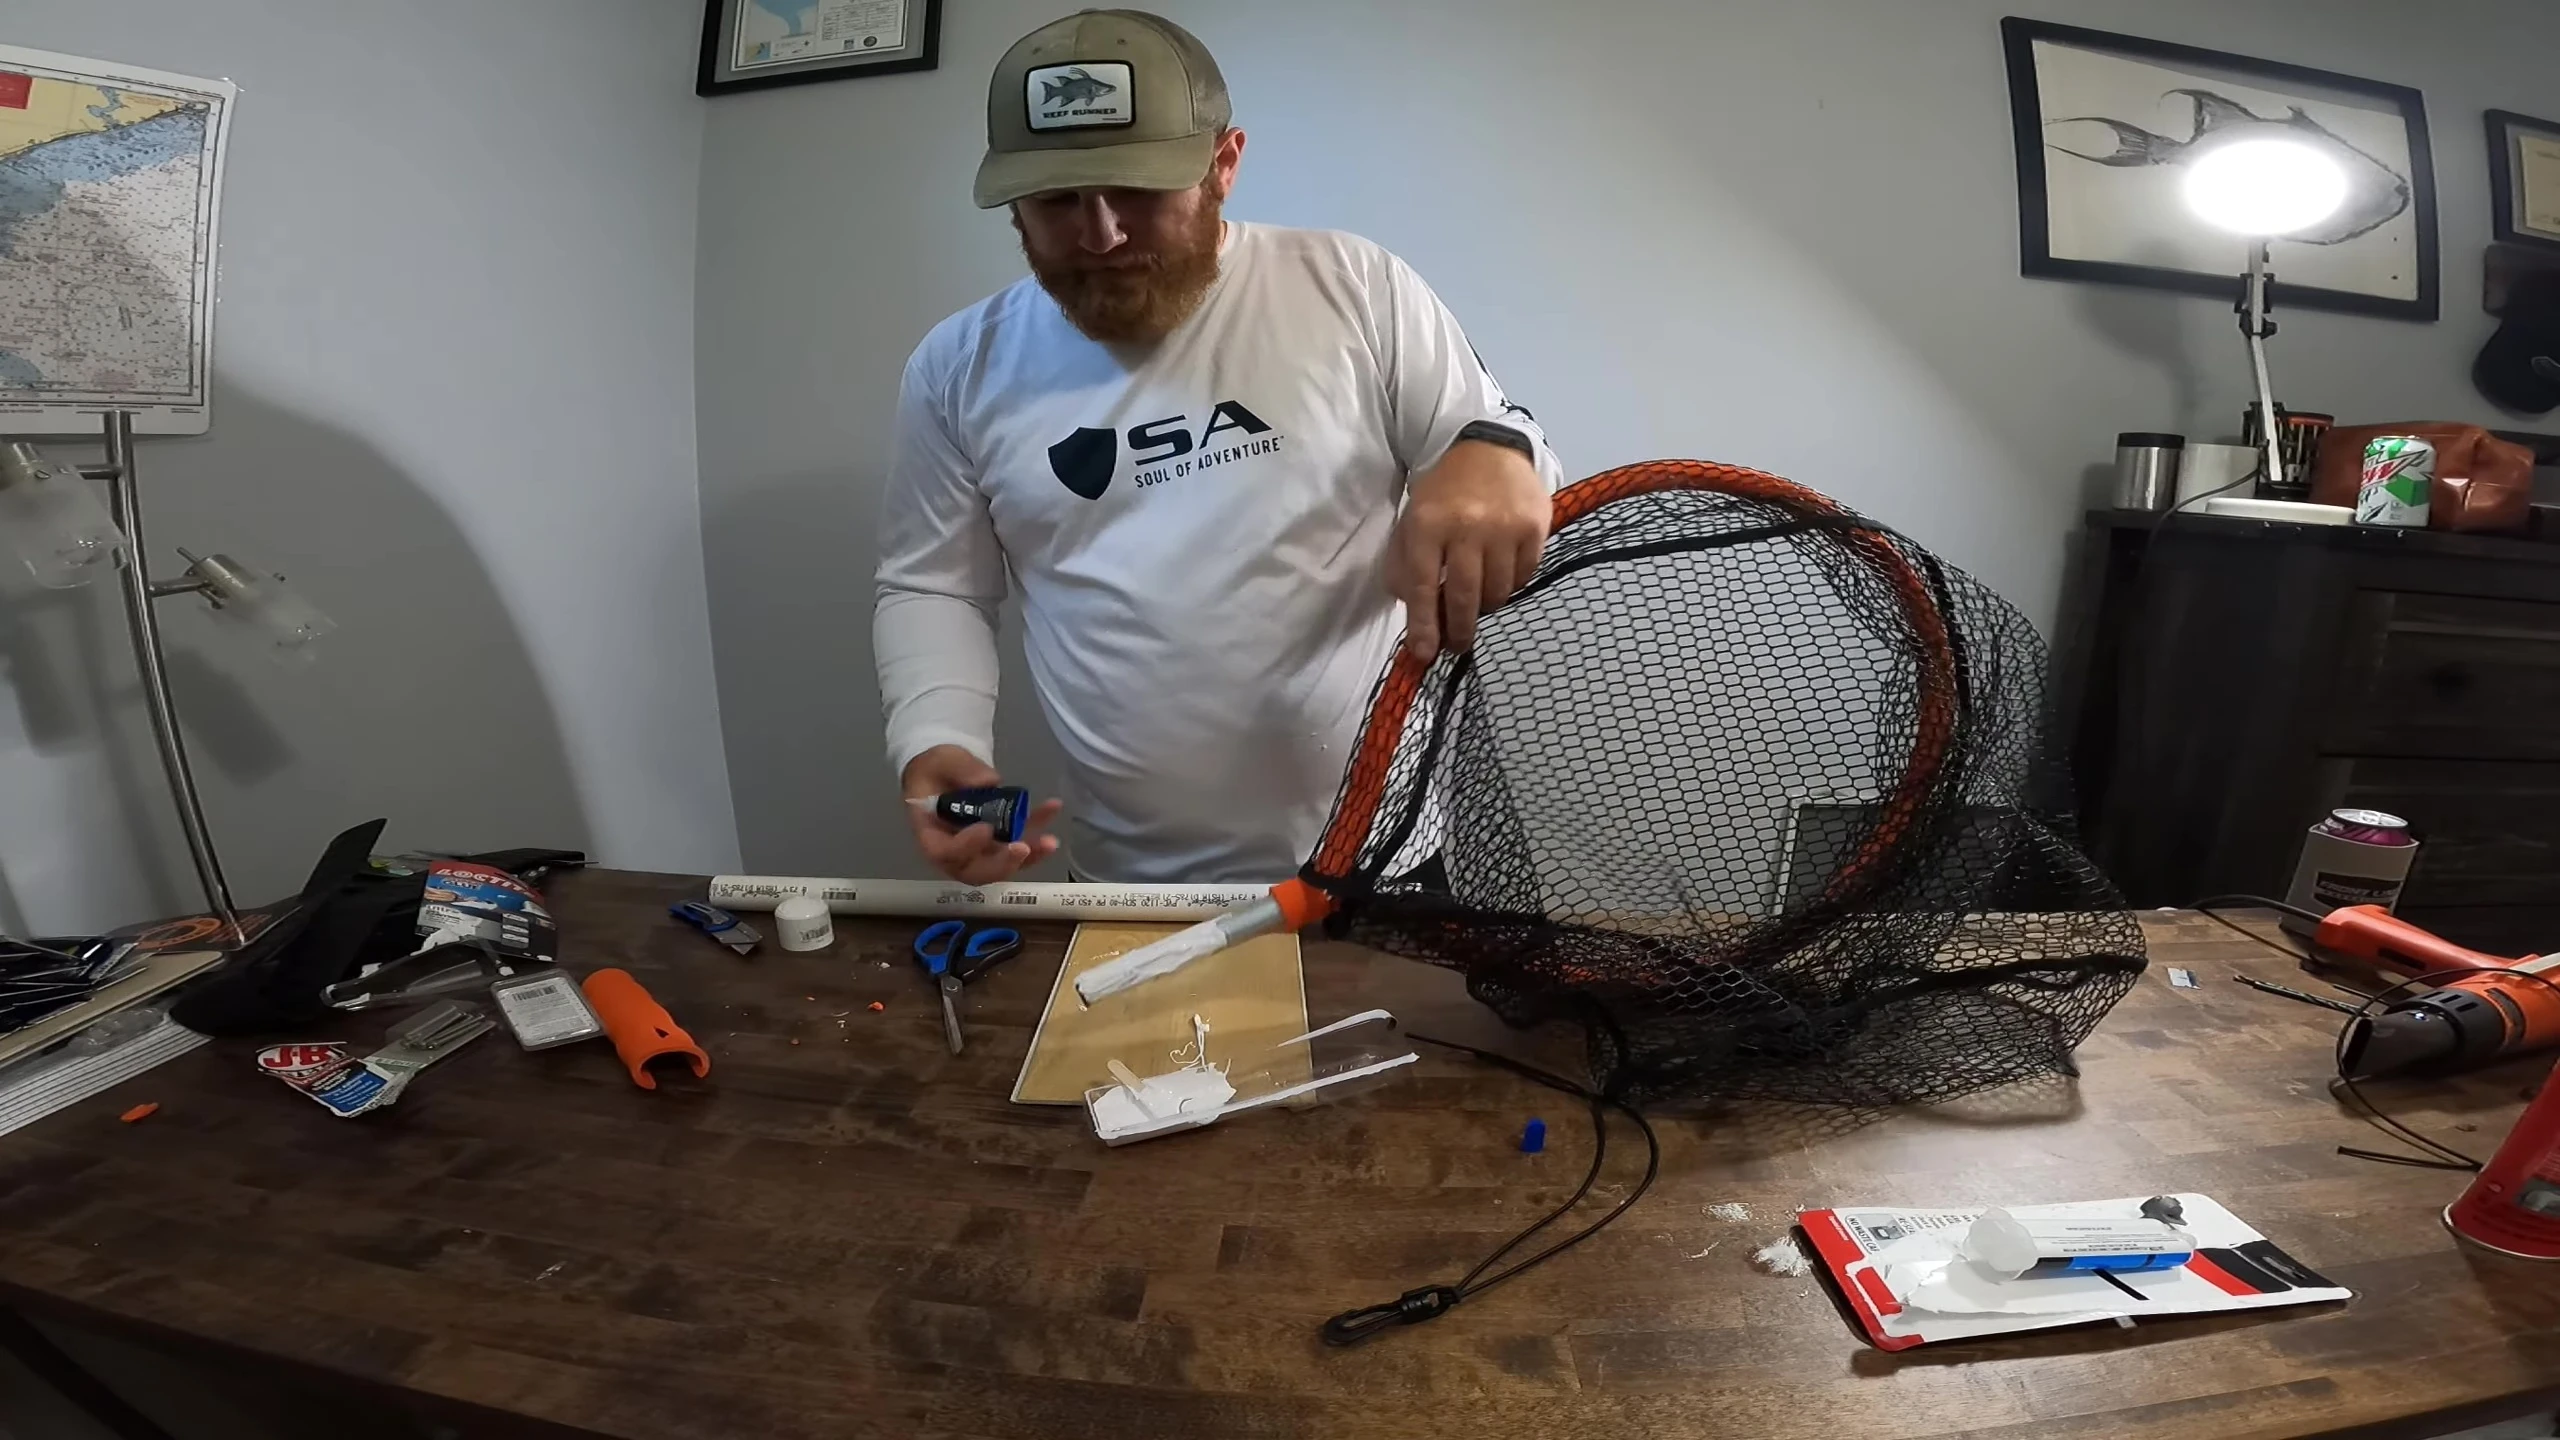
Epoxy Application and Assembly
Mix the two-part epoxy thoroughly according to the manufacturer’s instructions. A generous amount of epoxy is needed for a secure connection between the net and the PVC pipe.
Apply the epoxy to the base of the net, ensuring coverage across the area where the PVC will attach. The epoxy will help keep the net securely in place.

Position the PVC pipe onto the epoxy-coated net, ensuring it sits evenly. Use super glue around the top edge to hold the pipe securely during the epoxy curing process.
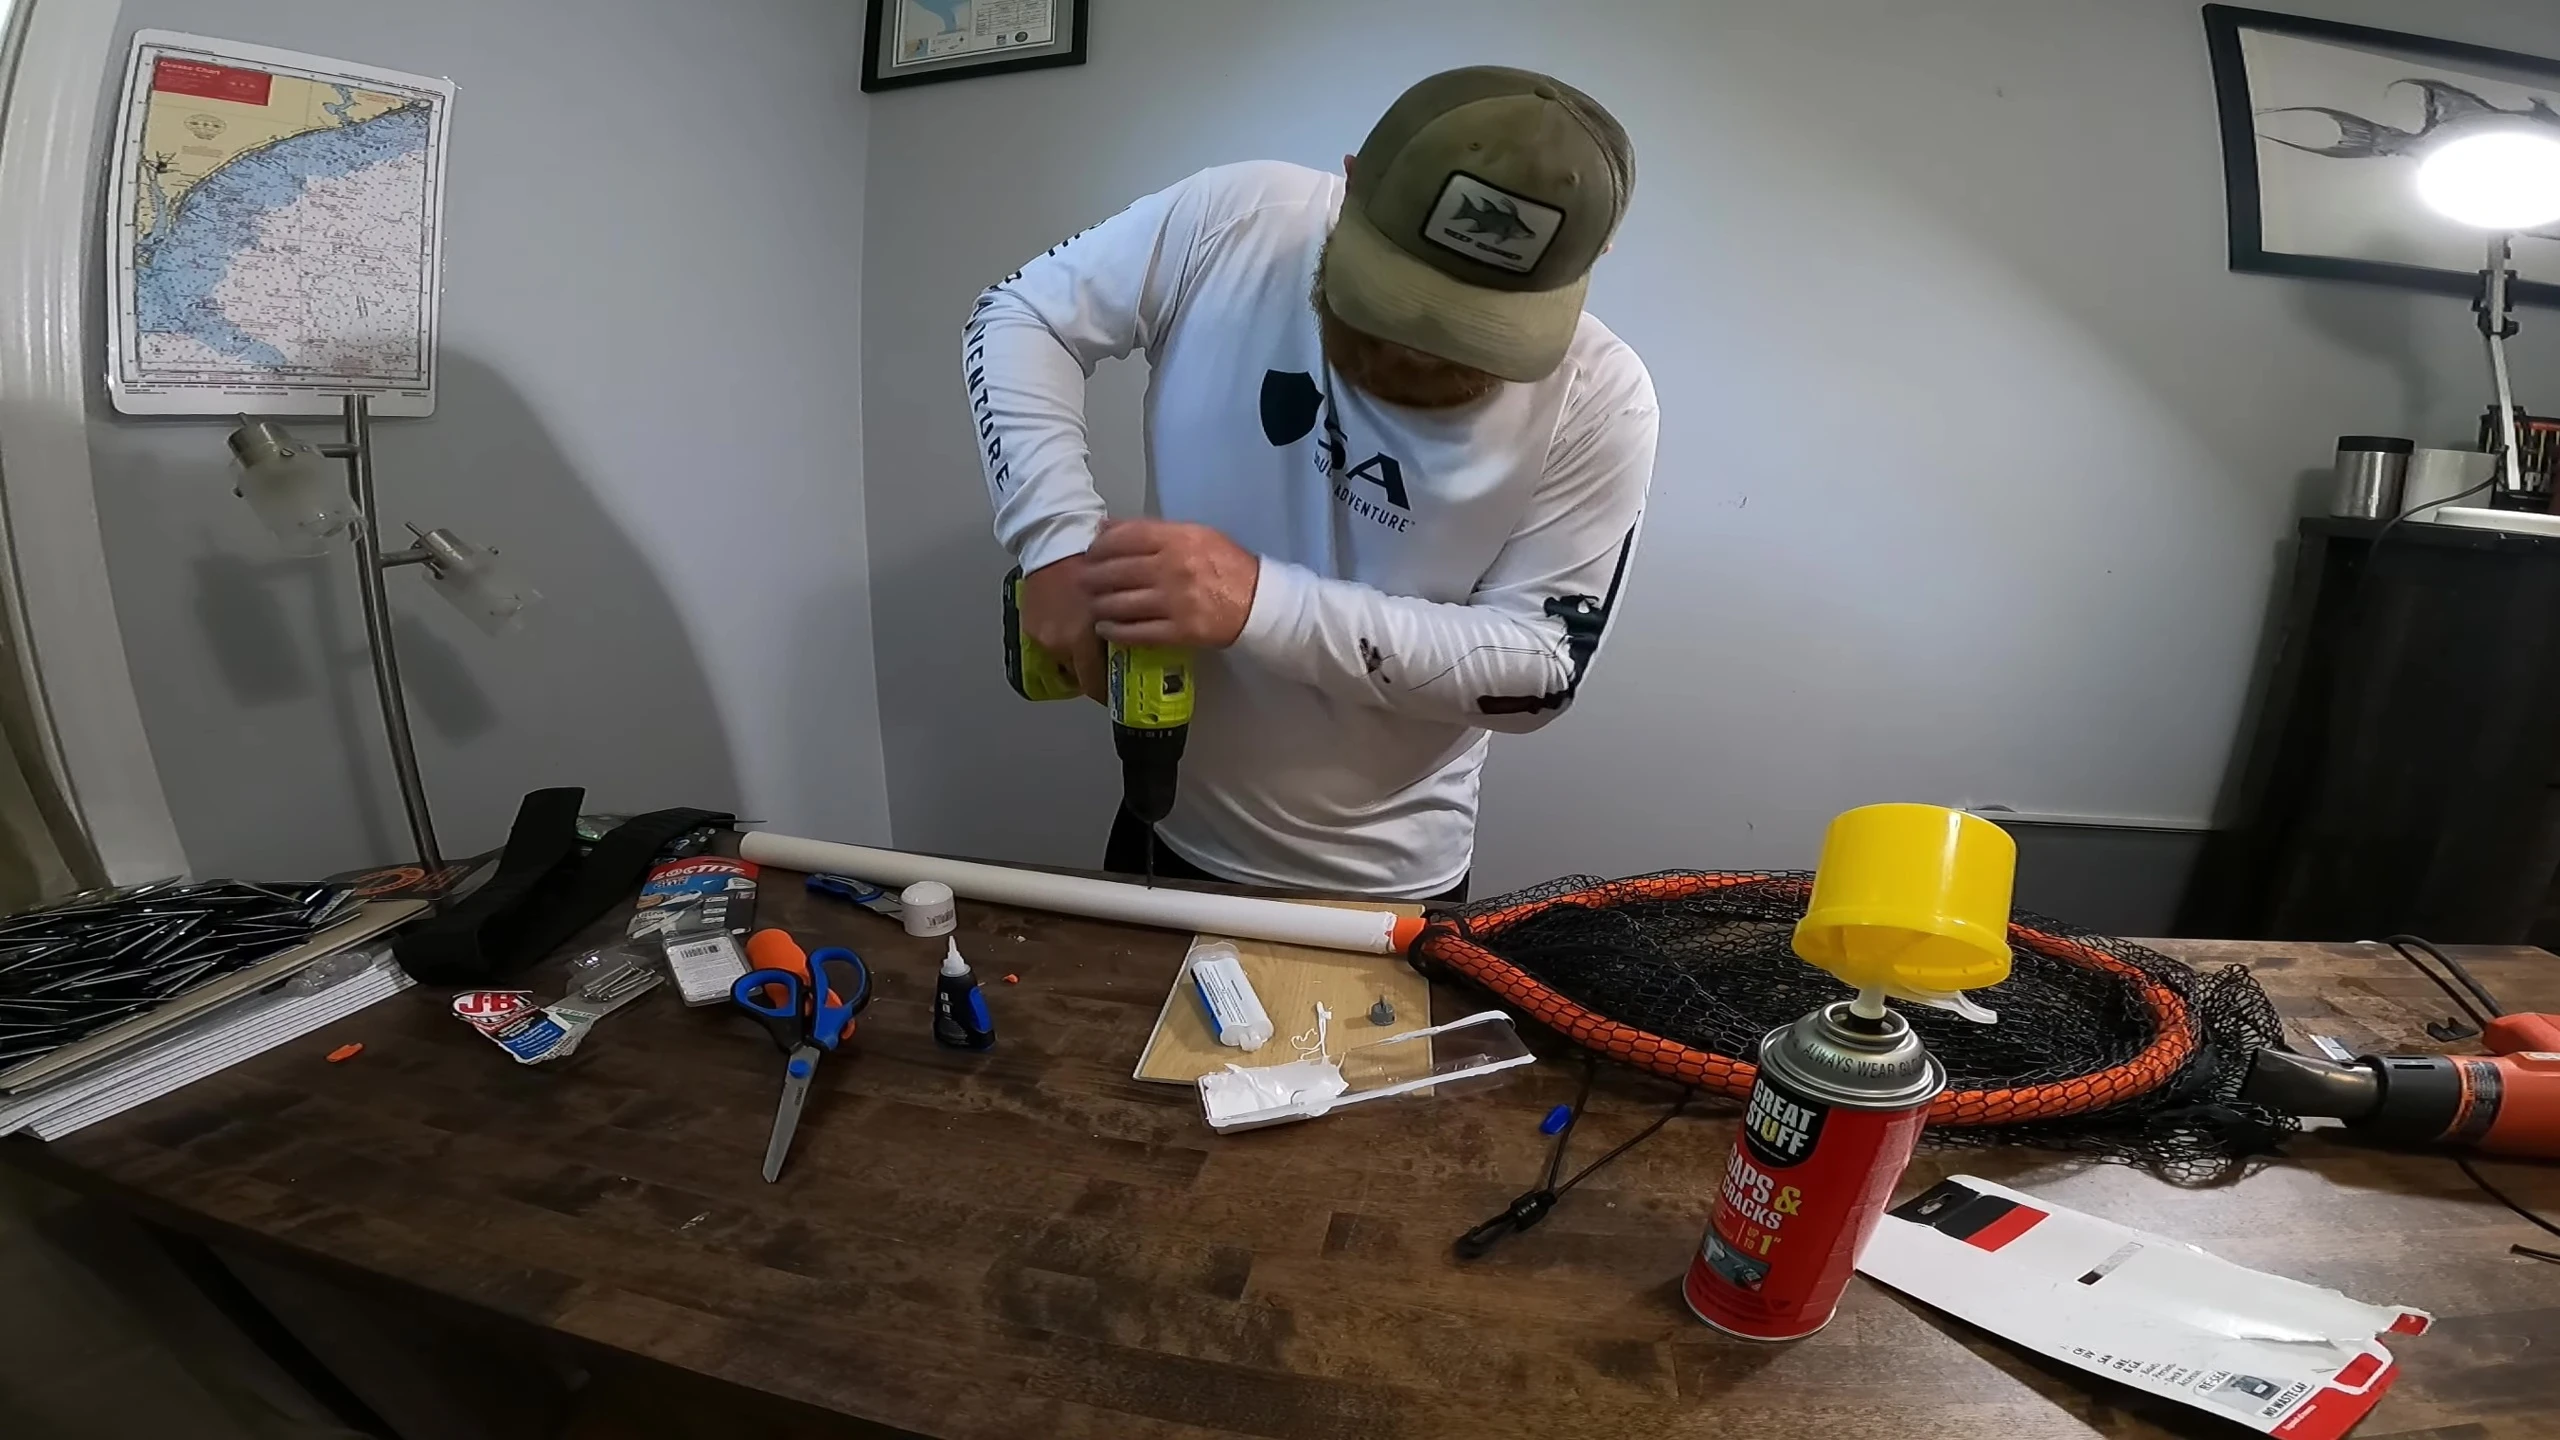
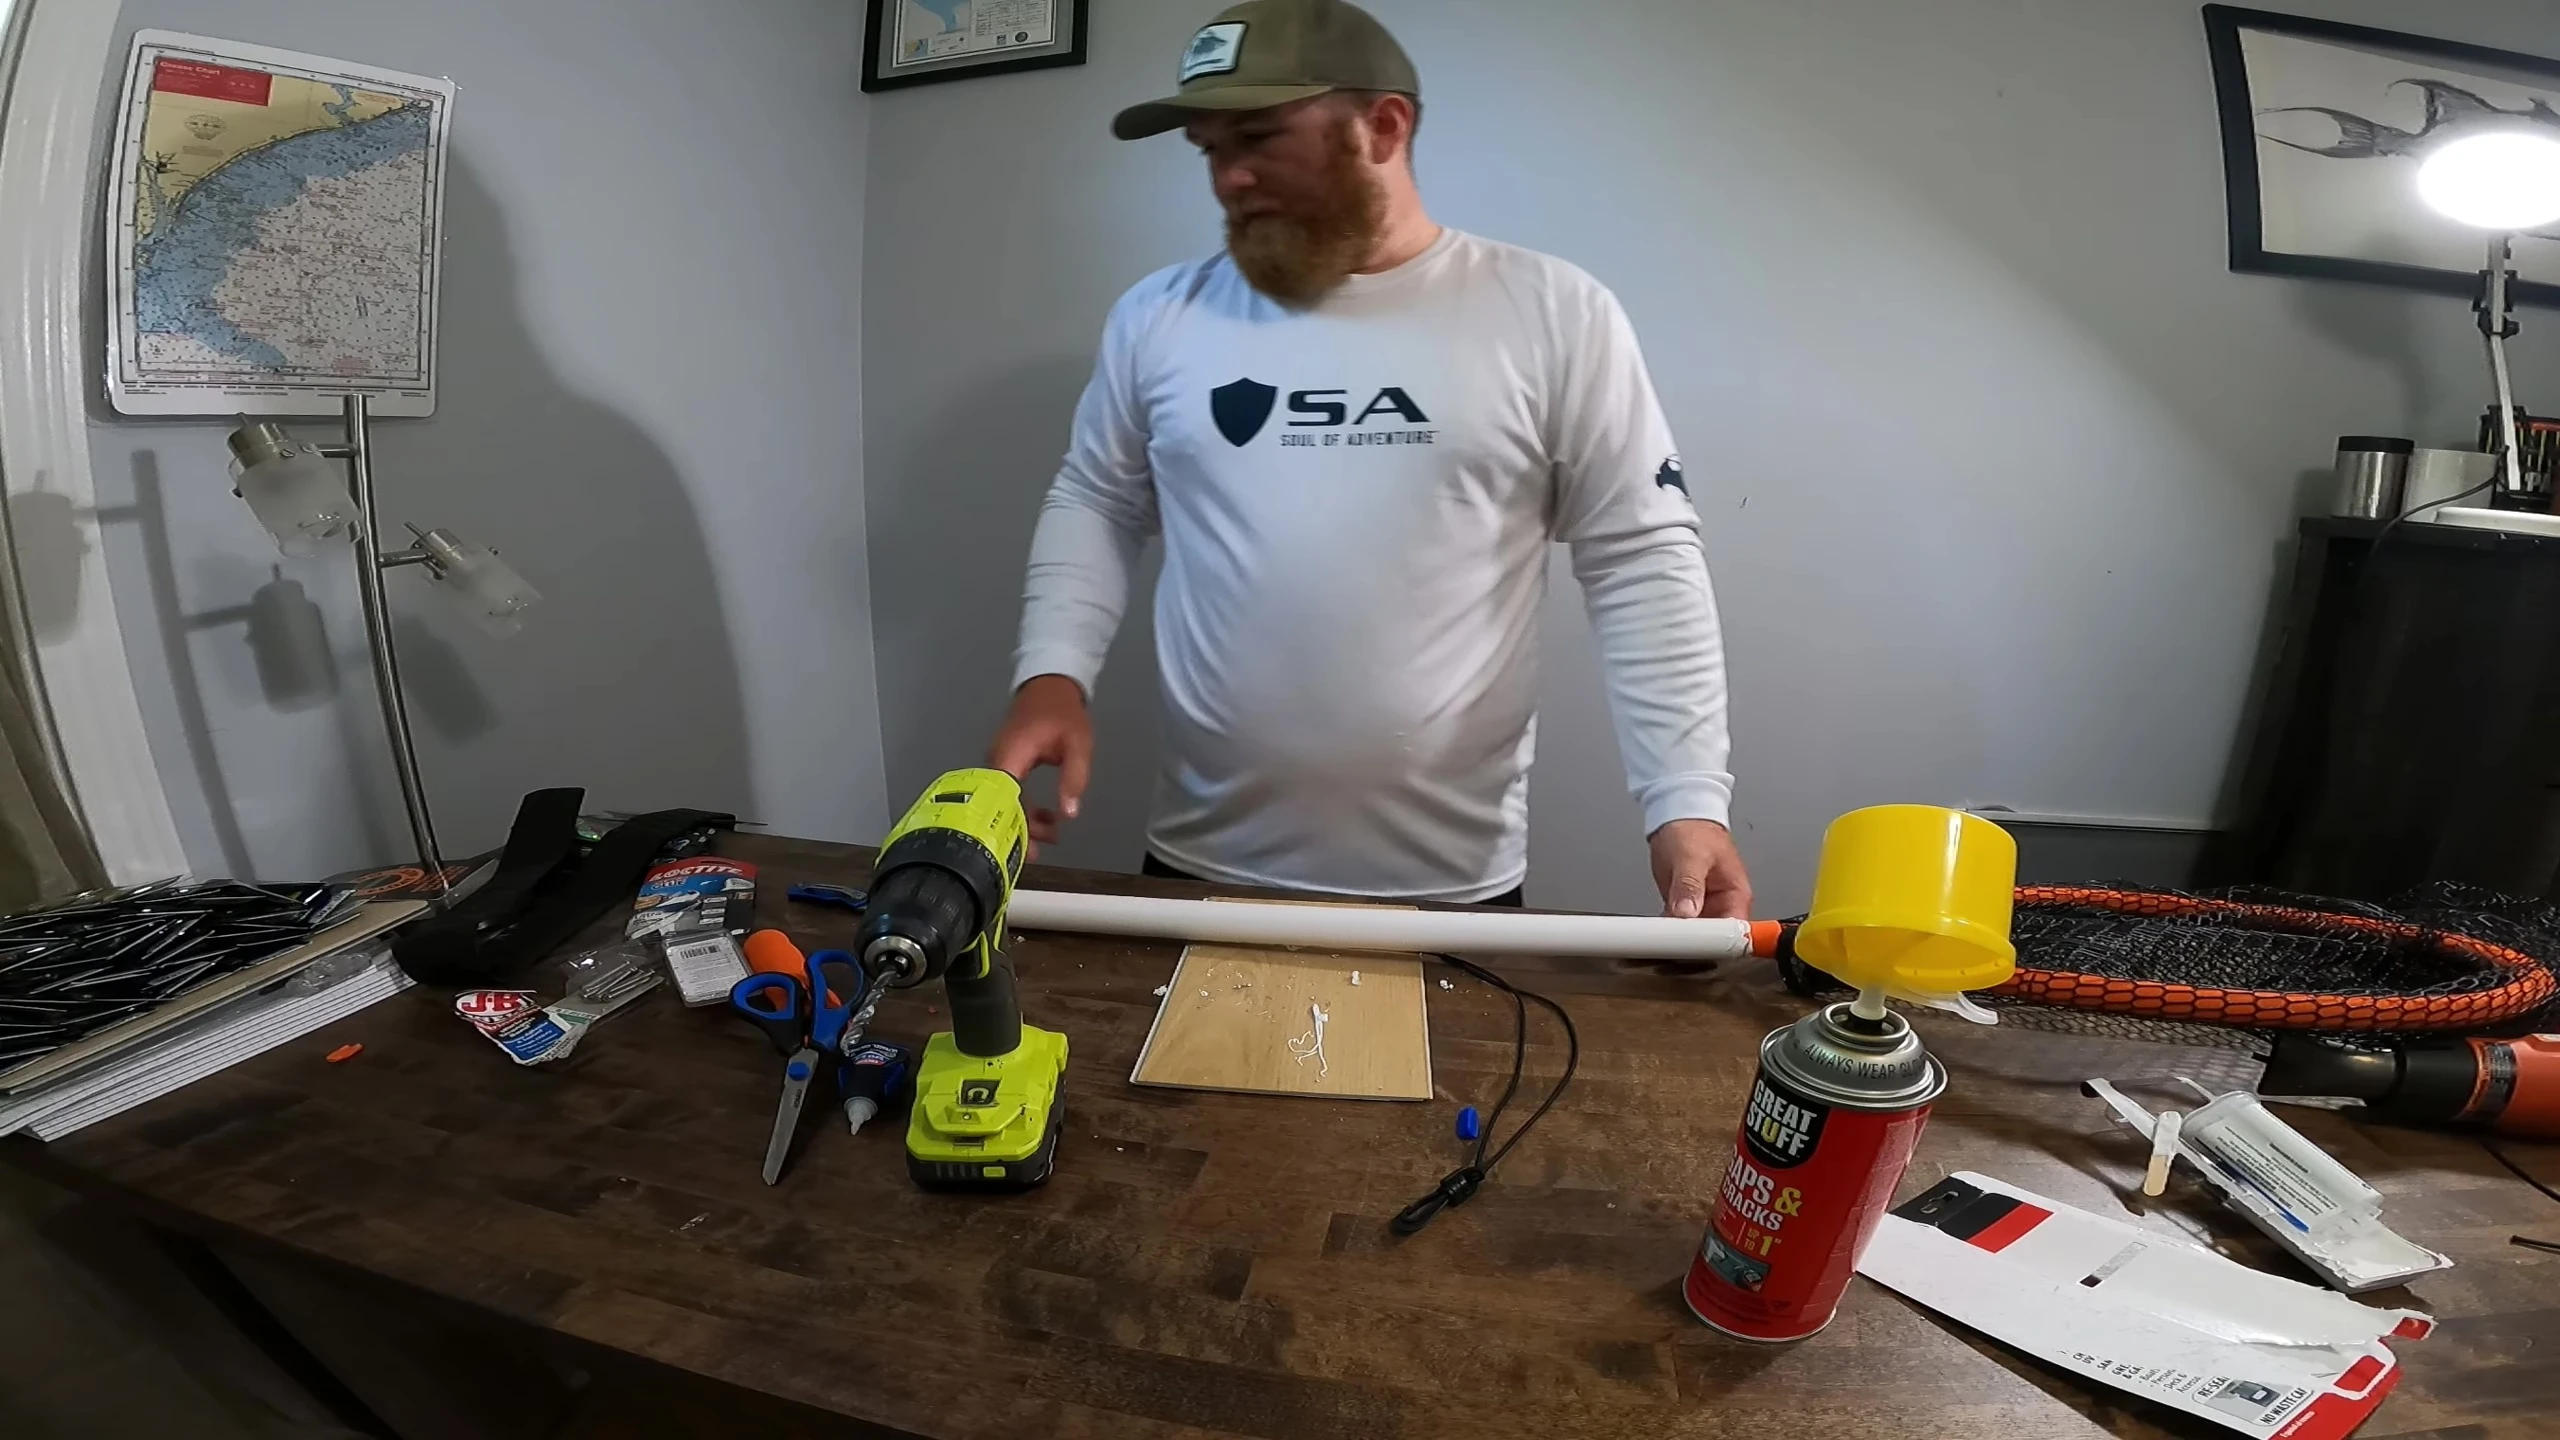
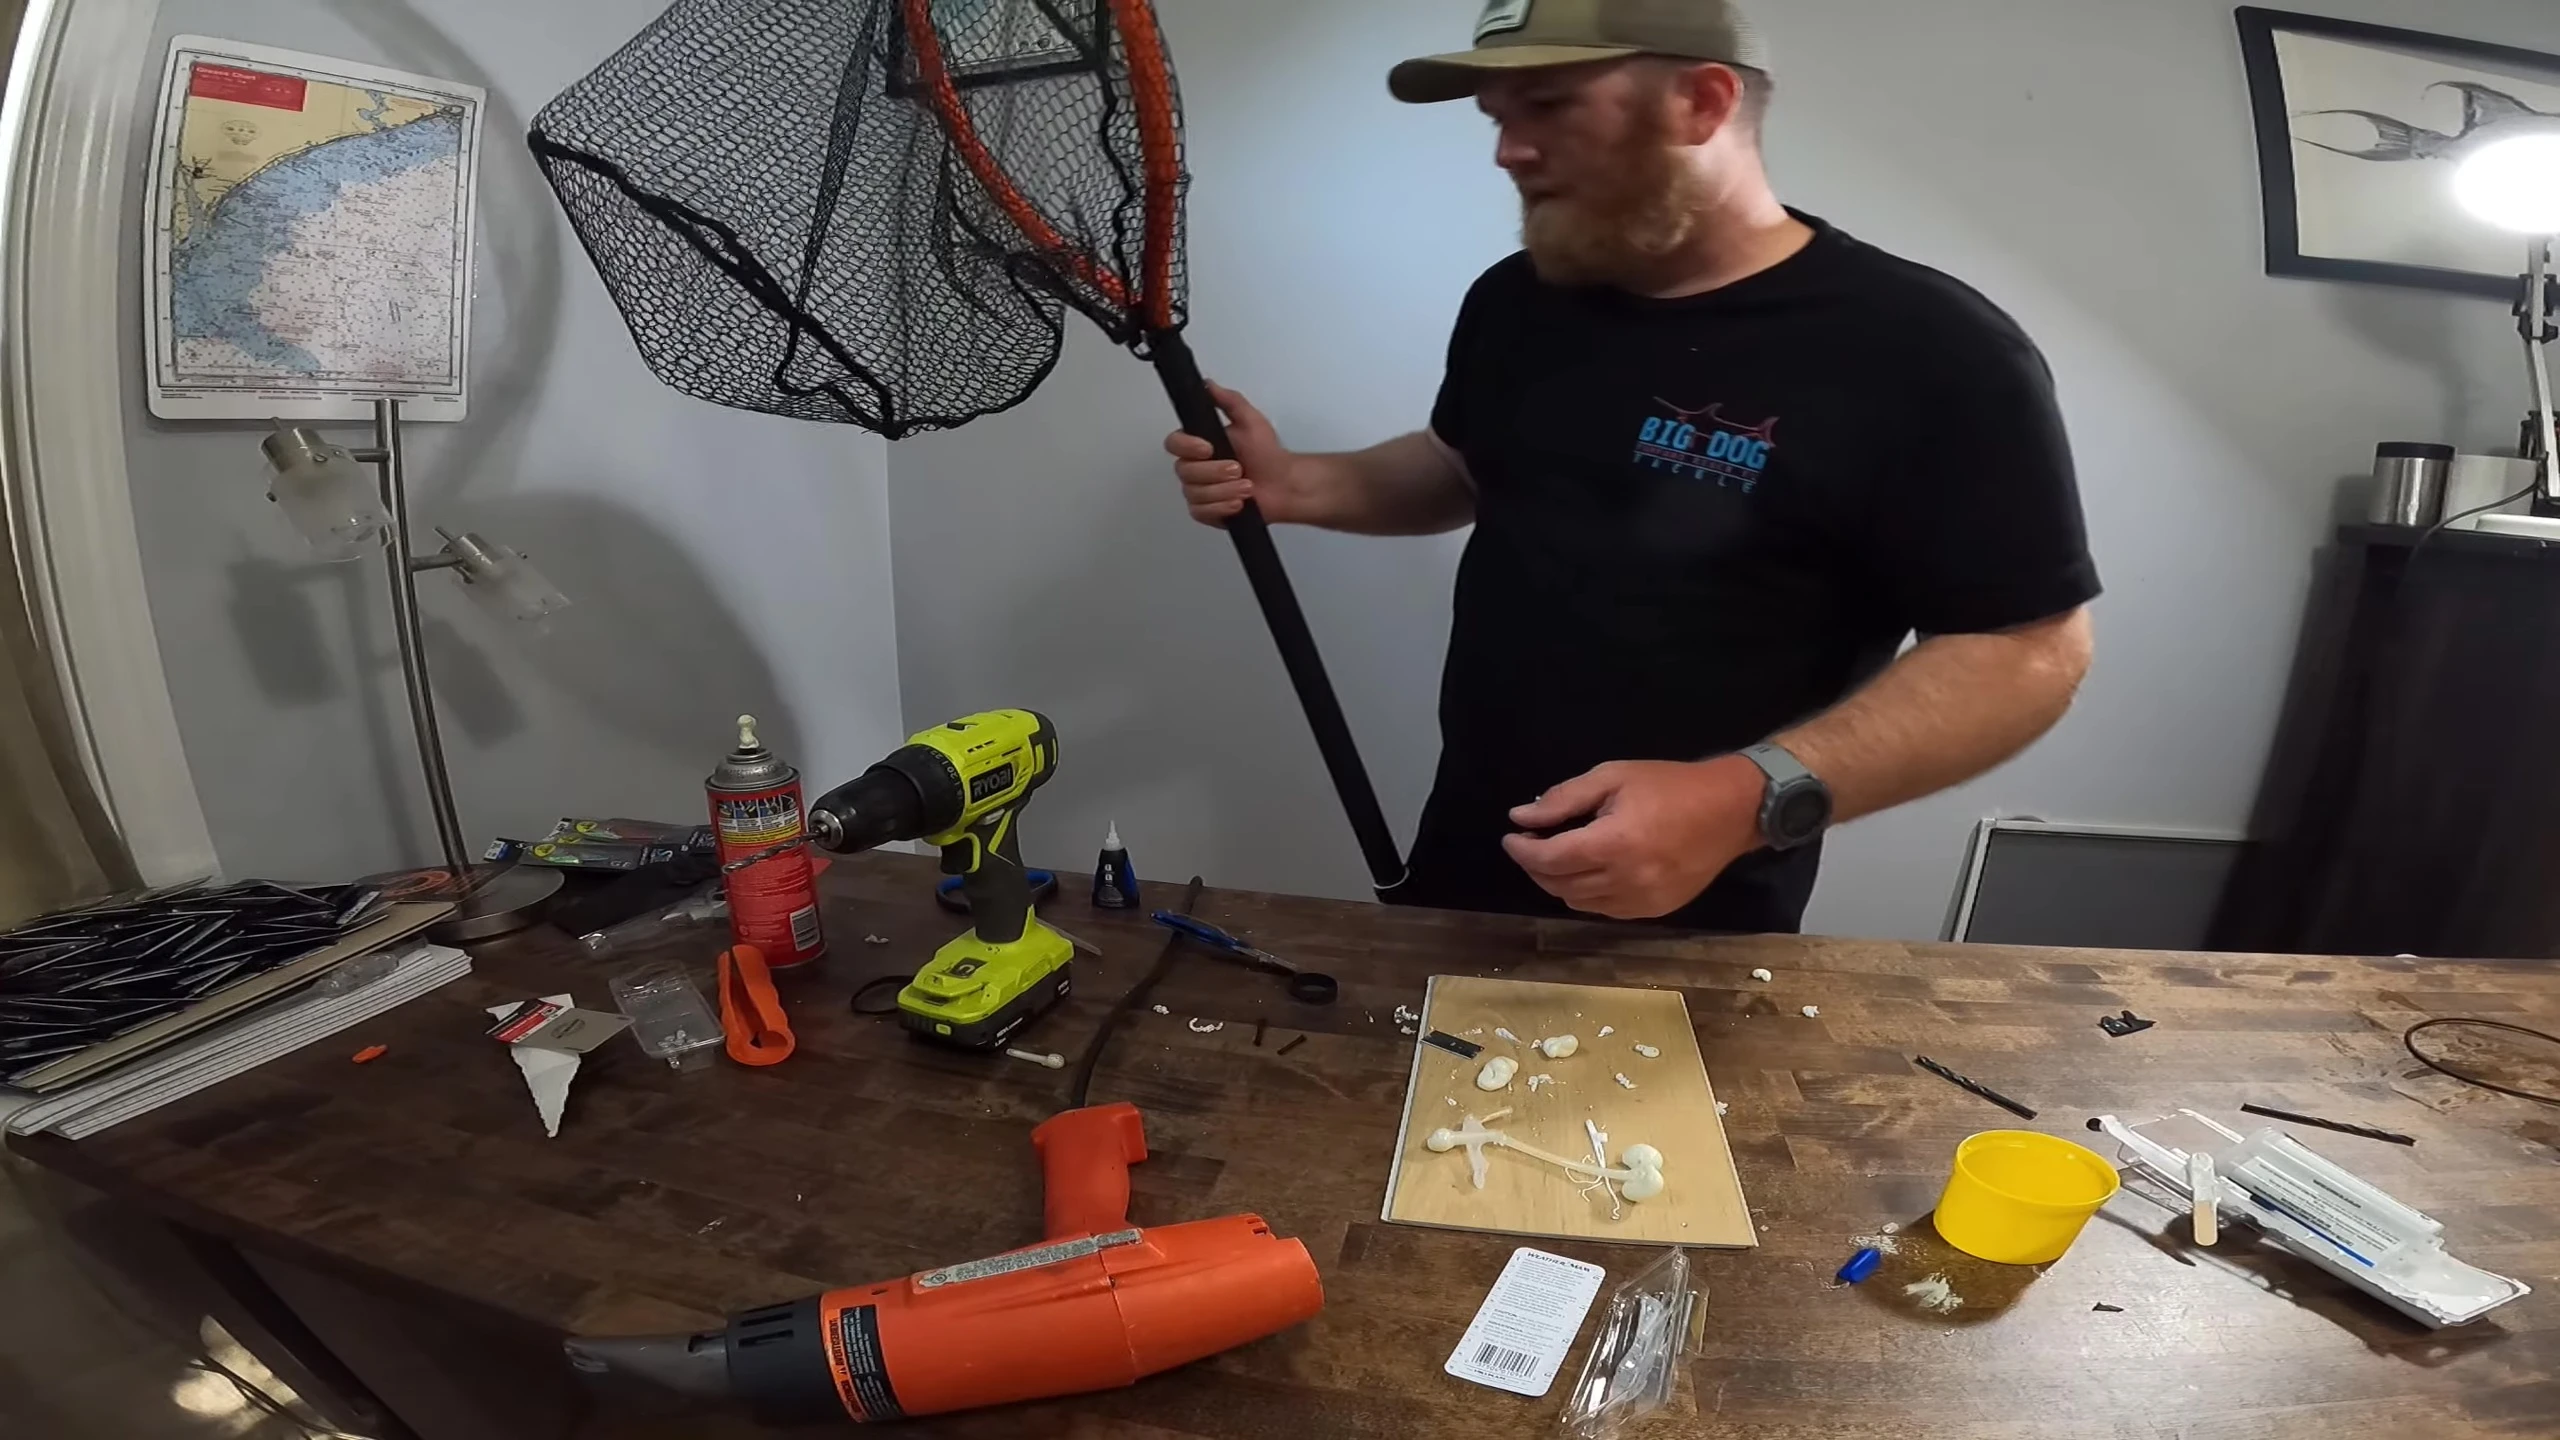
Adding Foam and X-Tube Grip
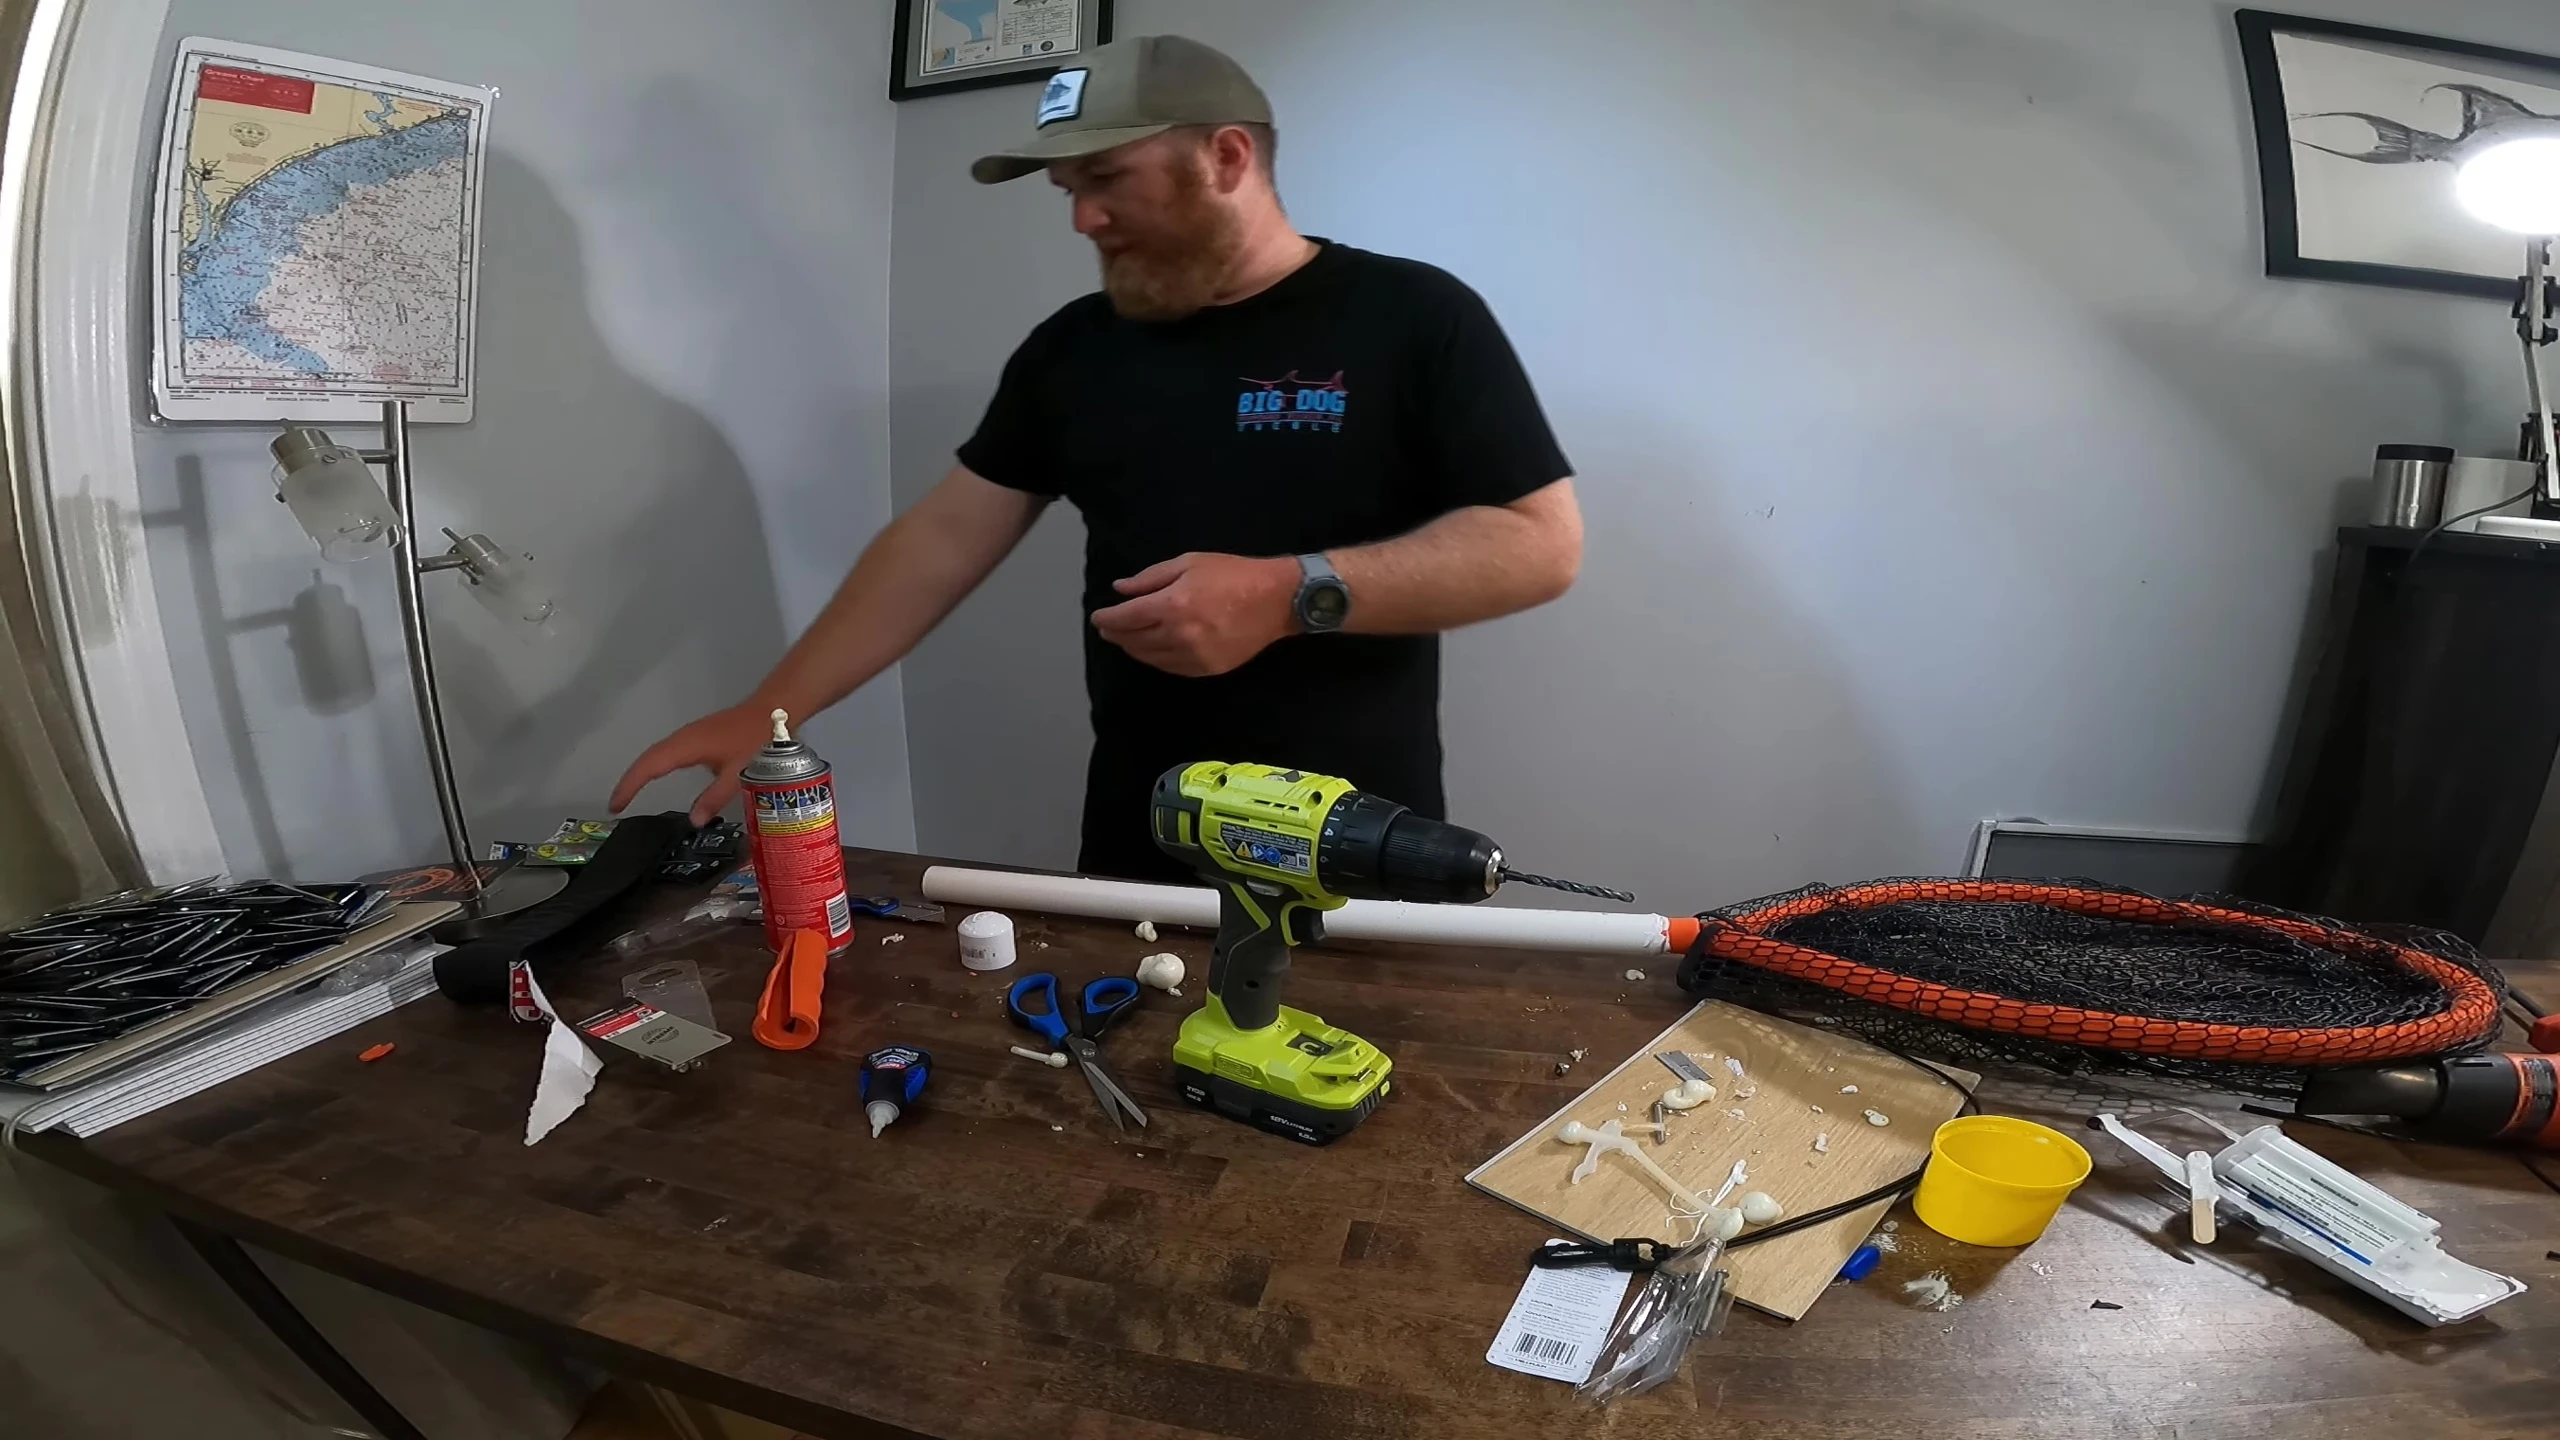
Drill holes into the PVC pipe to accommodate the expansion foam. Fill the pipe with Great Stuff foam, allowing for complete filling and expansion.
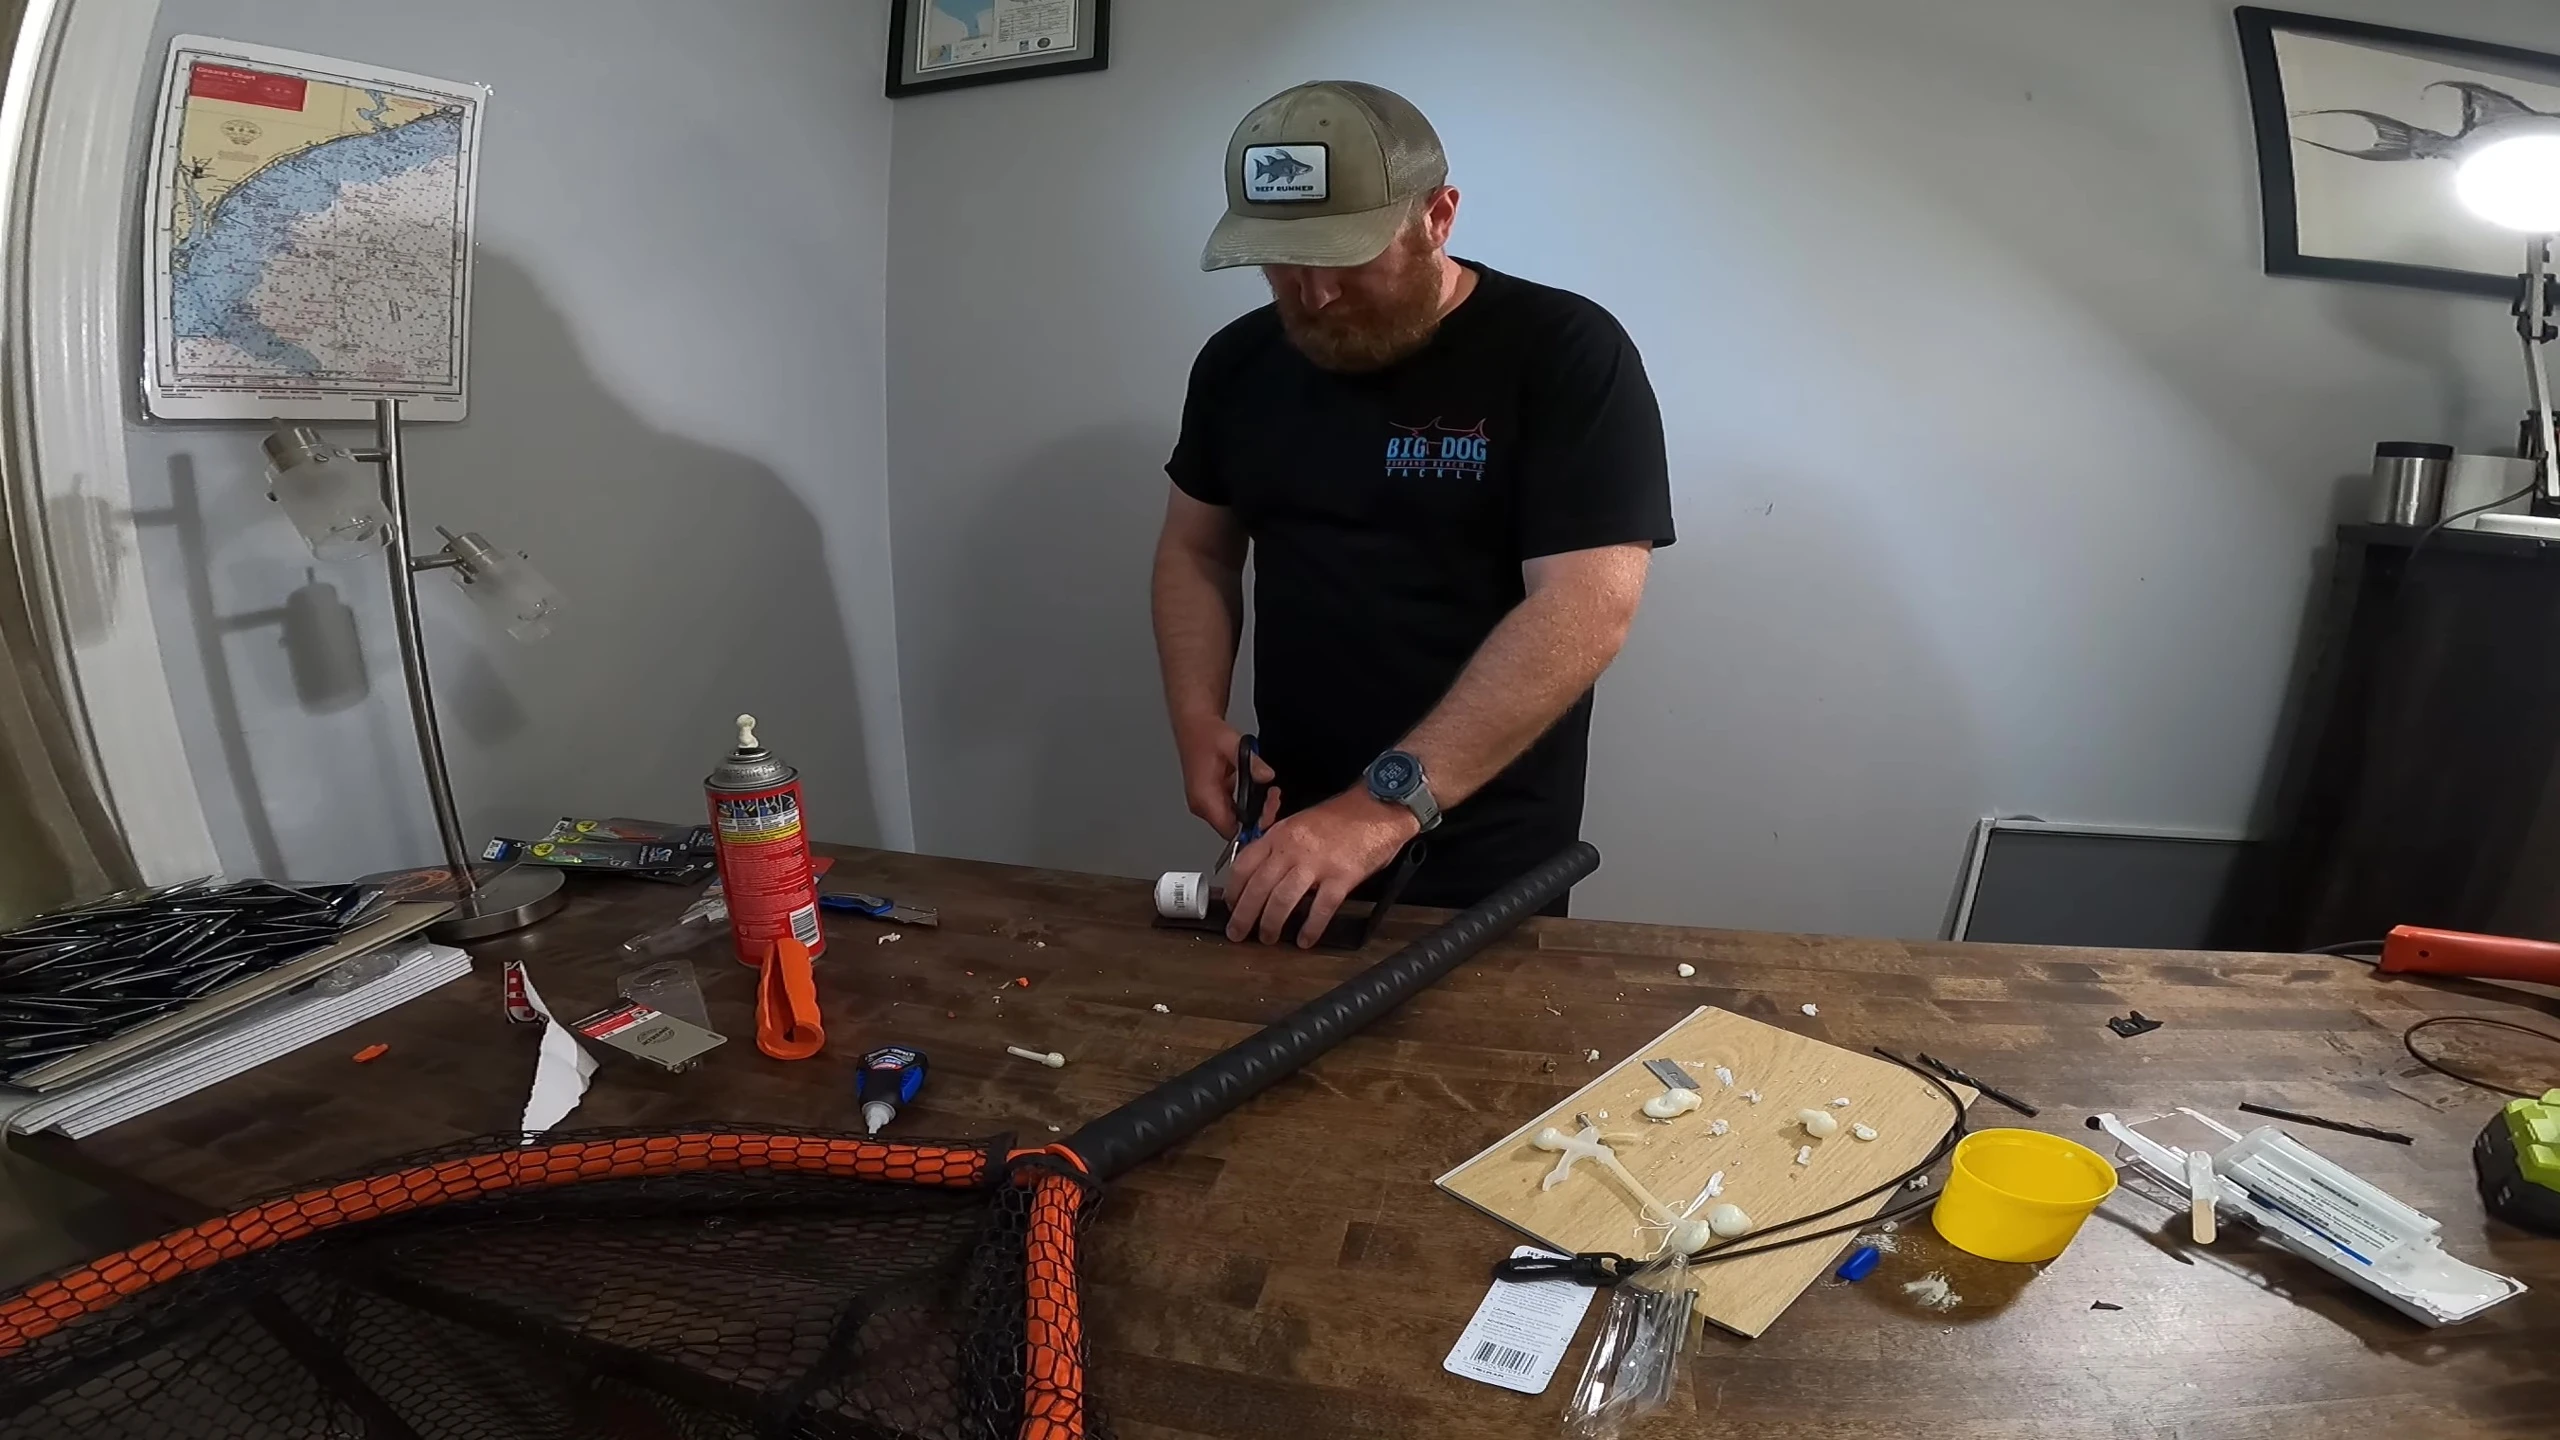
After the foam has fully cured, use a box cutter to trim any excess. This helps provide a clean, even surface for attaching the x-tube grip.
Heat the x-tube slightly with a heat gun to make it more pliable before wrapping it firmly around the foam-filled pipe, creating a secure and comfortable grip.
Final Assembly and Conclusion
Use a heat gun to warm the end cap slightly before attaching it to the PVC pipe, creating a seamless fit. Secure the net with a cord or tie.
Attach the Nylock nuts to secure the end cap and create a durable finish. Consider adding additional X-tape for added reinforcement and to flush the grip.
This DIY fishing net offers a robust and extended reach compared to standard nets. The use of durable materials and a well-thought-out design results in a high-quality net, perfect for kayaking or fishing from shore. Its strength and extended reach significantly enhance fishing capabilities.