Enhance the safety and stability of your wading boots with Grip Studs! This guide provides detailed instructions on installing Grip Studs, offering a significant improvement in traction, especially in slippery conditions. Whether your boots have raised, recessed, or felt soles, we’ll walk you through the process, ensuring a secure and effective installation for optimal performance. Proper installation is key to maximizing the lifespan and grip of your studs.This comprehensive guide covers installation techniques for three different boot types: those with raised stud receptacles (Model 3000B), those with recessed receptacles (Model 3000A), and felt-soled boots. We'll address the specific challenges of each method, emphasizing the importance of proper centering and consistent pressure for a secure fit. Learn how to achieve optimal traction and confidence in your wading boots with easy-to-follow instructions and helpful tips.
Read more: Top 5 Neoprene Fishing Boots for Ultimate Comfort & Protection
Installing Grip Studs in Raised Stud Receptacles (Model 3000B)
This section details the installation of Grip Studs Model 3000B into wading boots with raised stud receptacles. The process involves sliding the stud into the prongs, ensuring it's centered, and pushing until the stud's shoulder is flush with the rubber surface.
Proper centering is crucial for optimal grip and even wear. The snug fit should provide secure traction without excessive force. Always check the stud is correctly seated before use.
Installing Grip Studs in Recessed Stud Receptacles (Model 3000A)
Installation of the Model 3000A studs in boots with recessed receptacles is similar to the raised receptacle method. However, these studs are slightly longer. Maintaining a centered position during installation is essential.
Again, a secure and even fit is key to optimal performance. Take your time to ensure proper alignment before pushing the stud all the way in. The added length requires careful insertion.
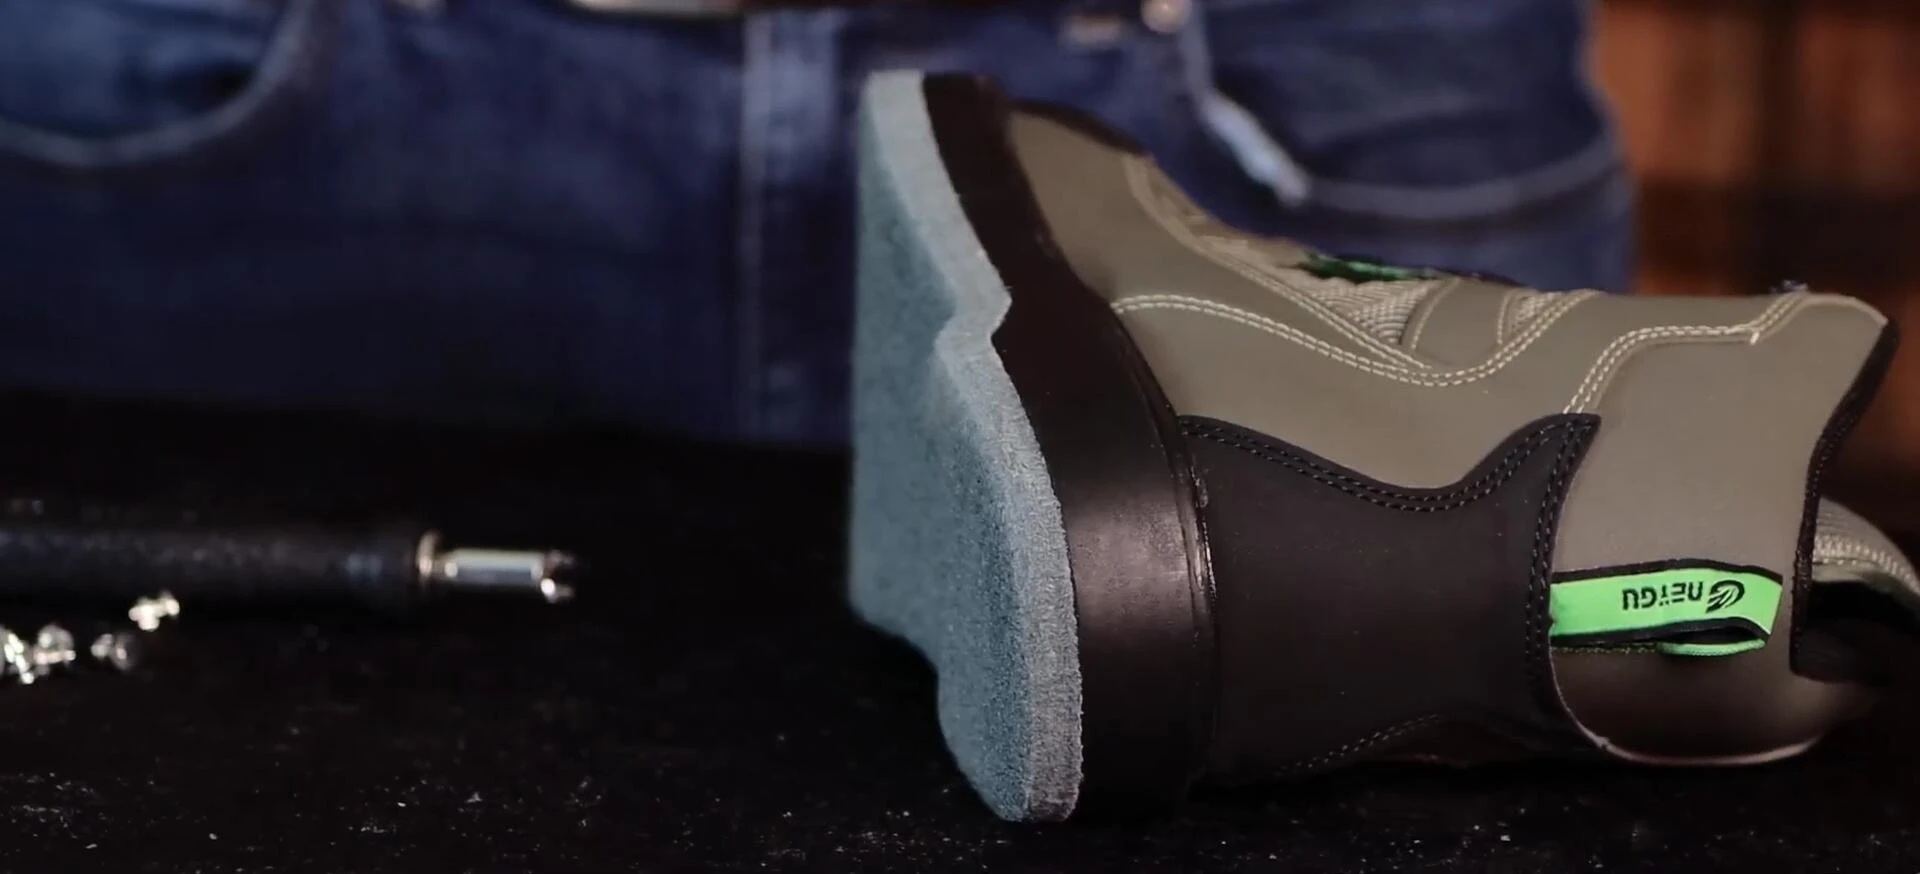
Installing Grip Studs in Felt Boots
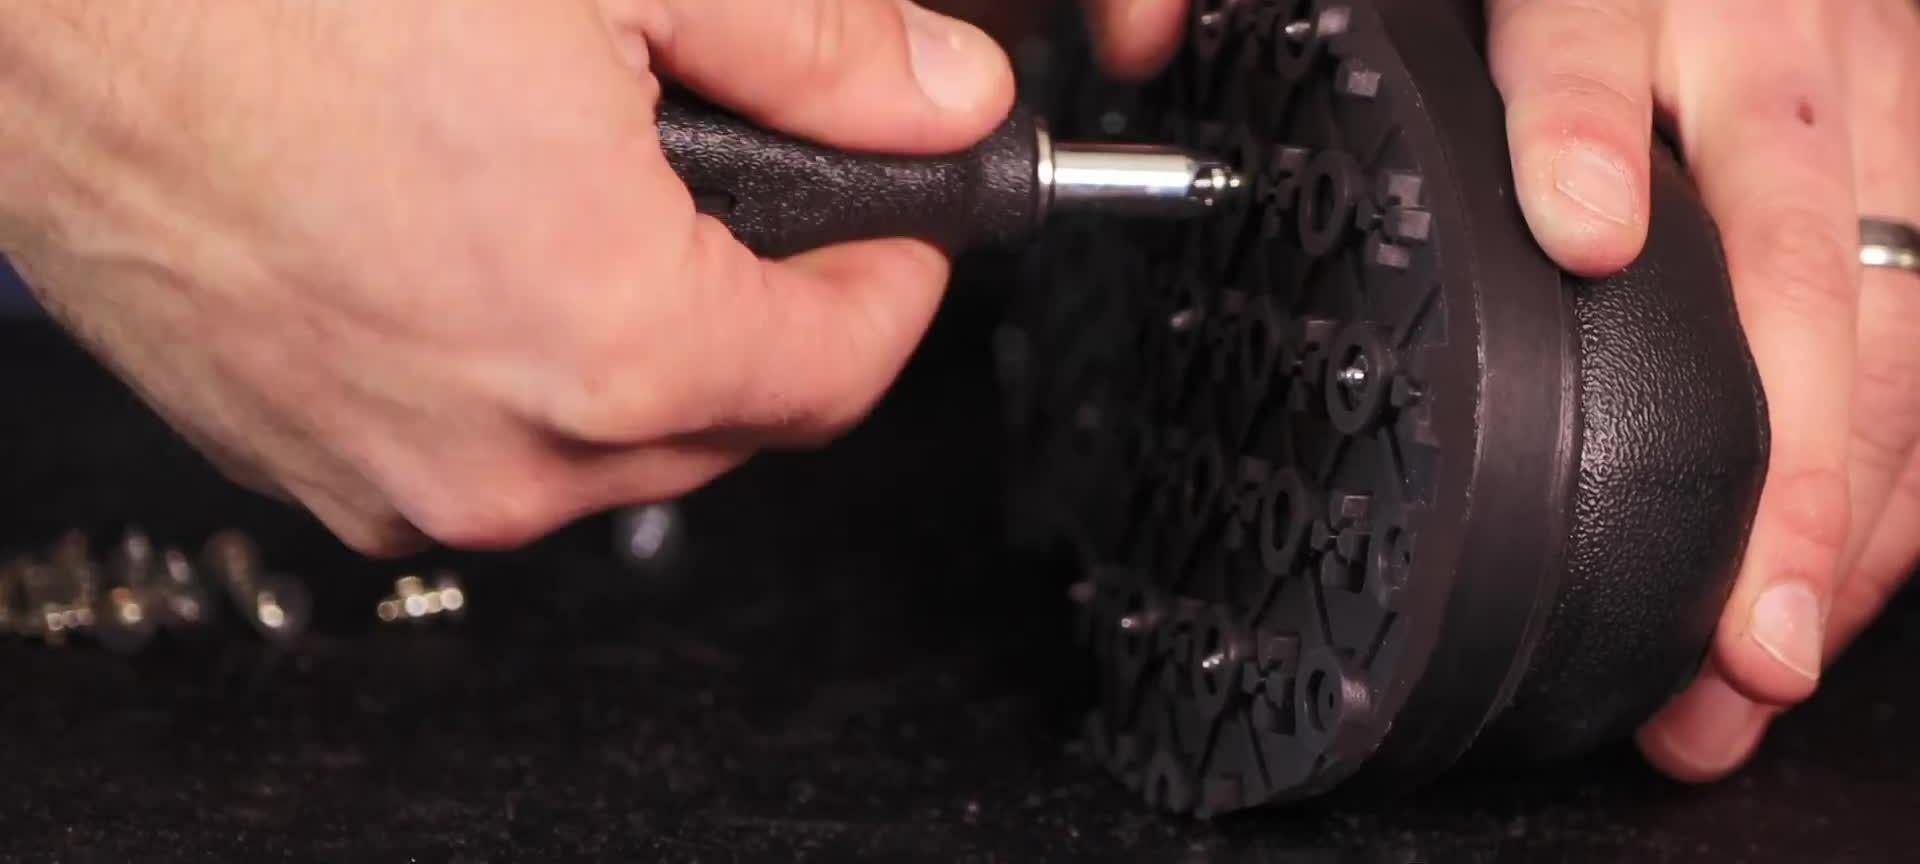
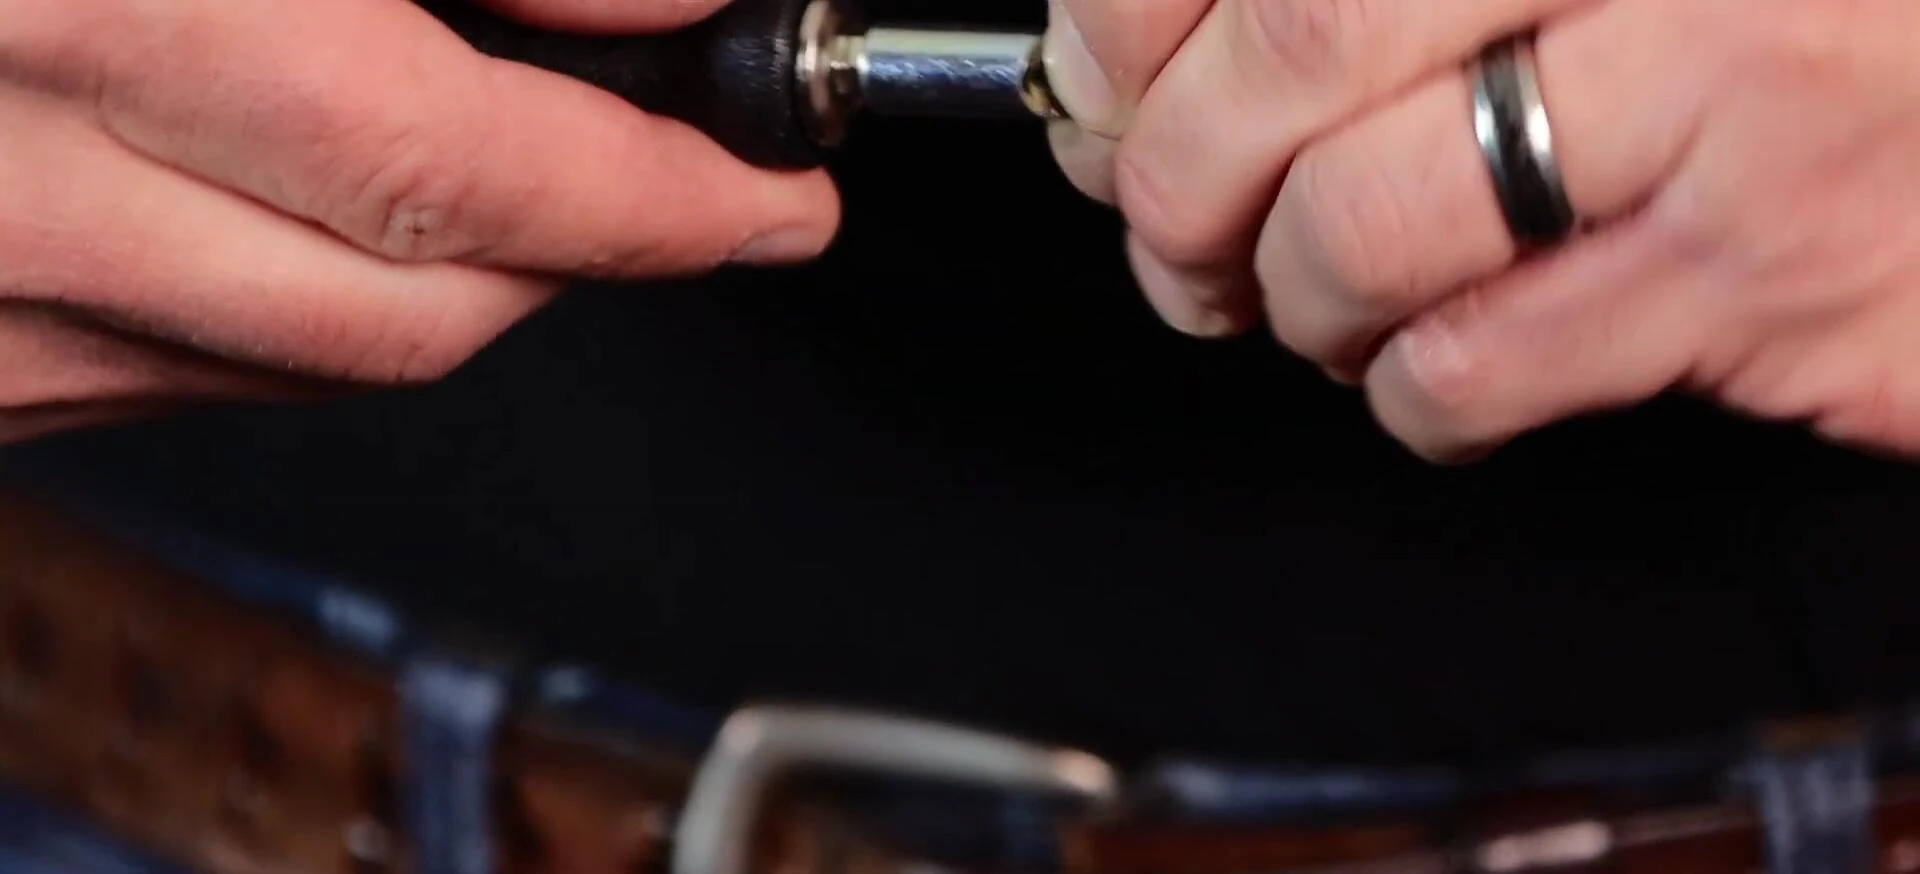
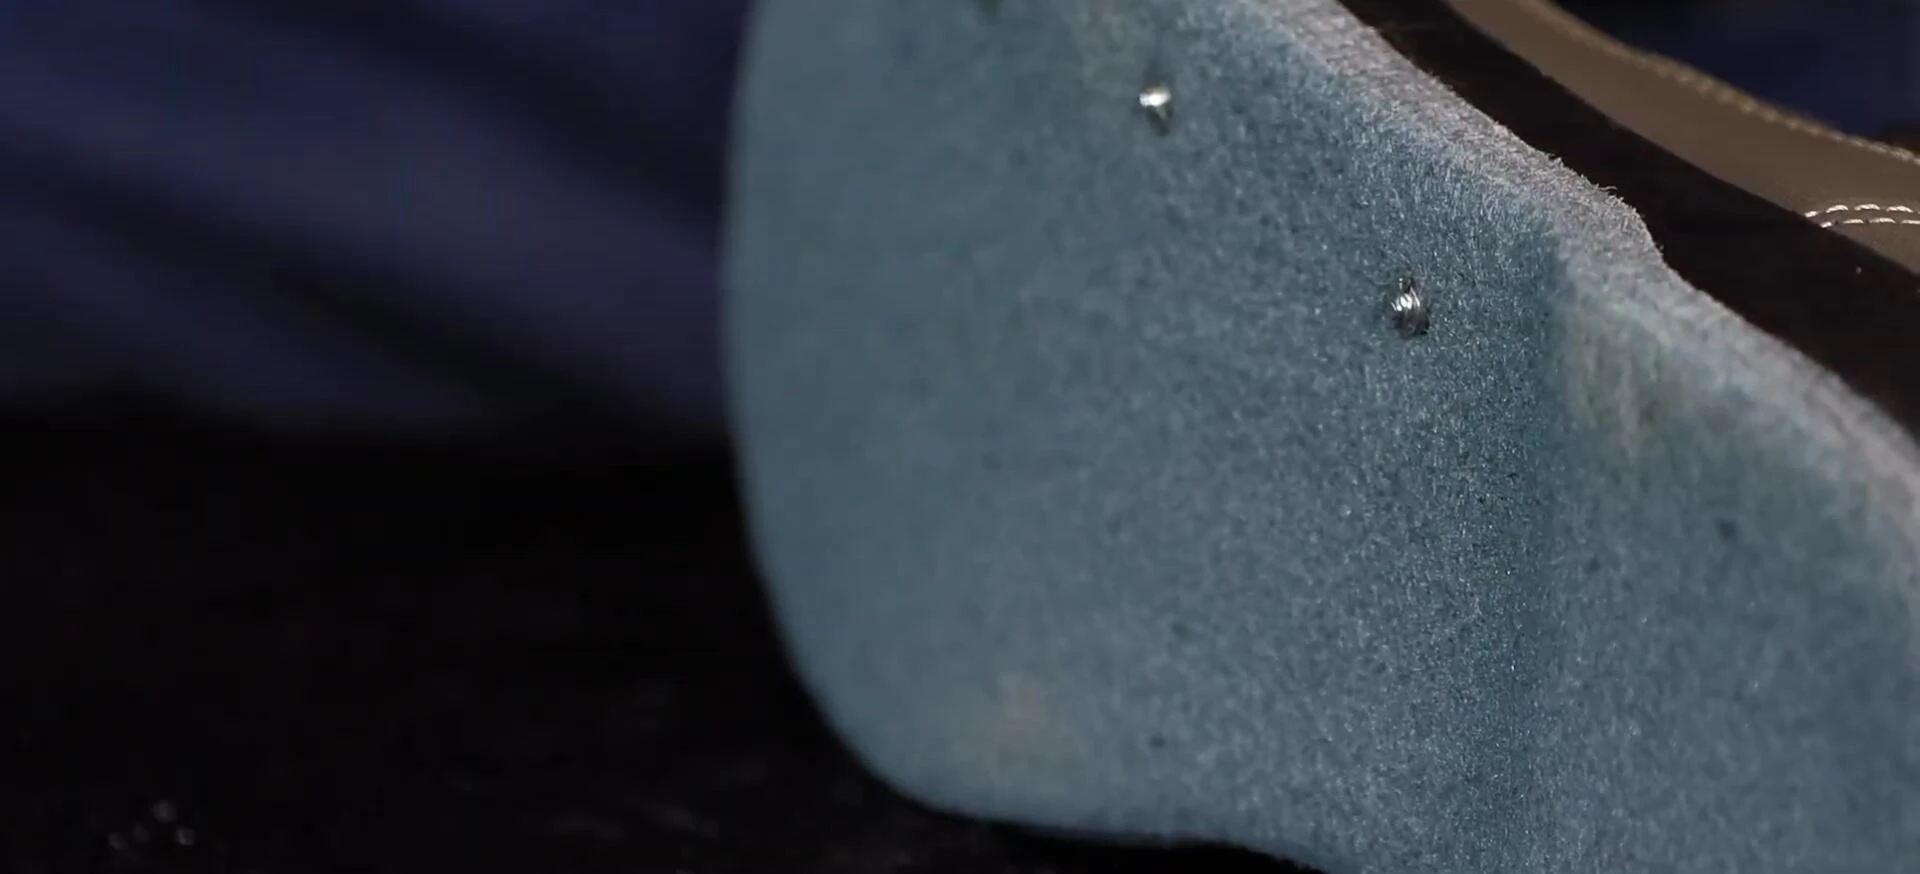
Installing Grip Studs into felt boots is the most challenging method, requiring a hand tool for controlled pressure and rotation. The stud's auger is designed to cut into the felt.
Consistent, firm pressure is crucial to prevent the felt from unraveling around the stud. Take your time and maintain a centered position throughout the installation process. The use of a hand tool is recommended.
Conclusion: Grip Studs for Enhanced Wading Boot Traction
Grip Studs offer a versatile solution for enhancing traction in various wading boot types. While installation varies slightly depending on the boot type (raised, recessed, or felt), careful attention to centering and applying sufficient pressure is consistently vital.
These studs offer a significant improvement in safety and stability, particularly in slippery conditions. The choice of stud model depends solely on the type of wading boot you own. Overall, these are a worthwhile investment for any serious angler.