This step-by-step guide provides beginners with a clear and concise method for installing a net bag onto a wooden frame. Whether you're building a new net or repairing an existing one, this tutorial will walk you through the entire process, ensuring a secure and professional-looking result. We'll cover the essential tools and materials needed, from the sturdy Dacron cord to the specialized tapestry needle, and explain the importance of proper knotting techniques for a long-lasting installation. No prior experience is necessary; even complete novices can successfully complete this project with ease.This guide simplifies what might seem like a daunting task into a straightforward, manageable process. We'll break down the installation into easily-followed steps, complemented by clear instructions and helpful tips to avoid common pitfalls. By the end of this guide, you'll have confidently installed your net bag, ready to put it to use. Learn the correct knotting techniques, understand the importance of consistent tension, and discover how to achieve a professional finish that will stand the test of time.
Read more: 5 Best Fishing Nets for Catching Trout
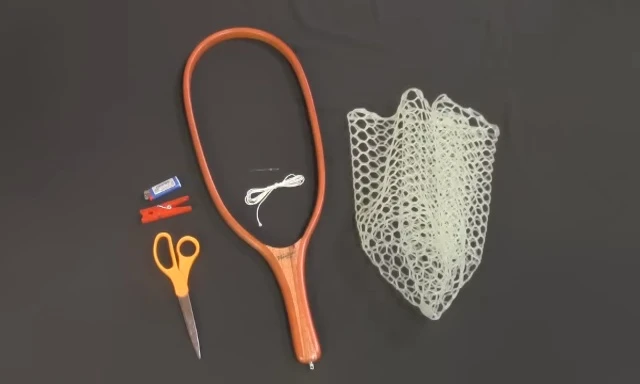
Tools and Materials
Before you begin installing your net bag, gather the necessary tools and materials. You'll need a wooden frame, a net bag, a pair of scissors, Dacron cord, and a tapestry needle. A cloth pin can be helpful for holding the net bag in place, especially if your frame doesn't have pre-drilled holes.

The tapestry needle is crucial; its large eye easily accommodates the Dacron cord, and its blunt tip minimizes the risk of puncturing the line during installation. Ensure the Dacron cord is of sufficient strength (80lb test) for secure attachment to your frame.
Securing the Net Bag: The Three-Turn Clinch Knot
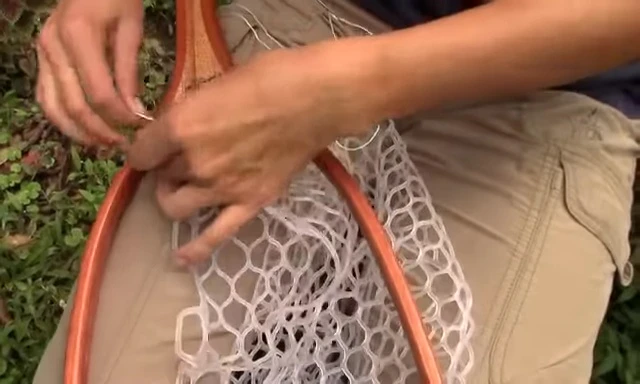
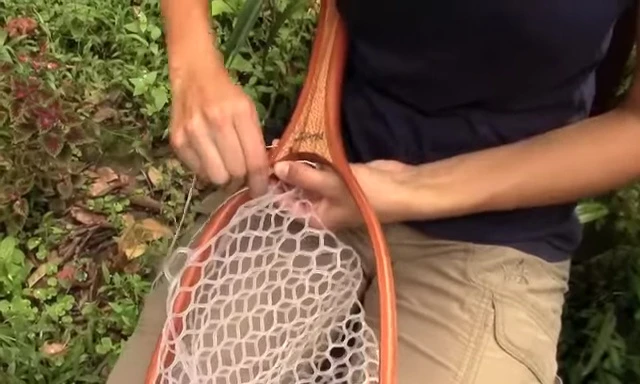
Begin by creating a three-turn clinch knot at the end of your Dacron cord. Avoid using an improved clinch knot, as it's too bulky for 80lb test line; the added bulk isn't necessary for this application.
Then, insert the needle through the first hole of your wooden frame from the inside, pulling the knot through until it's snug against the frame. Use your thumb to hold the net bag in place while you tighten the line.
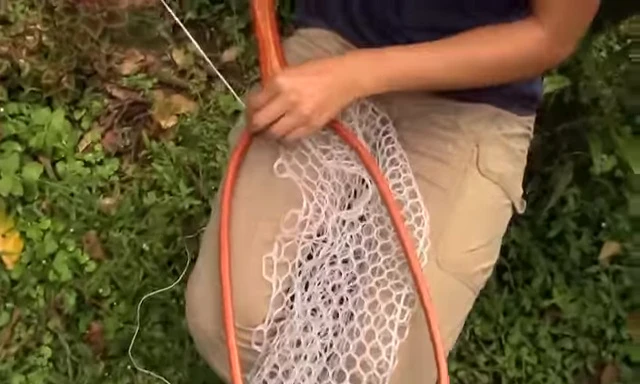
Stringing the Net Bag
Continue stringing the net bag through each hole, working your way around the frame. Remember not to pull the line too tightly; simply ensure the net bag fits snugly against the frame. Over-tightening can easily cut the net bag.
Keep consistent tension to ensure even placement across your frame. The process is relatively straightforward once the initial knot is secured and the method is understood.
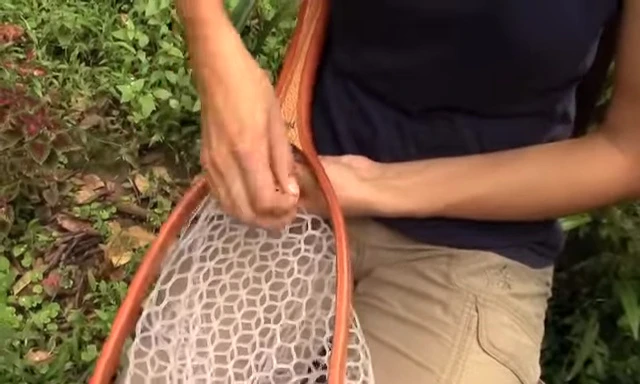
Finishing and Securing
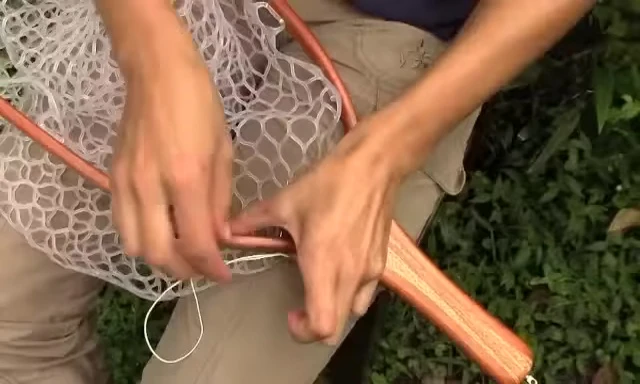
When you reach the last hole, loop the line around and tie a half hitch around the running line, pulling it tight. Then, tie another half hitch to securely lock it in place. This double half hitch provides strong security and helps prevent unraveling.
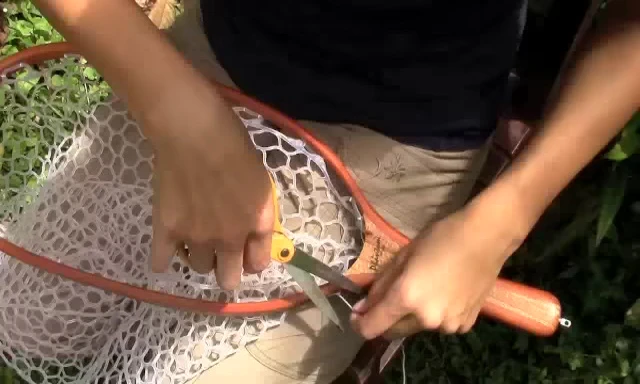
Finally, trim the excess Dacron cord with scissors, and carefully seal the ends with a lighter to prevent fraying. Take caution to avoid burning the frame or net bag during this step.
Conclusion
Installing a net bag onto a wooden frame is a simple process that only requires a few basic tools and about 10 minutes of your time. Following these steps will ensure a secure and properly fitted net bag, ready for use.
The use of a tapestry needle and the correct knot significantly reduces the chances of damaging the line or the net. Take your time and focus on consistent tension to achieve a professional-looking finish and a secure net bag attachment.