Leaky waders can quickly turn a promising fishing trip or outdoor adventure into a miserable, soggy experience. The feeling of cold water seeping into your boots, chilling you to the bone, is enough to dampen anyone's enthusiasm. Fortunately, many wader leaks are repairable, saving you the significant expense of replacing an entire pair. Whether it's a small pinhole or a more substantial tear, understanding the cause and employing the right repair technique is crucial for restoring your waders' waterproof integrity. Ignoring a small leak can lead to larger, more difficult-to-repair problems down the line.
This definitive guide will walk you through a comprehensive step-by-step process to diagnose and fix common wader leaks. We'll cover everything from identifying the source of the leak to selecting the appropriate repair materials and executing the repair itself, empowering you to confidently tackle any wader mishap. Let's dive into the solutions and get those waders back in action!
Safety Guidelines
- Always work in a well-ventilated area when using repair glues or solvents, as fumes can be harmful.
- Ensure your waders are completely dry before attempting any repair to ensure proper adhesion.
- If the leak is extensive or you are uncomfortable performing the repair yourself, take your waders to a professional repair shop.
Methods: Finding and Repairing Minor Leaks with Aquaseal
Tools Needed
- strong flashlight
- marker
- Aquaseal
Step-by-Step Instructions
Locate Leaks
- Run a strong flashlight up inside the waders to locate leaks. Leaks will show up as pinholes of light.
Mark Leaks
- Mark the leaks with a marker.
Apply and Dry Aquaseal
- Apply Aquaseal to the pinhole leaks and let it dry overnight.

Apply and Dry Aquaseal
Methods: Locating Leaks with a Shop Vac and Soapy Water
Tools Needed
- shop vac
- soapy water
Step-by-Step Instructions
Prepare the Shop Vac
- Reverse the hose of a shop vac so it blows air.
Prepare the Shop Vac Attach the Shop Vac to a Leak Detection Tool
- Constrict the leg of the wader around the shop vac nozzle (not too tight).
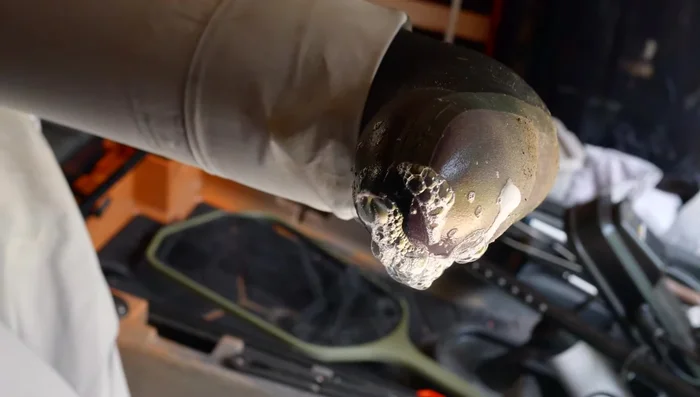
Apply Soapy Water and Locate Leaks
- Dip the inflated wader in soapy water. Leaks will show as bubbles.
Methods: Repairing Larger Tears with Aquaseal and Patching
Tools Needed
- Aquaseal
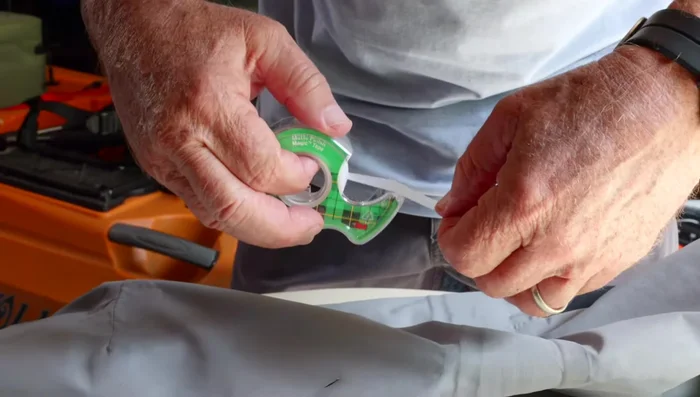
- Scotch tape or duct tape
Step-by-Step Instructions
Prepare the Tear
- Apply a piece of Scotch tape or duct tape to the back of the tear to prevent Aquaseal bleed-through.
Prepare the Tear Apply Aquaseal
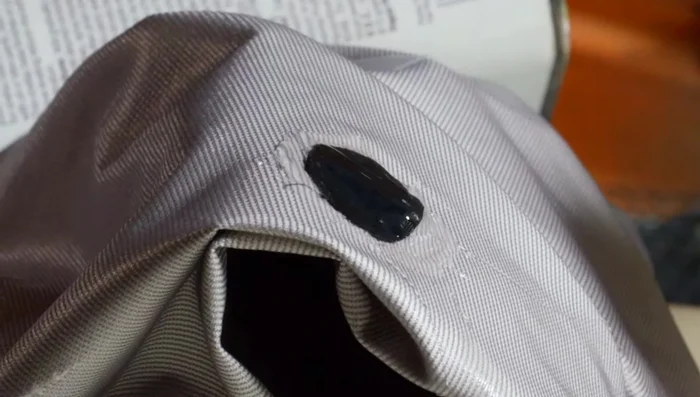
- Coat the tear with Aquaseal, overlapping the edges.
Apply Aquaseal Apply Patch
- Place the patch over the tear.
Seal the Patch
- Apply an extra coat of Aquaseal over the tape and patch.
Seal the Patch
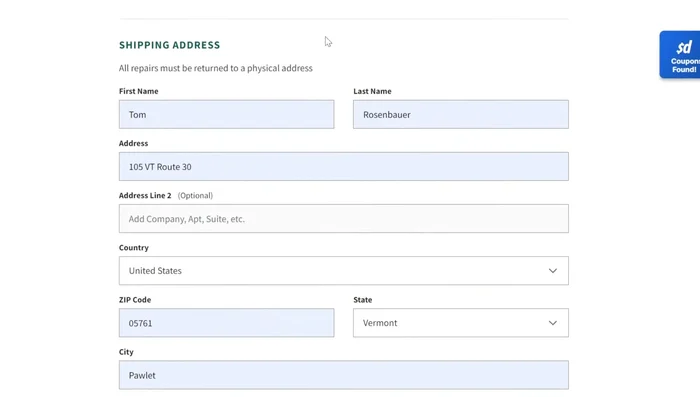
Methods: Professional Repair Service (Orvis)
Step-by-Step Instructions
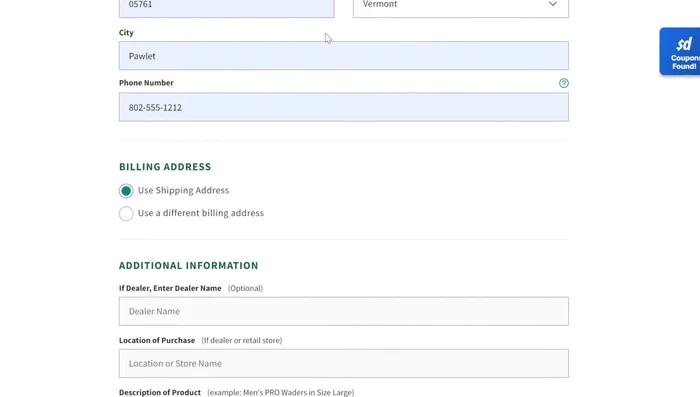
Initiate Repair
- Fill out the repair form on the Orvis website.
Initiate Repair Ship Waders
- Follow instructions on how to send your waders for repair.
Ship Waders