Repairing Wader Holes: A Durable Rubber Cement Method
Updated at: 14/02/2025
Waders, those indispensable companions for anglers, waterfowl hunters, and anyone working in wet conditions, are unfortunately susceptible to punctures and tears. A small hole, initially insignificant, can quickly escalate into a major problem, leading to soggy feet and ruined outings. The cost of replacing a damaged pair of waders can be substantial, making effective repair methods a valuable skill. This article focuses on a reliable and durable solution: repairing wader holes using high-quality rubber cement. This technique offers a cost-effective and surprisingly long-lasting fix for even significant damage.
For many, patching waders seems daunting, but with the right materials and a methodical approach, achieving a watertight seal is entirely achievable. This guide will walk you through a step-by-step process, providing clear instructions and helpful tips to ensure your waders are back in action quickly and efficiently. Let's dive into the details of this effective rubber cement repair method.
Preparation and Safety Guidelines
Tools Needed
Rubber cement
Safety Guidelines
Always work in a well-ventilated area. Rubber cement fumes can be harmful if inhaled.
Protect your work surface. Rubber cement can be difficult to remove from certain materials.
Allow ample drying time between coats to ensure a strong, durable repair. Rushing the process can lead to a weaker patch.
Step-by-Step Instructions
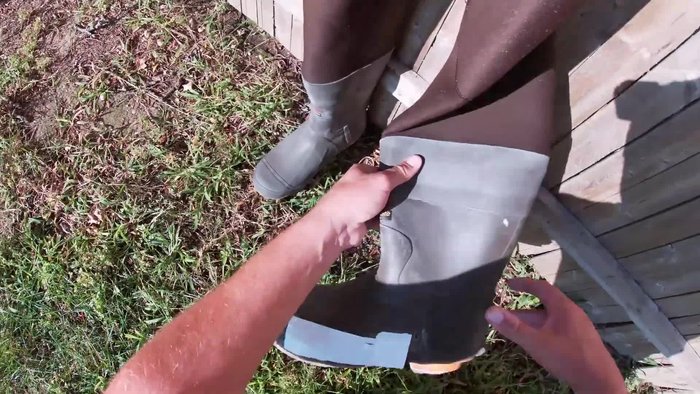
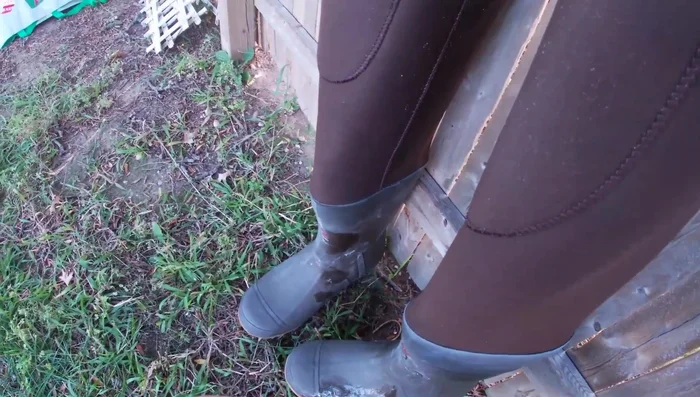
Prepare Waders
Identify and prepare the holes in your waders.
Prepare Waders
Apply Rubber Cement
Apply multiple layers of rubber cement over the holes.
Spread the cement evenly, and add additional heavy amounts.
Apply Rubber Cement
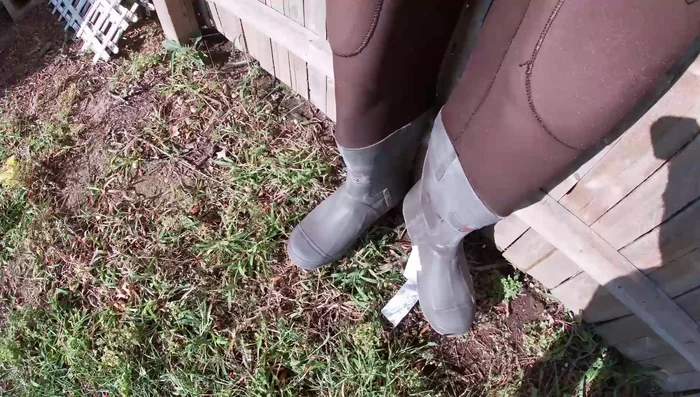
Dry and Cure
Allow the rubber cement to dry completely.
Let the cement sink into the hole for optimal adhesion.
Dry and Cure
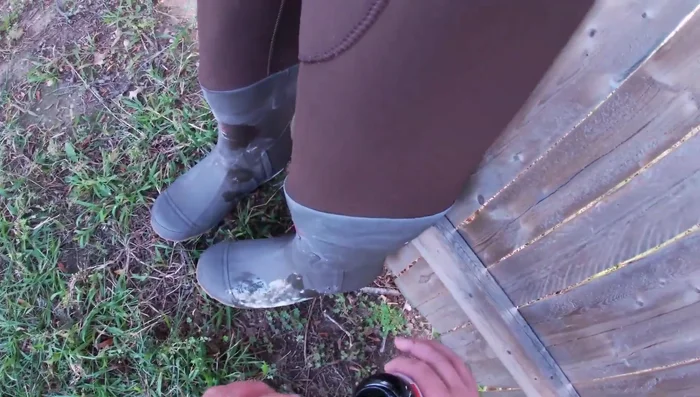
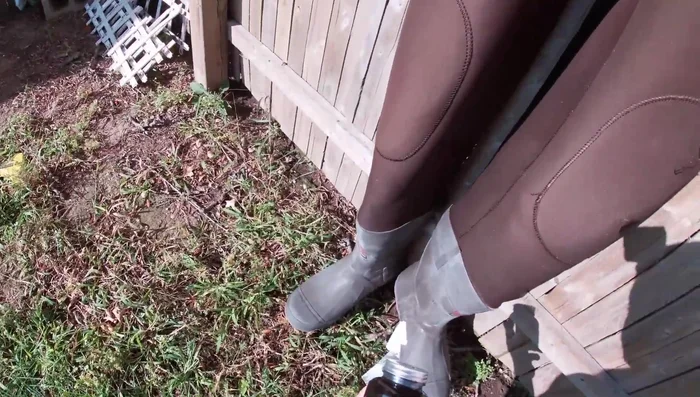
Test and Maintain
Test the repaired waders and apply additional coats as needed.
Test and Maintain
[RelatedPost]
Tips
Sand may stick to the finish after repair, but it washes off easily.
Consider applying additional coats after each use for enhanced durability.
Common Mistakes to Avoid
1. Using the wrong type of rubber cement
Reason: Not all rubber cements are created equal. Using a cement not specifically designed for rubber will result in a weak, unreliable repair that will likely fail quickly.
Solution: Use a high-quality, flexible rubber cement designed for repairing rubber waders or similar materials.
2. Insufficient cleaning and preparation of the repair area
Reason: Dirt, grease, or other contaminants on the wader surface will prevent the cement from properly adhering, leading to a weak and ultimately unsuccessful repair.
Solution: Thoroughly clean and degrease the area around the hole with isopropyl alcohol before applying any cement.
FAQs
What type of rubber cement is best for repairing wader holes?
Look for a high-quality, flexible rubber cement specifically designed for repairing rubber or neoprene. Avoid general-purpose glues, as they may not be durable enough for the stresses waders endure.
How long does the repair take to dry completely?
Drying time varies depending on the cement and the size of the hole, but expect at least 24 hours before using the waders again. It's best to let them dry for 48 hours for a more robust repair.
Will this repair be completely waterproof?
While this method is highly effective at creating a waterproof seal, the success depends on proper preparation and application. Ensure the surfaces are clean and dry before applying the cement. A small amount of leakage might occur with very large holes or significant damage. For critical repairs, consider professional patching.
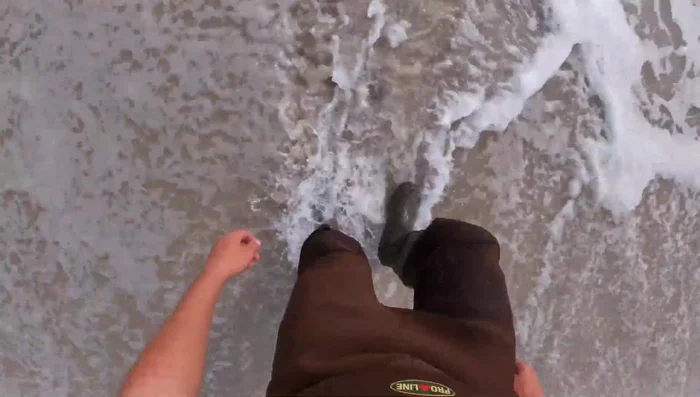
Protecting your feet from the elements is crucial whether you're wading through streams or battling the shoreline. While this guide focuses on repairing damage to your waders, proper footwear is equally important. If you're looking for durable and comfortable options for the young anglers in your life, check out our guide on youth fishing footwear. Understanding how to maintain your waders, as detailed below, will extend their lifespan and keep your feet dry, no matter what boots you choose.