Do you have a box full of vintage fishing lures, gathering dust and showing their age? Those chipped paints and faded finishes don't mean the end of the line for your favorite fishing companions. Many treasured lures, heirlooms, or simply well-loved fishing tools can be brought back to life with a little TLC. This guide will explore the rewarding process of lure restoration, transforming your rusty relics into sparkling, effective fishing instruments once more. We'll cover everything from assessing the damage to applying the finishing touches, ensuring your lures are ready for their next catch.
From simple cleaning techniques to more advanced paint jobs and repairs, this comprehensive guide will equip you with the knowledge and skills needed to revitalize your collection. Forget about expensive replacements—discover the satisfaction of restoring your own lures and breathe new life into these angling artifacts. Let’s dive into the step-by-step process and get those lures fishing again!
Preparation and Safety Guidelines
- Vinegar
- Baking Soda
- Dish Soap
- Wire Brush
- Goof Off
- Paint
- Paintbrushes
- Wire Cutters
- Jeweler's Screwdriver
- Sandpaper
- Liquid Frisket (optional)
- Treble Hooks
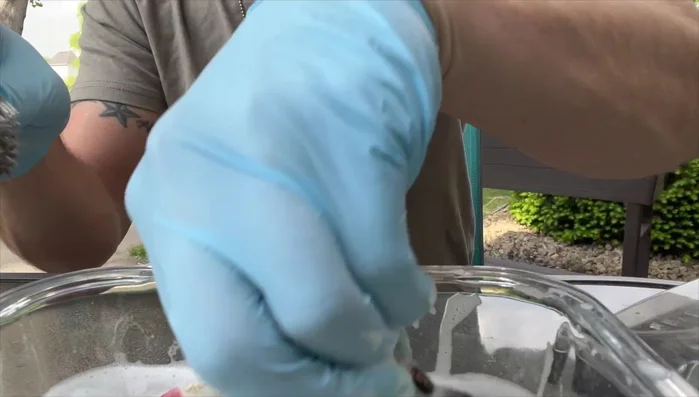
- Always wear appropriate safety gear, including eye protection and gloves, when using abrasive materials or chemicals.
- Work in a well-ventilated area, especially when using solvents or paints. Harmful fumes can be released during the restoration process.
- Dispose of any hazardous waste materials, such as solvents and paint thinner, properly according to local regulations.
Step-by-Step Instructions
Cleaning and Preparation
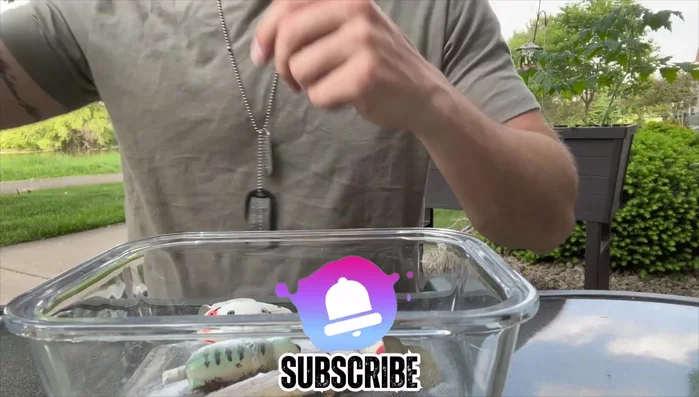
- Soak lures in a mixture of baking soda, dish soap, and vinegar to loosen rust and grime.
- Use a wire brush to remove the top coat of paint (exercise caution, especially with wooden lures).
- Wash lures thoroughly to remove loosened grime and residue.
- Remove all hardware (treble hooks, split rings, etc.)

Cleaning and Preparation - Use Goof Off (or similar) to remove remaining paint and top coat.
- Sand the lure surface to create a smooth base for repainting.
Cleaning and Preparation Repainting
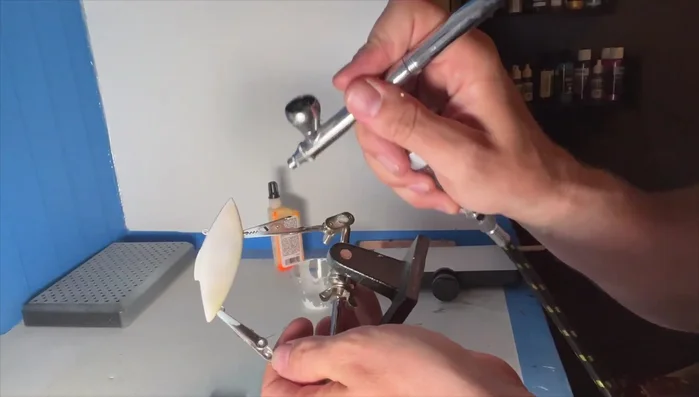
- Apply a base coat of paint (primer).
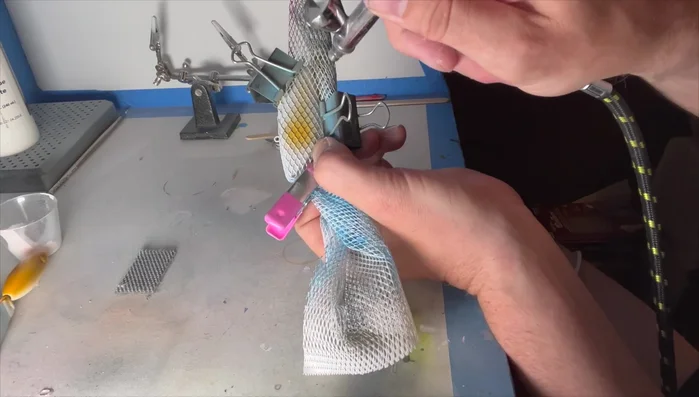
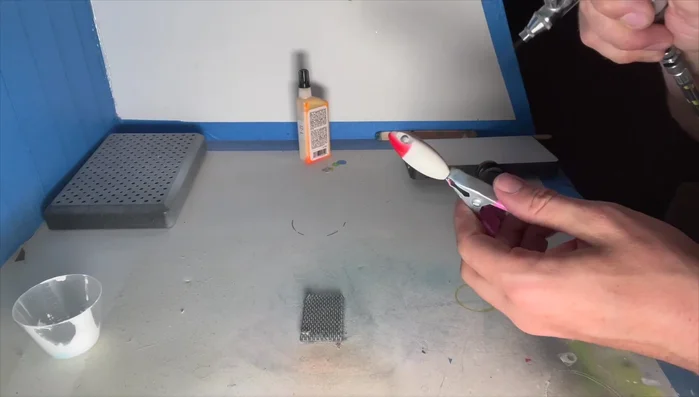
- Apply your desired paint scheme using various techniques (mesh for scales, stencils, hand-painting).
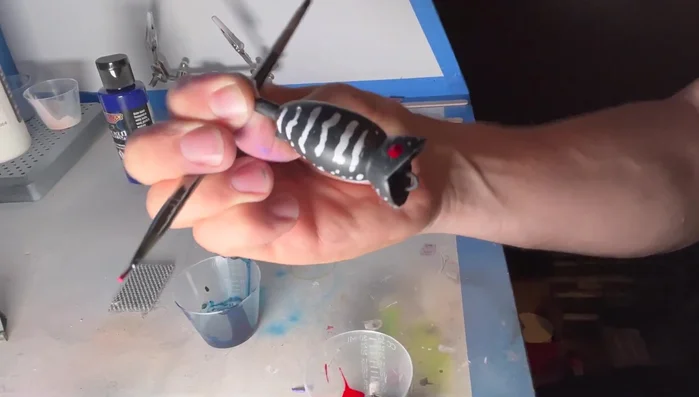
- Apply a finishing coat and add details (eyes, etc.).
Repainting Final Assembly
- Reattach hardware.
Final Assembly


Read more: River Fishing Success: A Four-Year Return!
Tips
- Use snap swivels to connect your lures to your line, don't do it it messes up the action
- A jeweler's screwdriver is useful for removing small lure hardware.
- Liquid frisket can be used as a masking agent for precise painting.